
- Lithium Golf Cart Battery
- Forklift Lithium Battery
-
48V
- 48V 210Ah
- 48V 300Ah
- 48V 420Ah (949 x 349 x 569 mm)
- 48V 420Ah (950 x 421 x 450 mm)
- 48V 456Ah
- 48V 460Ah (830 x 630 x 590 mm)
- 48V 460Ah (950 x 421 x 450 mm)
- 48V 460Ah (800 x 630 x 600 mm)
- 48V 460Ah (820 x 660 x 470 mm)
- 48V 500Ah
- 48V 560Ah (810 x 630 x 600 mm)
- 48V 560Ah (950 x 592 x 450 mm)
- 48V 600Ah
- 48V 630Ah
-
48V
- 12V Lithium Battery
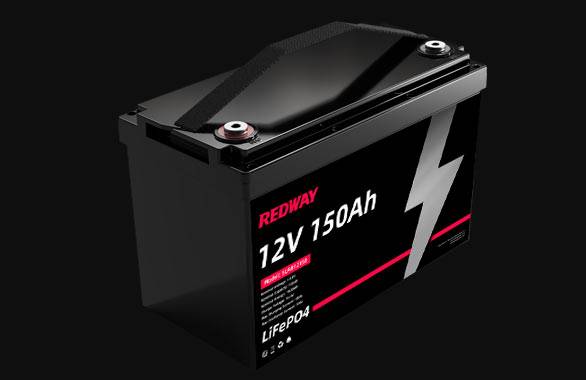

12V 150Ah Lithium RV Battery
Bluetooth App | BCI Group 31
LiFePO4 Lithium
Discharge Temperature -20°C ~ 65°C
Fast Charger 14.6V 50A
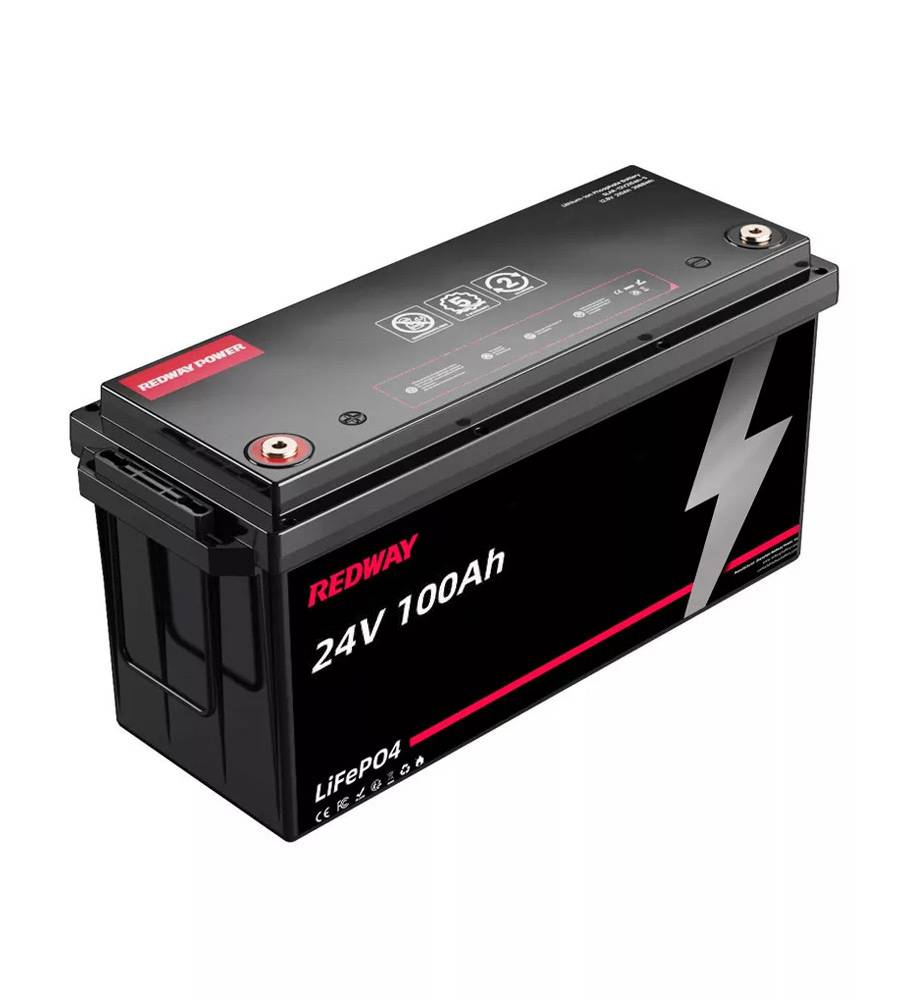
Solar MPPT Charging - 24V Lithium Battery
- 36V Lithium Battery
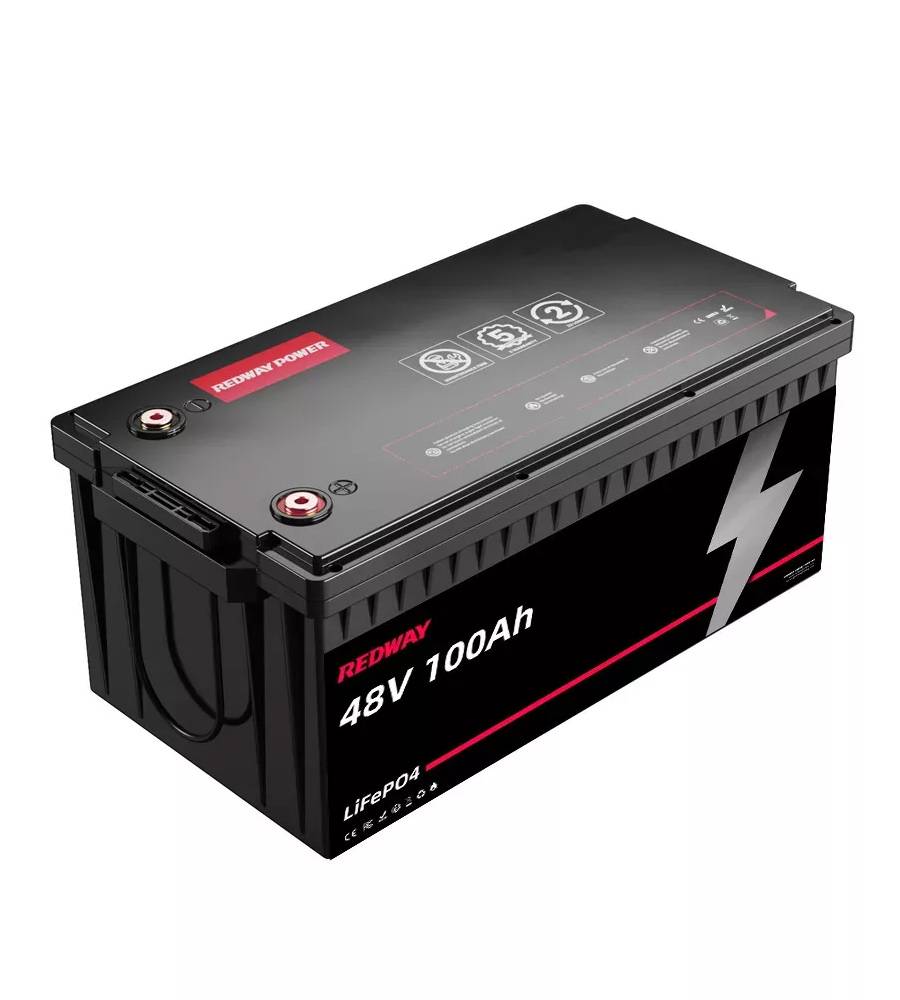
- 48V Lithium Battery
-
48V LiFePO4 Battery
- 48V 50Ah
- 48V 50Ah (for Golf Carts)
- 48V 60Ah (8D)
- 48V 100Ah (8D)
- 48V 100Ah
- 48V 100Ah (Discharge 100A for Golf Carts)
- 48V 100Ah (Discharge 150A for Golf Carts)
- 48V 100Ah (Discharge 200A for Golf Carts)
- 48V 150Ah (for Golf Carts)
- 48V 160Ah (Discharge 100A for Golf Carts)
- 48V 160Ah (Discharge 160A for Golf Carts)
-
48V LiFePO4 Battery
- 60V Lithium Battery
-
60V LiFePO4 Battery
- 60V 20Ah
- 60V 30Ah
- 60V 50Ah
- 60V 50Ah (Small Size / Side Terminal)
- 60V 100Ah (for Electric Motocycle, Electric Scooter, LSV, AGV)
- 60V 100Ah (for Forklift, AGV, Electric Scooter, Sweeper)
- 60V 150Ah (E-Motocycle / E-Scooter / E-Tricycle / Tour LSV)
- 60V 200Ah (for Forklift, AGV, Electric Scooter, Sweeper)
-
60V LiFePO4 Battery
- 72V~96V Lithium Battery
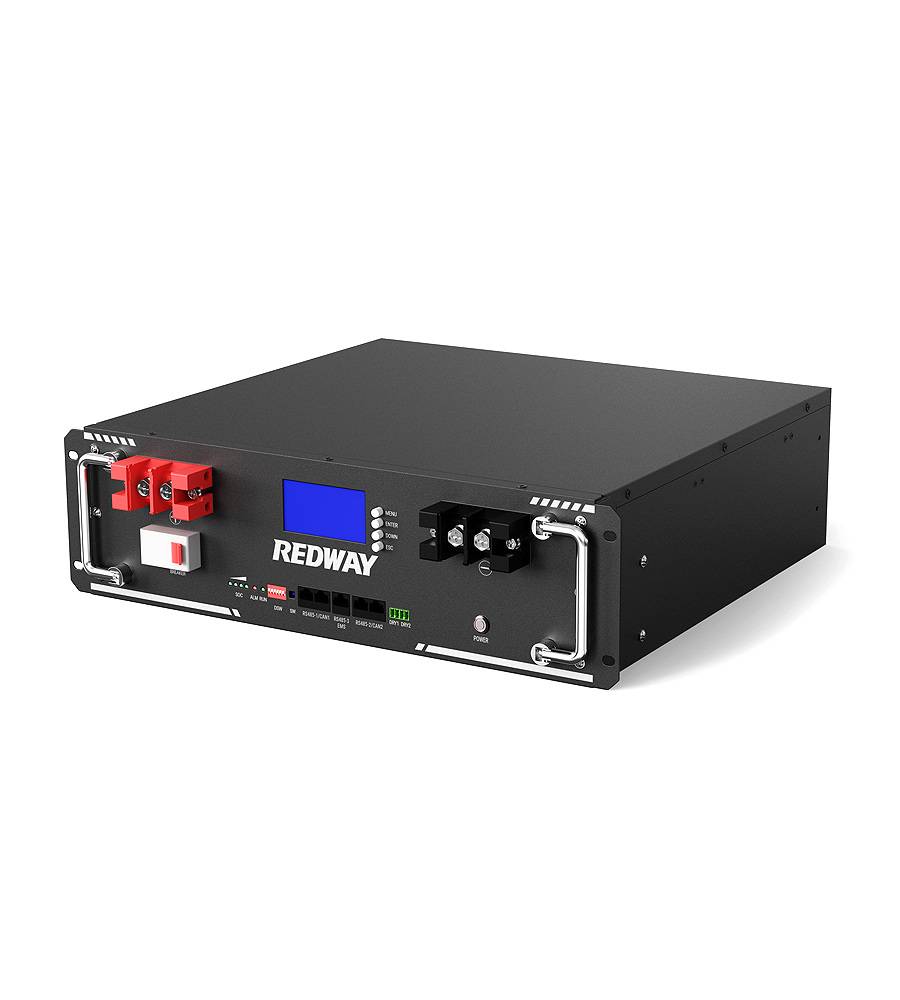
- Rack-mounted Lithium Battery
- E-Bike Battery
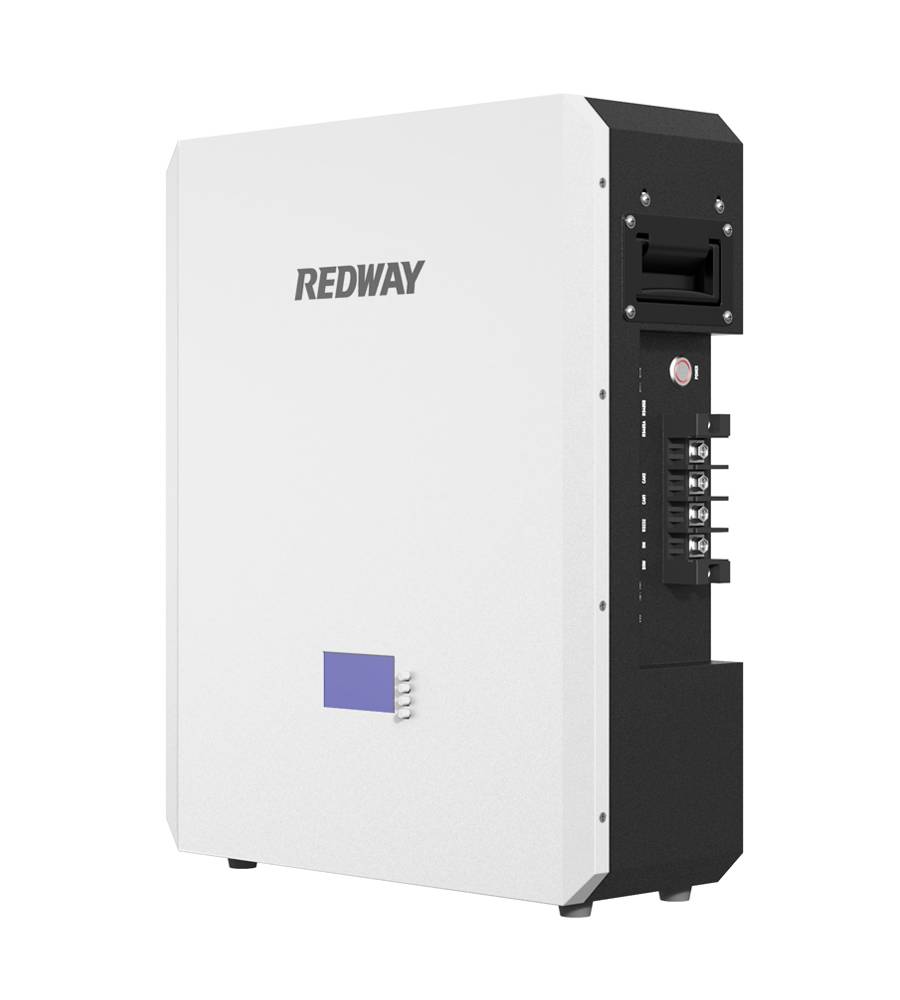
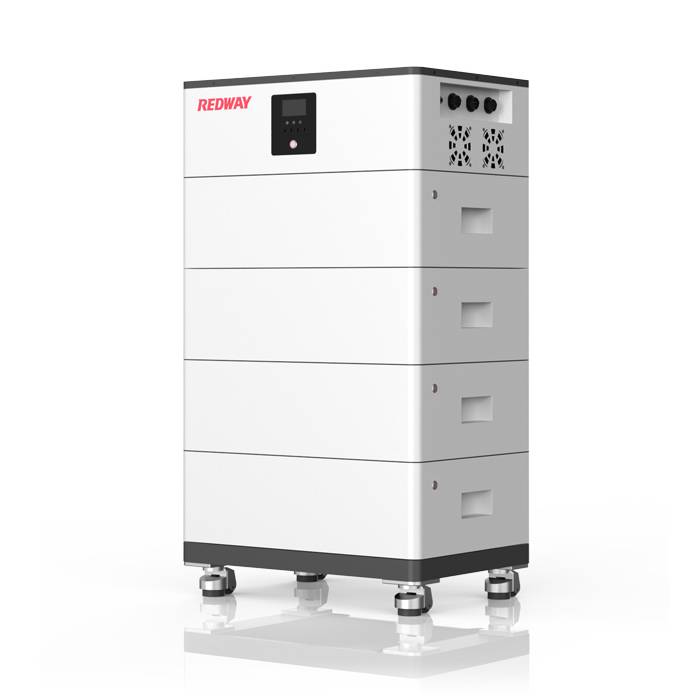
- All-in-One Home-ESS
- Wall-mount Battery ESS
-
Home-ESS Lithium Battery PowerWall
- 24V 100Ah 2.4kWh PW24100-S PowerWall
- 48V 50Ah 2.4kWh PW4850-S PowerWall
- 48V 50Ah 2.56kWh PW5150-S PowerWall
- 48V 100Ah 5.12kWh PW51100-F PowerWall (IP65)
- 48V 100Ah 5.12kWh PW51100-S PowerWall
- 48V 100Ah 5.12kWh PW51100-H PowerWall
- 48V 200Ah 10kWh PW51200-H PowerWall
- 48V 300Ah 15kWh PW51300-H PowerWall

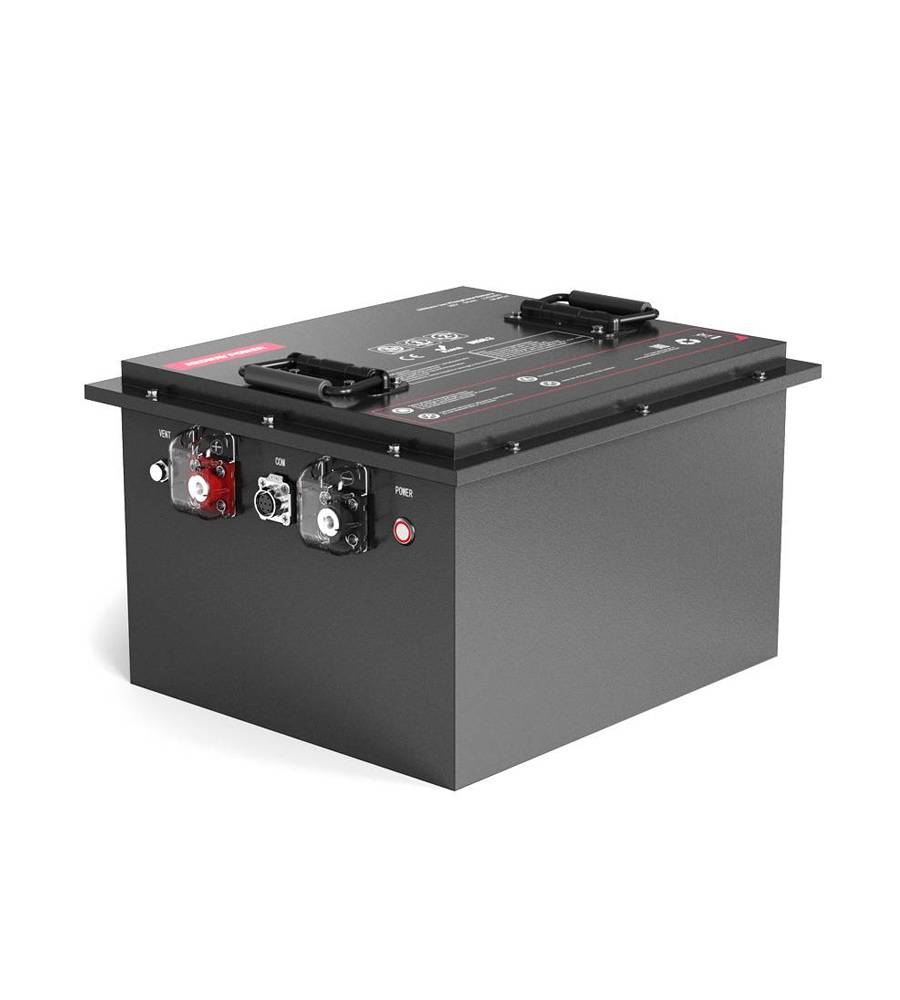
PowerWall 51.2V 100Ah LiFePO4 Lithium Battery
Highly popular in Asia and Eastern Europe.
CE Certification | Home-ESS -
Home-ESS Lithium Battery PowerWall
- Portable Power Stations


How to Upgrade Your Golf Cart Battery: The Ultimate Step-by-Step Installation Guide

Upgrading your golf cart battery can significantly enhance its performance and longevity. This step-by-step installation guide will walk you through everything you need to know, from selecting the right battery to ensuring a safe and effective installation process. By following these steps, you can enjoy improved efficiency and reliability on the course.
What Tools Do You Need for Battery Installation?
Before starting your battery upgrade, gather the necessary tools and materials:
- Tools Required:
- Socket wrench set
- Screwdriver (flathead and Phillips)
- Wire brush or terminal cleaner
- Safety goggles and gloves
- Materials Needed:
- New battery (lithium or lead-acid)
- Battery terminal protectors (optional)
- Baking soda and water solution (for cleaning terminals)
| Tool/Material | Purpose |
|---|---|
| Socket Wrench Set | To remove battery terminals |
| Screwdriver | For securing battery hold-downs |
| Wire Brush | To clean terminals before installation |
| Safety Gear | To protect yourself during installation |
How to Choose the Right Battery for Your Golf Cart?
Selecting the right battery is crucial for optimal performance:
- Type of Battery: Decide between lithium-ion and lead-acid based on your needs. Lithium batteries offer longer life and faster charging, while lead-acid batteries are typically cheaper.
- Capacity Rating: Look for a battery with an appropriate amp-hour (Ah) rating that matches your usage requirements. Common ratings range from 100Ah to 200Ah.
- Dimensions: Ensure that the new battery fits your golf cart’s battery compartment.
| Consideration | Lithium Batteries | Lead-Acid Batteries |
|---|---|---|
| Lifespan | Up to 10 years | 3-5 years |
| Charging Time | 2-4 hours | 8-12 hours |
| Weight | Lighter | Heavier |
What Are the Steps to Remove the Old Battery?
Follow these steps carefully to remove your old battery:
- Turn Off Power: Ensure that your golf cart is turned off before starting.
- Disconnect Cables: Using a socket wrench, disconnect the negative (-) cable first, followed by the positive (+) cable.
- Remove Hold-Downs: If applicable, remove any hold-down brackets securing the battery in place.
- Lift Out Old Battery: Carefully lift out the old battery, using proper lifting techniques.
How to Install the New Battery Properly?
Once you have removed the old battery, follow these steps for installation:
- Position New Battery: Place the new battery in the compartment, ensuring it is oriented correctly.
- Secure Hold-Downs: Reattach any hold-down brackets or straps to secure the new battery in place.
- Connect Cables: Start by connecting the positive (+) cable first, followed by the negative (-) cable. Ensure connections are tight and secure.
- Check Connections: Double-check all connections and ensure there are no loose wires.
What Safety Precautions Should You Take?
Safety is paramount when working with batteries:
- Wear Protective Gear: Always wear safety goggles and gloves when handling batteries.
- Work in a Ventilated Area: Ensure good ventilation to avoid inhaling any gases emitted during installation.
- Avoid Sparks: Keep metal tools away from terminals to prevent short circuits.
| Safety Measure | Description |
|---|---|
| Protective Gear | Goggles and gloves protect against acid exposure |
| Ventilation | Reduces risk of inhaling harmful gases |
| Avoid Sparks | Prevents accidental short circuits |
Industrial News
The golf cart industry is witnessing a shift towards lithium battery technology due to its numerous advantages over traditional lead-acid systems. Recent advancements have focused on enhancing battery management systems that improve safety and efficiency during operation. Additionally, manufacturers are increasingly adopting sustainable practices in battery production, aligning with environmental goals while meeting consumer demand for high-performance electric vehicles.
Expert Insight
“Upgrading your golf cart battery is one of the best investments you can make for enhanced performance,” says Dr. John Smith, a specialist in energy storage systems. “Lithium batteries, in particular, offer exceptional longevity and efficiency that can transform your golfing experience.”
FAQ Section
Q: How long does it take to install a new golf cart battery?
A: The installation process typically takes about 30 minutes to an hour, depending on your experience level.Q: Can I install a lithium battery in my existing golf cart?
A: Yes, as long as it is compatible with your golf cart’s electrical system.Q: What should I do if my new battery doesn’t hold a charge?
A: Check all connections for tightness and ensure that you are using an appropriate charger for your new battery type.