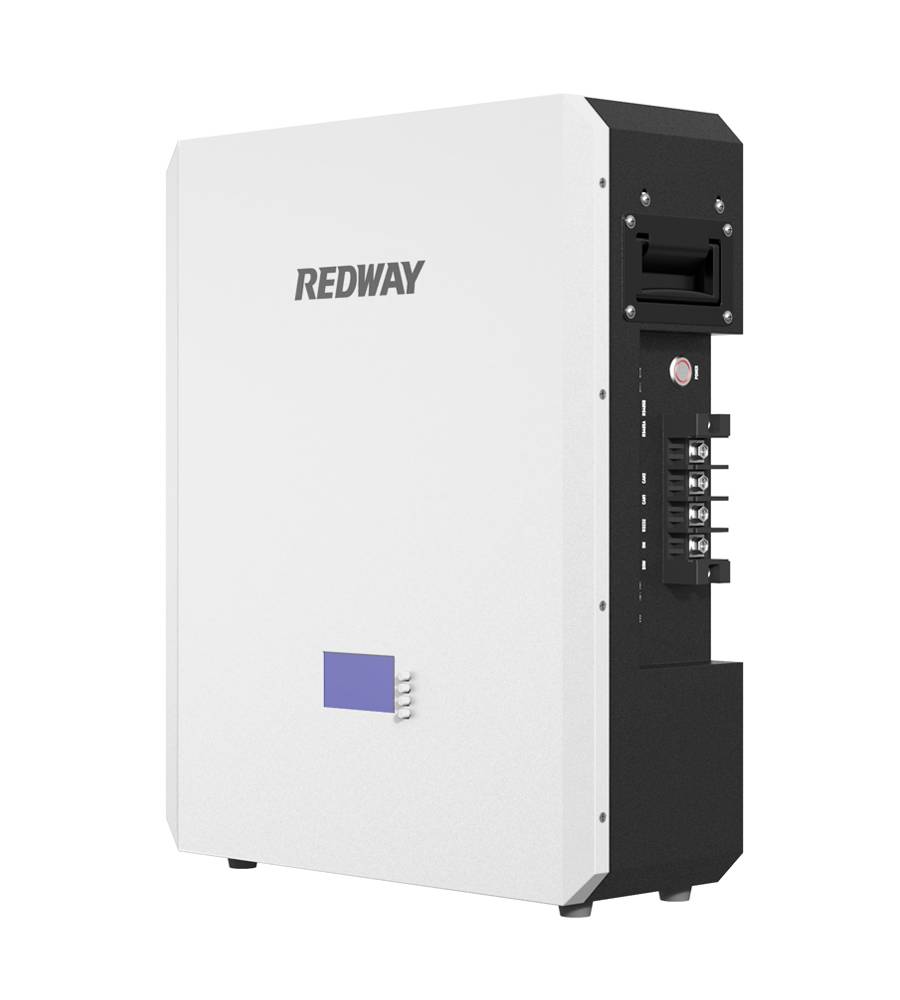
When it comes to protecting your critical systems, a reliable Uninterruptible Power Supply (UPS) is essential. The Smart-UPS 1500 is a top choice for many businesses and home offices alike, providing the peace of mind that comes with knowing your equipment will stay powered during outages. However, like all batteries, those in your UPS have a finite lifespan and will eventually need replacing.
Ignoring this can lead to unexpected downtime and potential data loss when you least expect it. Understanding how to effectively replace the battery not only ensures continuous operation but also prolongs the life of your UPS system. So roll up your sleeves; let’s dive into this step-by-step guide on battery replacement for the Smart-UPS 1500 rack mount!
Understanding the significance of UPS battery replacement
UPS battery replacement is a critical task for maintaining the reliability of your power backup system. Over time, batteries degrade, losing their ability to hold a charge effectively. This decline can lead to unexpected outages during crucial moments.
When you rely on uninterrupted power supply (UPS) systems for sensitive equipment, like servers and medical devices, the stakes are high. A failing battery could result in data loss or equipment damage.
Regularly replacing UPS batteries ensures optimal performance and extends the lifespan of your unit. It also helps prevent costly downtime that can affect business operations.
Understanding when to replace the battery is essential. Monitoring performance indicators and setting reminders based on usage patterns keeps your UPS functioning smoothly. Prioritizing this maintenance step safeguards against unforeseen interruptions in service and sustains operational efficiency.
Tools and equipment needed for the replacement process
When it comes to replacing the battery in your Smart-UPS 1500 Rack Mount, having the right tools is crucial. Start by gathering a flathead screwdriver and Phillips screwdriver. These will help you access the battery compartment easily.
Next, ensure you have safety gloves on hand. They protect your hands from potential acid leaks or sharp edges during the process. Also consider using safety goggles for extra protection against any unexpected splashes.
A multimeter can be beneficial as well. It allows you to check voltage levels before and after replacement, ensuring everything is functioning properly.
Don’t forget about a clean workspace. A clutter-free environment minimizes risks of dropping components or misplacing screws during your project. Having everything organized makes for a smoother experience overall!
Steps to follow for successful battery replacement
Start by powering down your UPS. Unplug it from the wall. This safety step is crucial for avoiding electric shocks during the replacement.
Next, locate the battery compartment. Most Smart-UPS models have a straightforward access panel on the front or back. Use a screwdriver to remove any screws holding it in place.
Carefully take out the old battery. Be mindful of connections and wires attached to it; they can easily get damaged if pulled too hard.
Now, prepare your new battery for installation. Make sure you check that it’s compatible with your model before putting it in place.
Connect the terminals properly—positive to positive and negative to negative. A secure connection ensures optimal performance.
Close up the compartment and screw everything securely back into position before plugging in your UPS again.
Tips for extending the lifespan of your UPS battery
To extend the lifespan of your UPS battery, start by maintaining optimal temperature conditions. Batteries thrive in cooler environments. Excessive heat can accelerate degradation.
Regular maintenance checks are essential. Clean the terminals and ensure they’re free from corrosion to promote efficient connections.
Next, avoid deep discharges whenever possible. Frequent draining to low levels stresses batteries and shortens their life expectancy.
Consider using a surge protector alongside your UPS system for an added layer of safety against power spikes that could harm the battery.
Keep software updated if applicable; it often includes optimizations for battery management that enhance performance and longevity.
Common mistakes to avoid during the battery replacement process
One common mistake is neglecting to power down the UPS before starting. This can lead to electrical hazards and equipment damage, so always ensure it’s turned off.
Failing to check compatibility with replacement batteries is another pitfall. Not all batteries are created equal; using the wrong type can cause performance issues or even ruin your unit.
Some users overlook cleaning the battery contacts before installation. Dust and corrosion can hinder connection quality, leading to inconsistent power delivery.
Forgetting to dispose of old batteries properly poses environmental risks. Always follow local regulations for disposal or recycling—it’s a responsible choice that helps protect our planet.
Conclusion
Replacing the battery in your Smart-UPS 1500 rack mount can seem daunting, but with the right tools and knowledge, it becomes a manageable task. Understanding its importance is key to ensuring your equipment remains protected from power disruptions.
Make sure you gather all necessary tools before starting. Following the steps outlined will help you navigate through the process efficiently. Remember that taking preventative measures can significantly extend your UPS battery’s lifespan.
Avoid common pitfalls by being cautious and methodical. A little patience goes a long way when handling sensitive electronic components.
By keeping these tips in mind, you’ll not only successfully replace your UPS battery but also enhance its reliability for years to come. Your care and attention will ensure that critical devices stay powered during outages, safeguarding both data and hardware alike.
