- Forklift Lithium Battery
-
48V
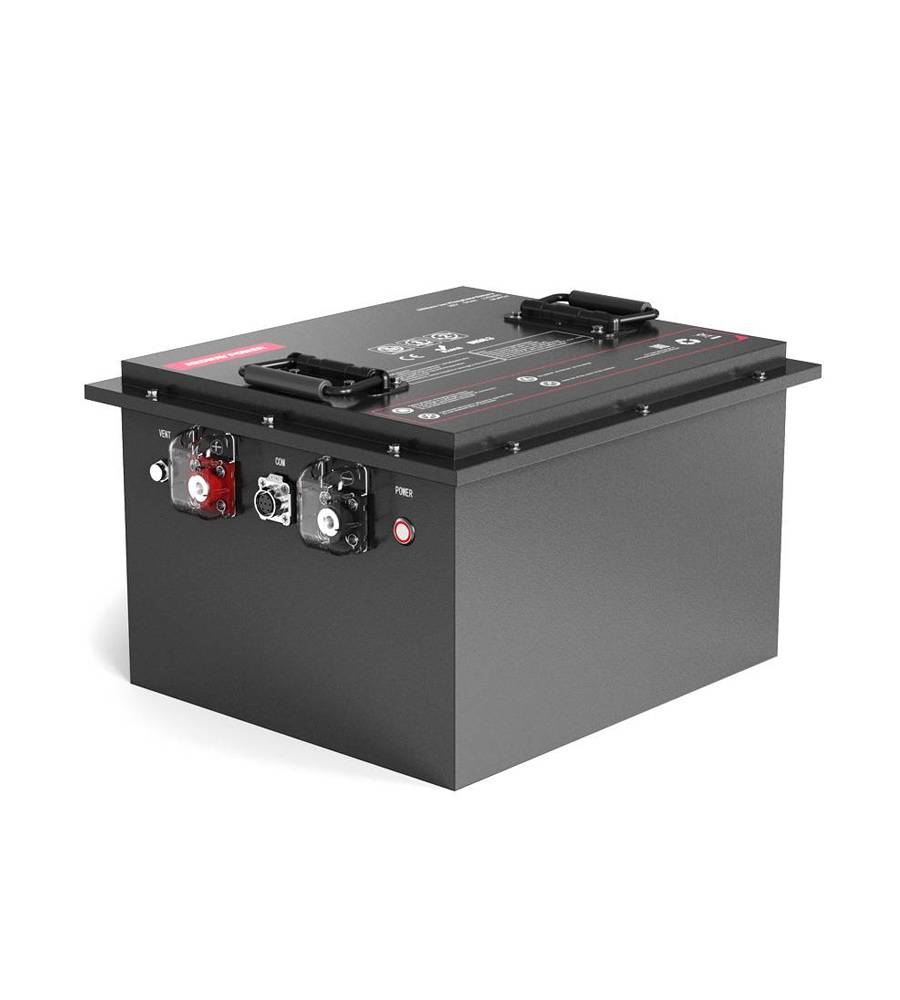
- 48V 210Ah
- 48V 300Ah
- 48V 420Ah (949 x 349 x 569 mm)
- 48V 420Ah (950 x 421 x 450 mm)
- 48V 456Ah
- 48V 460Ah (830 x 630 x 590 mm)
- 48V 460Ah (950 x 421 x 450 mm)
- 48V 460Ah (800 x 630 x 600 mm)
- 48V 460Ah (820 x 660 x 470 mm)
- 48V 500Ah
- 48V 560Ah (810 x 630 x 600 mm)
- 48V 560Ah (950 x 592 x 450 mm)
- 48V 600Ah
- 48V 630Ah
-
48V
- Lithium Golf Cart Battery
- 12V Lithium Battery
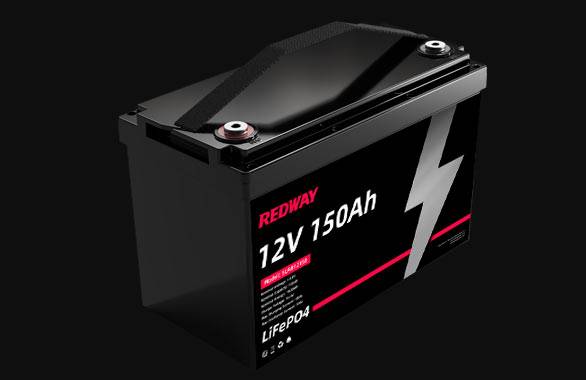
12V 150Ah Lithium RV Battery
Bluetooth App | BCI Group 31
LiFePO4 Lithium
Discharge Temperature -20°C ~ 65°C
Fast Charger 14.6V 50A
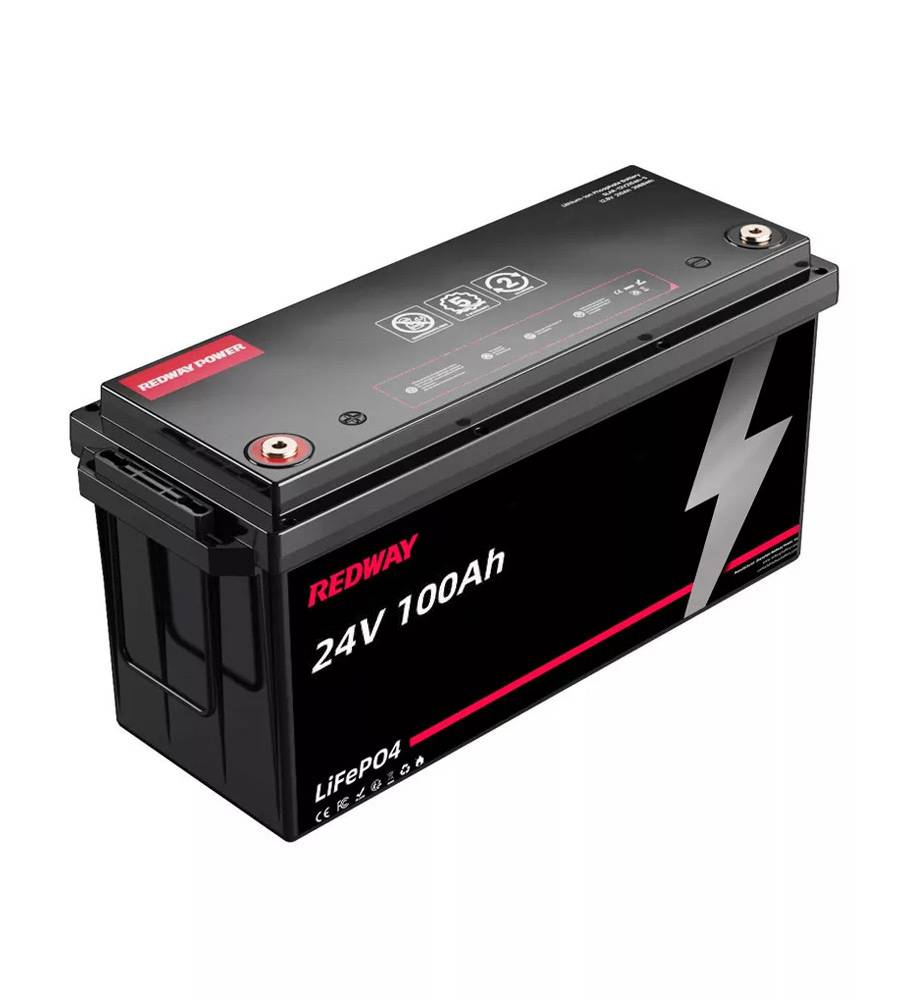
Solar MPPT Charging - 24V Lithium Battery
- 36V Lithium Battery
- 48V Lithium Battery
-
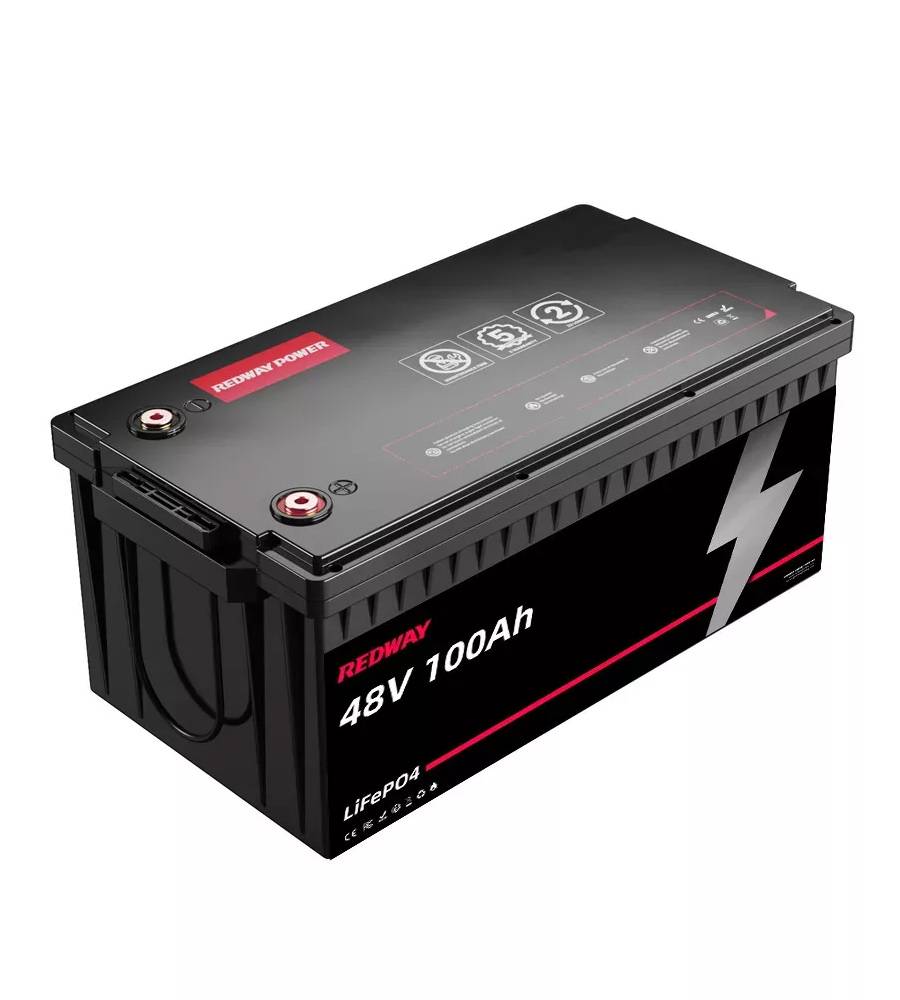
48V LiFePO4 Battery
- 48V 50Ah
- 48V 50Ah (for Golf Carts)
- 48V 60Ah (8D)
- 48V 100Ah (8D)
- 48V 100Ah
- 48V 100Ah (Discharge 100A for Golf Carts)
- 48V 100Ah (Discharge 150A for Golf Carts)
- 48V 100Ah (Discharge 200A for Golf Carts)
- 48V 150Ah (for Golf Carts)
- 48V 160Ah (Discharge 100A for Golf Carts)
- 48V 160Ah (Discharge 160A for Golf Carts)
-
48V LiFePO4 Battery
- 60V Lithium Battery
-
60V LiFePO4 Battery
- 60V 20Ah
- 60V 30Ah
- 60V 50Ah
- 60V 50Ah (Small Size / Side Terminal)
- 60V 100Ah (for Electric Motocycle, Electric Scooter, LSV, AGV)
- 60V 100Ah (for Forklift, AGV, Electric Scooter, Sweeper)
- 60V 150Ah (E-Motocycle / E-Scooter / E-Tricycle / Tour LSV)
- 60V 200Ah (for Forklift, AGV, Electric Scooter, Sweeper)
-
60V LiFePO4 Battery
- 72V~96V Lithium Battery
- Rack-mounted Lithium Battery
- E-Bike Battery
- All-in-One Home-ESS
- Wall-mount Battery ESS
-
Home-ESS Lithium Battery PowerWall
- 24V 100Ah 2.4kWh PW24100-S PowerWall
- 48V 50Ah 2.4kWh PW4850-S PowerWall
- 48V 50Ah 2.56kWh PW5150-S PowerWall
- 48V 100Ah 5.12kWh PW51100-F PowerWall (IP65)
- 48V 100Ah 5.12kWh PW51100-S PowerWall
- 48V 100Ah 5.12kWh PW51100-H PowerWall
- 48V 200Ah 10kWh PW51200-H PowerWall
- 48V 300Ah 15kWh PW51300-H PowerWall
PowerWall 51.2V 100Ah LiFePO4 Lithium Battery
Highly popular in Asia and Eastern Europe.
CE Certification | Home-ESS -
Home-ESS Lithium Battery PowerWall
- Portable Power Stations
Is It Necessary to Clean the Battery Terminals Before Checking the Voltage?
When it comes to maintaining your vehicle’s electrical system, one crucial yet often overlooked task is cleaning the battery terminals before checking the voltage. This seemingly minor step plays a significant role in ensuring the accuracy of your voltage readings and the overall performance of your battery. In this comprehensive guide, we delve into why this maintenance task is essential and provide detailed instructions on how to effectively clean your battery terminals.
Why Cleaning Battery Terminals Matters
Battery terminals, the points where the battery connects to the vehicle’s electrical system, can become dirty or corroded over time. This buildup can negatively impact the accuracy of your voltage readings and the efficiency of your battery’s operation. Here’s why keeping your battery terminals clean is imperative:
- Ensures Accurate Voltage Readings: Corrosion or dirt on battery terminals can obstruct the flow of electricity, leading to inaccurate voltage readings. An inaccurate voltage measurement may mislead you about the health of your battery, potentially causing you to misdiagnose battery-related issues.
- Promotes Reliable Electrical Contact: Clean terminals ensure a strong electrical connection between the battery and the vehicle’s electrical system. Poor contact can lead to intermittent electrical failures and starting problems, affecting your vehicle’s overall reliability.
- Prevents Starting Problems: Corroded or dirty terminals can impede the necessary flow of electricity needed to start your vehicle. Regular cleaning helps prevent starting issues and ensures that your vehicle is ready to go when you are.
- Extends Battery Lifespan: Regular maintenance, including cleaning battery terminals, can significantly extend the life of your battery. By preventing corrosion and ensuring good electrical contact, you help avoid premature battery failure.
How to Clean Battery Terminals
Cleaning battery terminals is a straightforward process, but it requires attention to detail to ensure that it’s done correctly. Follow these steps to clean your battery terminals effectively:
1. Gather Necessary Tools and Materials
Before you begin, assemble the following tools and materials:
- Wire brush or battery terminal brush
- Battery terminal cleaner or baking soda and water solution
- Protective gloves and safety goggles
- Rags or cloths for wiping and drying
2. Safety Precautions
Ensure that the vehicle is turned off and the keys are removed from the ignition. Wear protective gloves and safety goggles to safeguard yourself from potential battery acid and debris.
3. Disconnect the Battery
Start by disconnecting the battery terminals. It is essential to disconnect the negative terminal first, followed by the positive terminal. This practice reduces the risk of short-circuiting the battery during the cleaning process.
4. Inspect the Terminals
Examine the battery terminals for any signs of corrosion or buildup. Corrosion often appears as a white, powdery substance around the terminals. Dirt and grime may also accumulate, affecting the terminals’ performance.
5. Clean the Terminals
Use a wire brush or battery terminal brush to gently scrub the terminals and the battery posts. Focus on removing any corrosion or buildup that you observe. If using a commercial battery terminal cleaner, follow the manufacturer’s instructions for application.
For a more DIY approach, you can use a mixture of baking soda and water. Apply this solution to the terminals and scrub gently with a brush to remove corrosion. Rinse the terminals with clean water and dry thoroughly with a rag.
6. Clean the Terminal Clamps
Don’t forget to clean the terminal clamps that connect to the battery. Corrosion can also build up on these clamps, affecting the connection. Use the wire brush to clean these components thoroughly.
7. Reconnect the Battery
Once the terminals and clamps are clean and dry, reconnect the battery. Attach the positive terminal first, followed by the negative terminal. Ensure that the connections are tight and secure to promote a good electrical contact.
8. Final Inspection
After reconnecting the battery, inspect the terminals to ensure that they are free of any remaining corrosion or dirt. Check for any signs of loose connections or irregularities. Properly cleaned terminals should be free of residue and provide a solid connection.
Maintaining Clean Battery Terminals
Regular maintenance is key to prolonging the life of your battery and ensuring optimal performance. Consider the following practices for ongoing battery care:
- Inspect Regularly: Periodically check the condition of your battery terminals to catch any buildup or corrosion early.
- Use Anti-Corrosion Products: Applying an anti-corrosion spray or terminal protectant can help prevent future corrosion.
- Keep Terminals Dry: Ensure that the battery and terminals are kept dry to avoid moisture-related issues.
Conclusion
In summary, cleaning the battery terminals before checking the voltage is not just a recommended step—it is a necessary one for accurate readings and reliable vehicle performance. By removing corrosion and ensuring good electrical contact, you contribute to the longevity of your battery and the overall efficiency of your vehicle’s electrical system. Incorporate this simple yet crucial maintenance task into your routine to keep your vehicle running smoothly and avoid potential electrical issues.


