
- Lithium Golf Cart Battery
- Forklift Lithium Battery
-
48V
- 48V 210Ah
- 48V 300Ah
- 48V 420Ah (949 x 349 x 569 mm)
- 48V 420Ah (950 x 421 x 450 mm)
- 48V 456Ah
- 48V 460Ah (830 x 630 x 590 mm)
- 48V 460Ah (950 x 421 x 450 mm)
- 48V 460Ah (800 x 630 x 600 mm)
- 48V 460Ah (820 x 660 x 470 mm)
- 48V 500Ah
- 48V 560Ah (810 x 630 x 600 mm)
- 48V 560Ah (950 x 592 x 450 mm)
- 48V 600Ah
- 48V 630Ah
-
48V
- 12V Lithium Battery
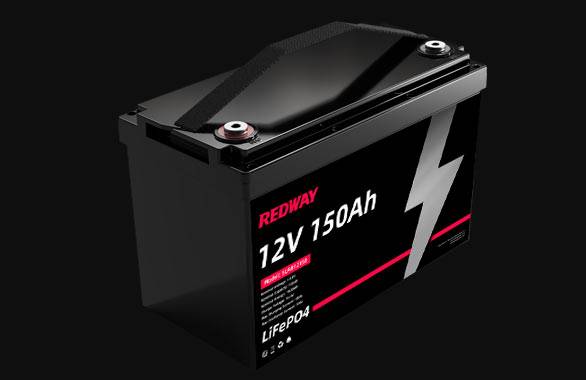

12V 150Ah Lithium RV Battery
Bluetooth App | BCI Group 31
LiFePO4 Lithium
Discharge Temperature -20°C ~ 65°C
Fast Charger 14.6V 50A
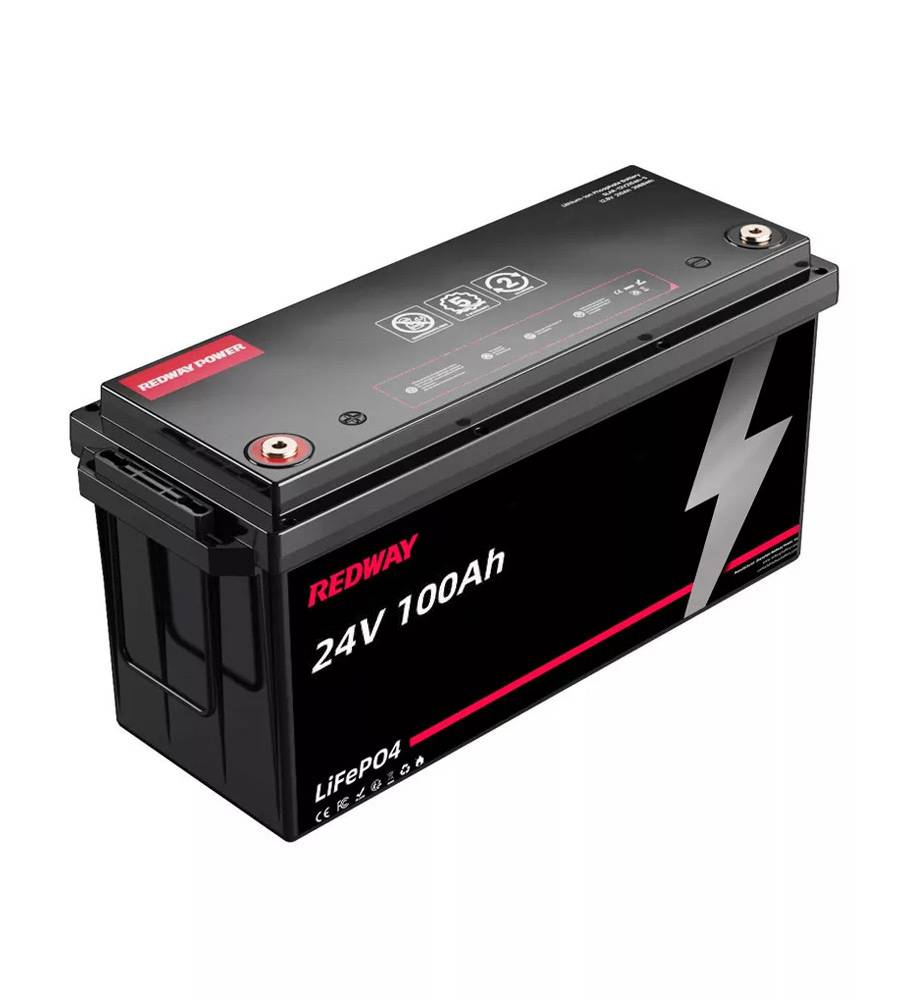
Solar MPPT Charging - 24V Lithium Battery
- 36V Lithium Battery
- 48V Lithium Battery
-
48V LiFePO4 Battery
- 48V 50Ah
- 48V 50Ah (for Golf Carts)
- 48V 60Ah (8D)
- 48V 100Ah (8D)
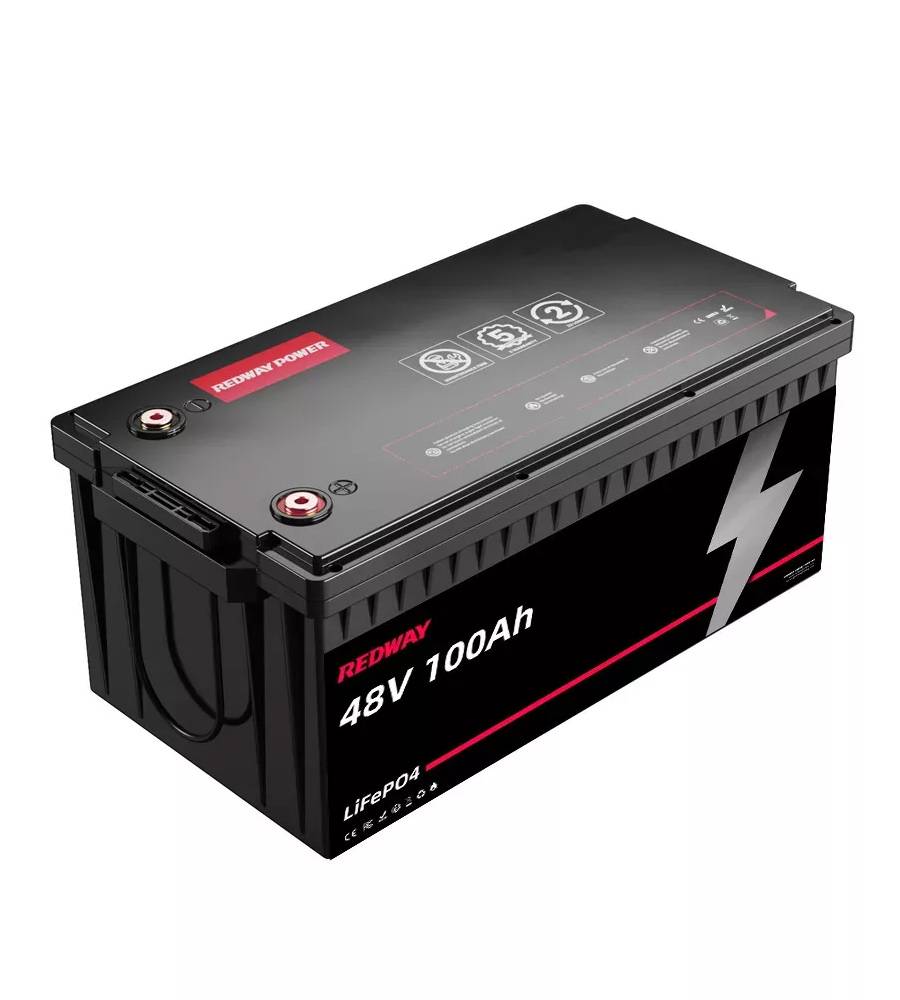
- 48V 100Ah
- 48V 100Ah (Discharge 100A for Golf Carts)
- 48V 100Ah (Discharge 150A for Golf Carts)
- 48V 100Ah (Discharge 200A for Golf Carts)
- 48V 150Ah (for Golf Carts)
- 48V 160Ah (Discharge 100A for Golf Carts)
- 48V 160Ah (Discharge 160A for Golf Carts)
-
48V LiFePO4 Battery
- 60V Lithium Battery
-
60V LiFePO4 Battery
- 60V 20Ah
- 60V 30Ah
- 60V 50Ah
- 60V 50Ah (Small Size / Side Terminal)
- 60V 100Ah (for Electric Motocycle, Electric Scooter, LSV, AGV)
- 60V 100Ah (for Forklift, AGV, Electric Scooter, Sweeper)
- 60V 150Ah (E-Motocycle / E-Scooter / E-Tricycle / Tour LSV)
- 60V 200Ah (for Forklift, AGV, Electric Scooter, Sweeper)
-
60V LiFePO4 Battery
- 72V~96V Lithium Battery
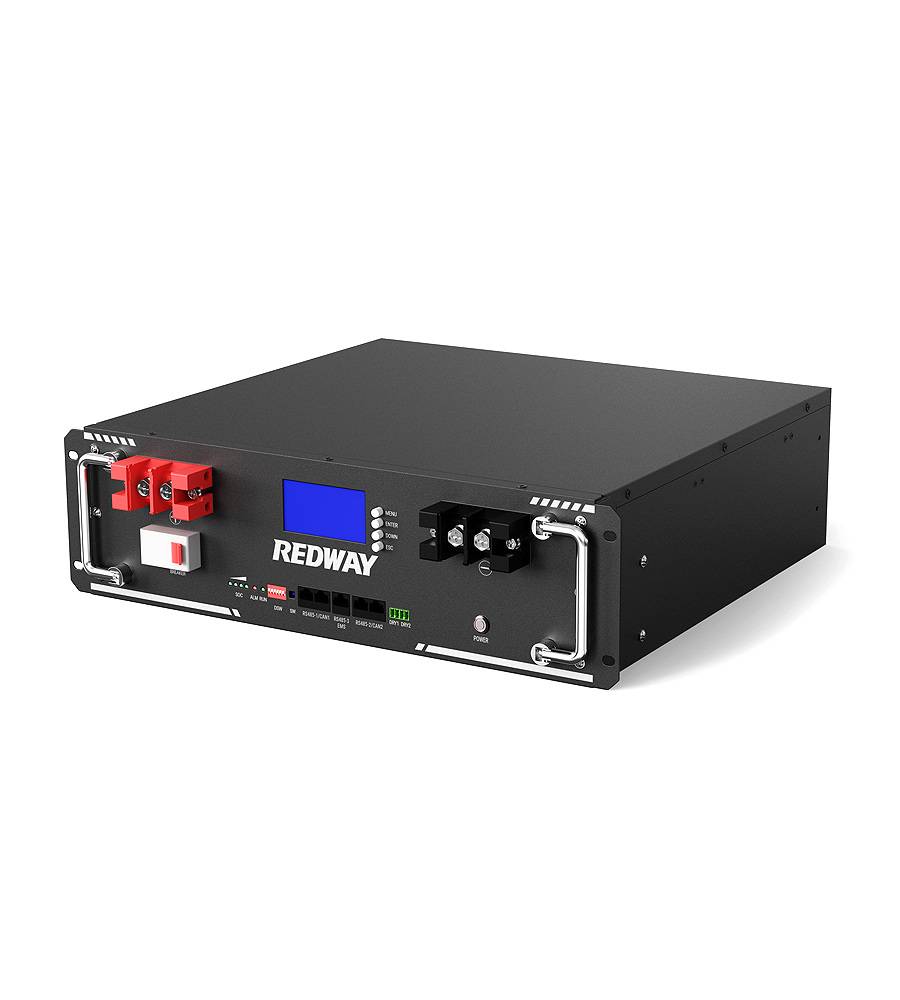
- Rack-mounted Lithium Battery
- E-Bike Battery
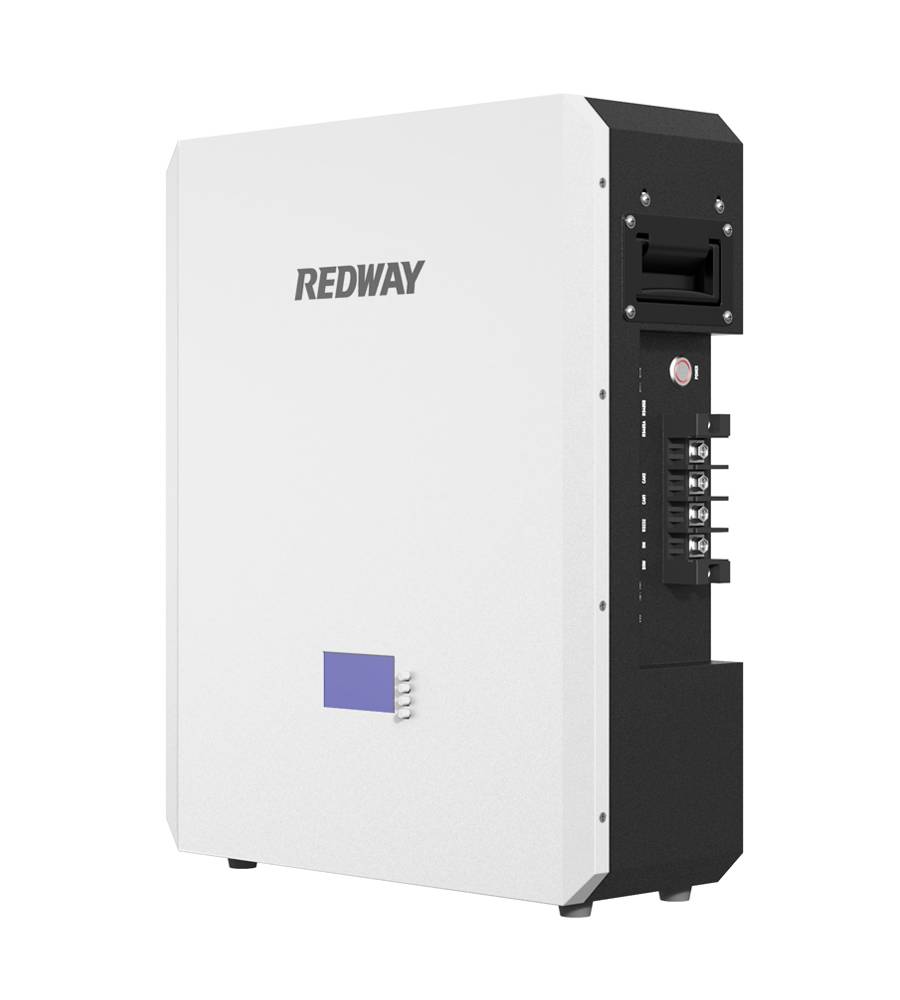
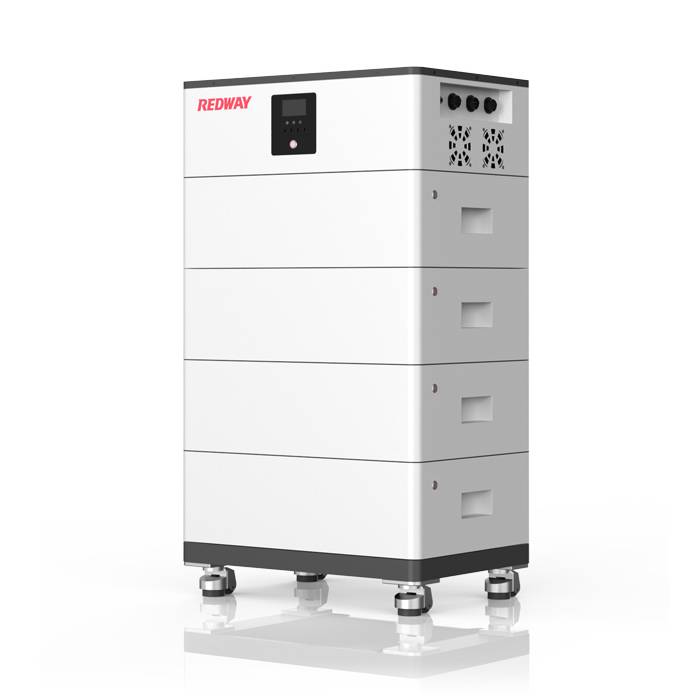
- All-in-One Home-ESS
- Wall-mount Battery ESS
-
Home-ESS Lithium Battery PowerWall
- 24V 100Ah 2.4kWh PW24100-S PowerWall
- 48V 50Ah 2.4kWh PW4850-S PowerWall
- 48V 50Ah 2.56kWh PW5150-S PowerWall
- 48V 100Ah 5.12kWh PW51100-F PowerWall (IP65)
- 48V 100Ah 5.12kWh PW51100-S PowerWall
- 48V 100Ah 5.12kWh PW51100-H PowerWall
- 48V 200Ah 10kWh PW51200-H PowerWall
- 48V 300Ah 15kWh PW51300-H PowerWall

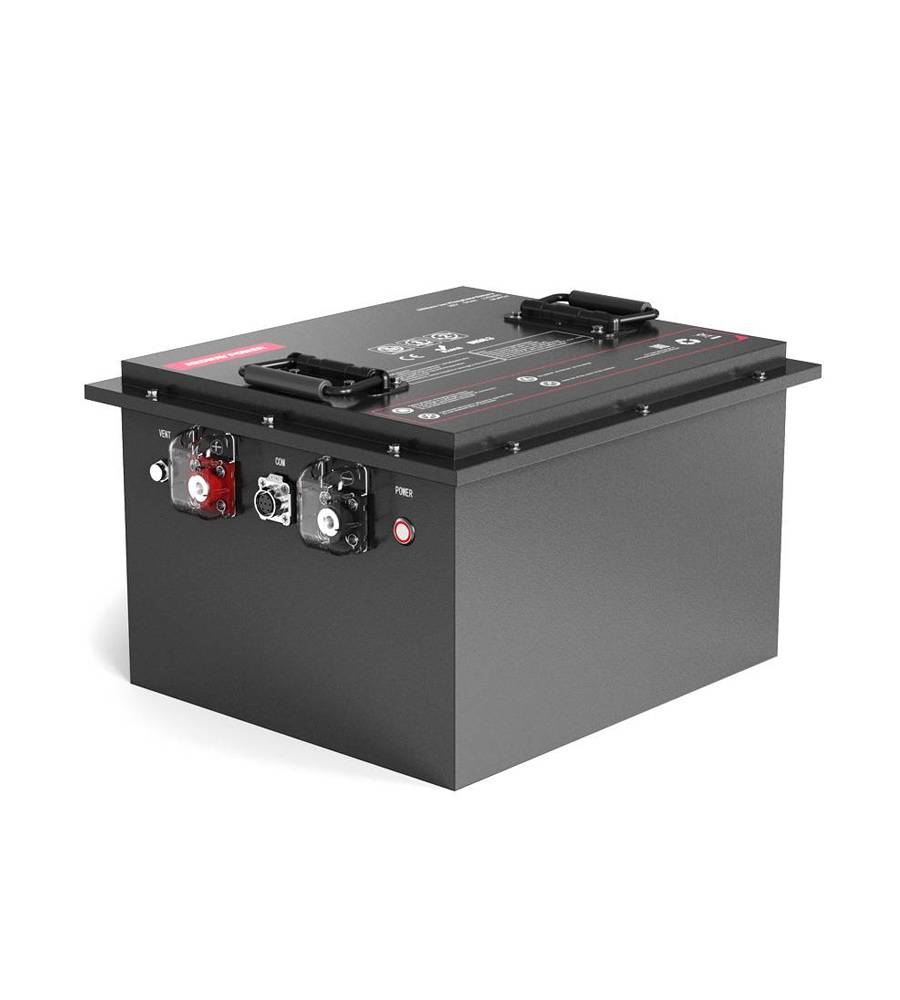
PowerWall 51.2V 100Ah LiFePO4 Lithium Battery
Highly popular in Asia and Eastern Europe.
CE Certification | Home-ESS -
Home-ESS Lithium Battery PowerWall
- Portable Power Stations


How to Replace the APC Smart-UPS 750 Rack Mount Battery: A Comprehensive Guide

Replacing the battery in your APC Smart-UPS 750 Rack Mount is essential for maintaining reliable power supply and preventing unexpected downtime. This comprehensive guide provides step-by-step instructions, necessary tools, and maintenance tips to ensure your UPS operates optimally.
Why Is It Important to Replace Your APC Smart-UPS 750 Rack Mount Battery Regularly?
Regular battery replacement is crucial to ensure that your UPS can provide backup power during outages. Over time, batteries degrade, leading to reduced runtime and reliability. By replacing them on schedule, you enhance your system’s performance and lifespan.
What Are the Signs That Indicate a Battery Replacement Is Necessary?
Signs that your APC Smart-UPS 750 needs a new battery include:
- Decreased Backup Runtime: If your UPS no longer supports devices as long as it used to.
- Frequent Beeping: Continuous alarms or alerts indicating battery issues.
Signs of Replacement Chart
| Sign | Description |
|---|---|
| Decreased Backup Runtime | Shorter duration of power during outages |
| Frequent Beeping | Alerts indicating potential battery failure |
| Physical Damage | Swelling or leakage from old batteries |
What Tools and Supplies Do You Need for Battery Replacement?
Before starting, gather these essential tools:
- Screwdriver: Typically a Phillips head.
- New Compatible Batteries: Ensure they are suitable for your model.
- Safety Gloves: To protect against accidental contact with battery terminals.
Tools and Supplies Chart
| Tool/Supply | Purpose |
|---|---|
| Screwdriver | To remove screws from the battery compartment |
| New Batteries | To replace old or depleted batteries |
| Safety Gloves | To prevent electrical shocks |
How Do You Replace the Battery in an APC Smart-UPS 750 Rack Mount?
Follow these steps:
- Turn Off and Unplug Your UPS: Ensure all connected devices are also disconnected.
- Remove the Front Panel: Use a screwdriver to unscrew or unlatch it.
- Disconnect Old Batteries: Carefully remove connectors from old batteries.
Detailed Steps Chart
| Step | Description |
|---|---|
| Turn Off UPS | Press power button and unplug from wall |
| Remove Front Panel | Unscrew or unlatch to access battery compartment |
| Disconnect Old Batteries | Note how they are connected for reinstallation |
How Do You Install the New Battery Properly?
To install:
- Insert New Batteries: Align terminals correctly (positive to positive, negative to negative).
- Reconnect Cables: Ensure all connections are secure.
- Reattach Front Panel: Screw it back into place securely.
How Can You Maintain Your APC Smart-UPS Battery for Longevity?
To extend battery life:
- Keep It Cool: Store in a well-ventilated area away from heat sources.
- Regularly Check Connections: Inspect terminals for corrosion or wear.
- Run Self-Test Cycles: Periodically test your UPS functionality.
Maintenance Tips Chart
| Maintenance Task | Frequency |
|---|---|
| Check Connections | Monthly |
| Clean Terminals | Every six months |
| Run Self-Test | Quarterly |
Industrial News on UPS Technology and Innovations
Recent advancements in uninterruptible power supply (UPS) technology focus on improving efficiency, safety features, and integration capabilities with renewable energy systems:
- Smart Monitoring Systems: New technologies allow real-time monitoring of battery health.
- Enhanced Energy Efficiency: Innovations are reducing energy losses during charging and discharging cycles.
Redway Power Expert Views
Regular maintenance and timely battery replacements are crucial for ensuring that your APC Smart-UPS operates effectively,” states a Redway Power expert. “Investing in quality batteries not only enhances performance but also extends the lifespan of your UPS system.”
Frequently Asked Questions about APC Smart-UPS 750 Rack Mount Battery Replacement
- What is the typical lifespan of an APC Smart-UPS battery?
Batteries usually last between 3 to 5 years, depending on usage and environmental conditions. - How do I know when my UPS battery needs replacement?
Look for signs like decreased runtime, frequent alarms, or physical damage. - Can I replace the battery myself?
Yes, with proper tools and safety precautions, replacing the battery is straightforward.