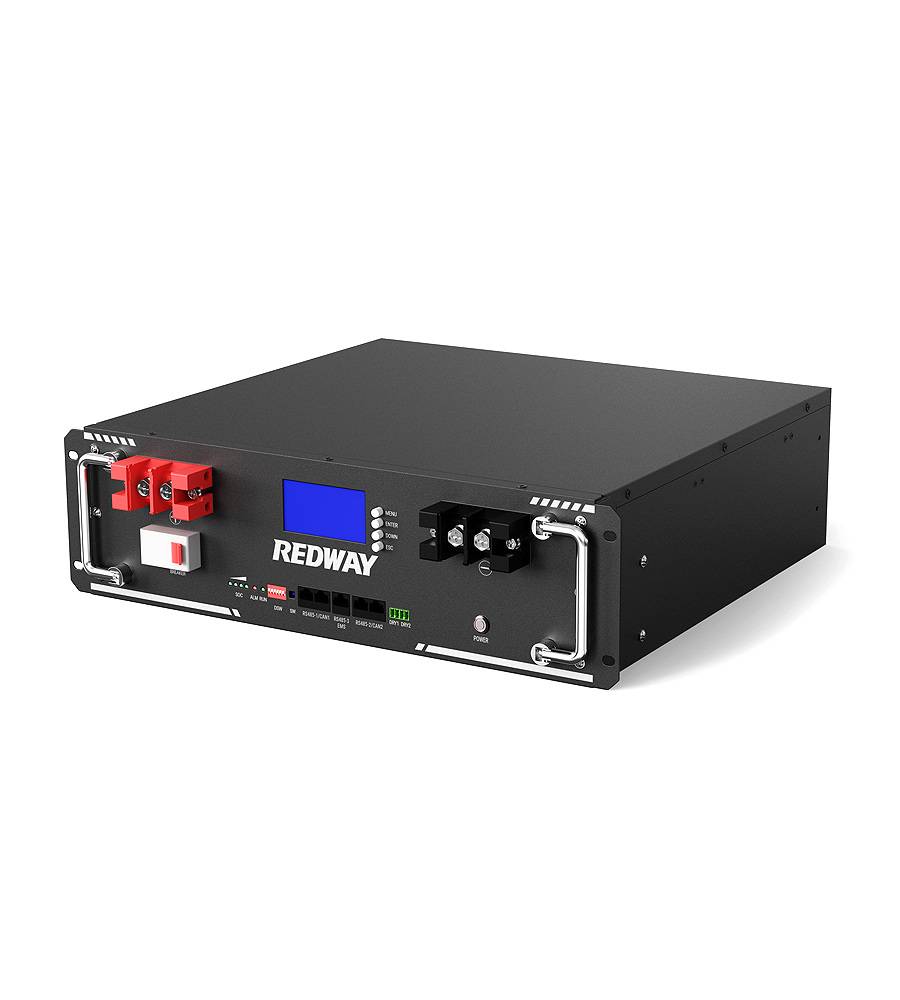
- Rack-mounted Lithium Battery
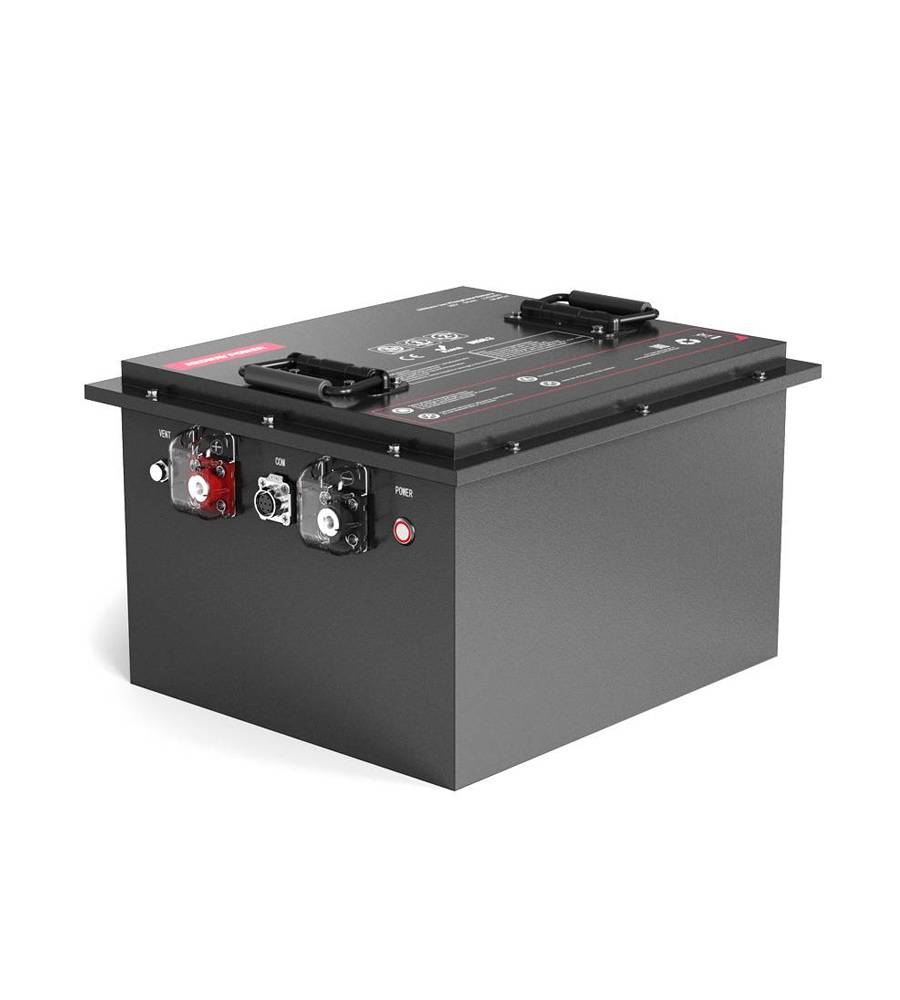
- Golf Cart Lithium Battery
-
Golf Cart Lithium Battery
- 36V 50Ah (for Golf Carts)
- 36V 80Ah (for Golf Carts)
- 36V 100Ah (for Golf Carts)
- 48V 50Ah (for Golf Carts)
- 48V 100Ah (Discharge 100A for Golf Carts)
- 48V 100Ah (Discharge 150A for Golf Carts)
- 48V 100Ah (Discharge 200A for Golf Carts)
- 48V 120Ah (for Golf Carts)
- 48V 150Ah (for Golf Carts)
- 48V 160Ah (Discharge 100A for Golf Carts)
- 48V 160Ah (Discharge 160A for Golf Carts)
-
Golf Cart Lithium Battery
- Forklift Lithium Battery
- 12V Lithium Battery
- 24V Lithium Battery
- 36V Lithium Battery
- 48V Lithium Battery
-
48V LiFePO4 Battery
- 48V 50Ah
- 48V 50Ah (for Golf Carts)
- 48V 60Ah (8D)
- 48V 100Ah (8D)
- 48V 100Ah
- 48V 100Ah (Discharge 100A for Golf Carts)
- 48V 100Ah (Discharge 150A for Golf Carts)
- 48V 100Ah (Discharge 200A for Golf Carts)
- 48V 150Ah (for Golf Carts)
- 48V 160Ah (Discharge 100A for Golf Carts)
- 48V 160Ah (Discharge 160A for Golf Carts)
-
48V LiFePO4 Battery
- 60V Lithium Battery
-
60V LiFePO4 Battery
- 60V 20Ah
- 60V 30Ah
- 60V 50Ah
- 60V 50Ah (Small Size / Side Terminal)
- 60V 100Ah (for Electric Motocycle, Electric Scooter, LSV, AGV)
- 60V 100Ah (for Forklift, AGV, Electric Scooter, Sweeper)
- 60V 150Ah (E-Motocycle / E-Scooter / E-Tricycle / Tour LSV)
- 60V 200Ah (for Forklift, AGV, Electric Scooter, Sweeper)
-
60V LiFePO4 Battery
- 72V~96V Lithium Battery
- E-Bike Battery
- All-in-One Home-ESS
- Wall-mount Battery ESS
-
Home-ESS Lithium Battery PowerWall
- 24V 100Ah 2.4kWh PW24100-S PowerWall
- 48V 50Ah 2.4kWh PW4850-S PowerWall
- 48V 50Ah 2.56kWh PW5150-S PowerWall
- 48V 100Ah 5.12kWh PW51100-F PowerWall (IP65)
- 48V 100Ah 5.12kWh PW51100-S PowerWall
- 48V 100Ah 5.12kWh PW51100-H PowerWall
- 48V 200Ah 10kWh PW51200-H PowerWall
- 48V 300Ah 15kWh PW51300-H PowerWall
PowerWall 51.2V 100Ah LiFePO4 Lithium Battery
Highly popular in Asia and Eastern Europe.
CE Certification | Home-ESS -
Home-ESS Lithium Battery PowerWall
- Portable Power Stations
Installing 72V LiFePO4 Batteries in Golf Carts: A Step-by-Step Guide
Upgrading your golf cart to 72V LiFePO4 batteries can significantly enhance its performance and efficiency. In this comprehensive guide, we will walk you through the entire installation process, from preparation to post-installation maintenance. Whether you’re a DIY enthusiast or a professional technician, this detailed step-by-step guide is designed to ensure a seamless and successful battery installation.
Essential Tools for Installing 72V LiFePO4 Batteries in Golf Carts
Before beginning the installation process, it’s crucial to gather the necessary tools. Having the right equipment at hand will facilitate a smoother and more efficient installation. Here are the essential tools you’ll need:
- Socket Wrench Set: For removing and tightening battery terminals and connectors.
- Multimeter: To measure voltage and ensure proper connections.
- Insulated Screwdrivers: To prevent electrical shorts while handling the battery terminals.
- Cable Cutters: For trimming battery cables to the required length.
- Wrenches and Pliers: To assist with various fittings and adjustments.
- Battery Terminal Cleaner: To ensure clean and secure connections.
- Safety Gloves and Goggles: For personal protection during the installation process.
Pre-Installation Checklist for 72V LiFePO4 Golf Cart Batteries: Ensure a Smooth Process
A thorough pre-installation checklist can prevent common issues and streamline the upgrade process. Here’s a checklist to guide you:
- Verify Battery Compatibility: Ensure that the 72V LiFePO4 batteries are compatible with your golf cart model.
- Inspect the Battery Tray: Check for any damage or rust and clean it thoroughly.
- Gather Tools and Equipment: Confirm that all necessary tools are on hand and in working condition.
- Read Manufacturer Instructions: Familiarize yourself with the manufacturer’s guidelines for installation.
- Plan Battery Placement: Determine the optimal layout for battery placement to ensure proper weight distribution.
Step 1: Safely Remove Old Batteries from Your Golf Cart
The first step in upgrading to 72V LiFePO4 batteries is to safely remove the old batteries. Follow these detailed instructions:
- Disconnect the Power: Ensure that the golf cart is turned off and disconnected from any power source.
- Remove Battery Cables: Using insulated tools, carefully disconnect the battery cables from the terminals, starting with the negative terminal.
- Unfasten Battery Hold-Downs: Remove any brackets or hold-downs securing the old batteries in place.
- Lift Out Old Batteries: Carefully lift the old batteries out of the tray, taking care to avoid spilling any acid or damaging surrounding components.
Prepare Your Golf Cart for 72V LiFePO4 Battery Installation: Step-by-Step Guide
Proper preparation of your golf cart ensures a successful battery installation. Follow these steps:
- Clean the Battery Compartment: Thoroughly clean the battery tray to remove any debris or corrosion.
- Check Electrical Connections: Inspect and clean all electrical connections and cables to ensure they are in good condition.
- Install Battery Hold-Downs: If required, install new hold-downs or brackets to secure the new batteries.
- Verify Cable Lengths: Ensure that battery cables are of the appropriate length and in good condition.
Step 3: Expert Tips for Correctly Installing 72V LiFePO4 Batteries in Golf Carts
Proper installation of 72V LiFePO4 batteries is critical for optimal performance. Follow these expert tips:
- Check Battery Polarity: Ensure that the positive and negative terminals are correctly aligned with the battery connections.
- Secure the Batteries: Place the batteries in the tray and secure them with hold-downs to prevent movement during operation.
- Connect Cables Correctly: Connect the positive cables first, followed by the negative cables, ensuring tight and secure connections.
- Inspect Connections: Double-check all connections for tightness and correct polarity to avoid electrical issues.
Connecting 72V LiFePO4 Batteries in Series: A Comprehensive Guide
Connecting multiple 72V LiFePO4 batteries in series is essential for achieving the desired voltage. Here’s how to do it correctly:
- Arrange Batteries in Series: Place the batteries in a series configuration, ensuring that each positive terminal is connected to the negative terminal of the next battery.
- Connect the Cables: Use appropriate gauge cables to connect the terminals, ensuring a secure and stable connection.
- Check for Proper Voltage: Use a multimeter to verify that the total voltage matches the required 72V.
Testing 72V LiFePO4 Batteries in Golf Carts: Step-by-Step Procedure
Testing your newly installed 72V LiFePO4 batteries ensures that they are functioning correctly. Follow these steps:
- Check Voltage Levels: Use a multimeter to measure the voltage of each battery and the entire series to ensure they meet specifications.
- Test Battery Functionality: Power on the golf cart and test various functions to ensure proper performance and response.
- Inspect for Issues: Look for any signs of issues such as overheating, loose connections, or unusual noises.
Safety Measures for Installing 72V LiFePO4 Batteries in Your Golf Cart
Prioritizing safety during installation is crucial. Follow these safety measures:
- Wear Protective Gear: Always wear gloves and safety goggles to protect yourself from potential hazards.
- Avoid Short Circuits: Ensure that all tools and equipment are insulated to prevent electrical shorts.
- Handle Batteries Carefully: Use proper lifting techniques and avoid dropping or mishandling the batteries.
- Follow Manufacturer Guidelines: Adhere to the manufacturer’s safety recommendations and installation instructions.
Troubleshooting Guide for Common Issues During 72V LiFePO4 Battery Installation
Encountering issues during installation is common, but they can be resolved with the right approach. Here’s a troubleshooting guide:
- Issue: Batteries Not Holding Charge: Check connections and ensure that batteries are fully charged and correctly installed.
- Issue: Inconsistent Power Output: Verify that all connections are secure and that the batteries are properly balanced in series.
- Issue: Overheating: Ensure that batteries are not subjected to excessive load and that ventilation is adequate.
Maintaining 72V LiFePO4 Batteries: Post-Installation Tips for Longevity
Proper maintenance extends the life of your 72V LiFePO4 batteries. Follow these post-installation tips:
- Regularly Inspect Batteries: Check for any signs of wear, corrosion, or damage and address issues promptly.
- Keep Terminals Clean: Use a battery terminal cleaner to maintain clean and secure connections.
- Monitor Battery Performance: Regularly check battery performance and voltage levels to ensure optimal operation.
- Follow Maintenance Recommendations: Adhere to the manufacturer’s maintenance guidelines for long-term battery health.
By following this comprehensive guide, you can ensure a successful installation and optimal performance of your 72V LiFePO4 batteries in your golf cart. For high-quality LiFePO4 batteries and expert advice, consider Redway Power, a trusted manufacturer specializing in reliable and efficient battery solutions.
