- Lithium Golf Cart Battery
- Forklift Lithium Battery
-
48V
- 48V 210Ah
- 48V 300Ah
- 48V 420Ah (949 x 349 x 569 mm)
- 48V 420Ah (950 x 421 x 450 mm)
- 48V 456Ah
- 48V 460Ah (830 x 630 x 590 mm)
- 48V 460Ah (950 x 421 x 450 mm)
- 48V 460Ah (800 x 630 x 600 mm)
- 48V 460Ah (820 x 660 x 470 mm)
- 48V 500Ah
- 48V 560Ah (810 x 630 x 600 mm)
- 48V 560Ah (950 x 592 x 450 mm)
- 48V 600Ah
- 48V 630Ah
-
48V
- 12V Lithium Battery
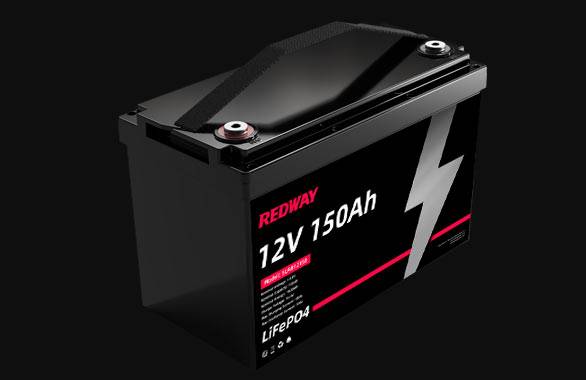
12V 150Ah Lithium RV Battery
Bluetooth App | BCI Group 31
LiFePO4 Lithium
Discharge Temperature -20°C ~ 65°C
Fast Charger 14.6V 50A
Solar MPPT Charging - 24V Lithium Battery
- 36V Lithium Battery
- 48V Lithium Battery
-
48V LiFePO4 Battery
- 48V 50Ah
- 48V 50Ah (for Golf Carts)
- 48V 60Ah (8D)
- 48V 100Ah (8D)
- 48V 100Ah
- 48V 100Ah (Discharge 100A for Golf Carts)
- 48V 100Ah (Discharge 150A for Golf Carts)
- 48V 100Ah (Discharge 200A for Golf Carts)
- 48V 150Ah (for Golf Carts)
- 48V 160Ah (Discharge 100A for Golf Carts)
- 48V 160Ah (Discharge 160A for Golf Carts)
-
48V LiFePO4 Battery
- 60V Lithium Battery
-
60V LiFePO4 Battery
- 60V 20Ah
- 60V 30Ah
- 60V 50Ah
- 60V 50Ah (Small Size / Side Terminal)
- 60V 100Ah (for Electric Motocycle, Electric Scooter, LSV, AGV)
- 60V 100Ah (for Forklift, AGV, Electric Scooter, Sweeper)
- 60V 150Ah (E-Motocycle / E-Scooter / E-Tricycle / Tour LSV)
- 60V 200Ah (for Forklift, AGV, Electric Scooter, Sweeper)
-
60V LiFePO4 Battery
- 72V~96V Lithium Battery
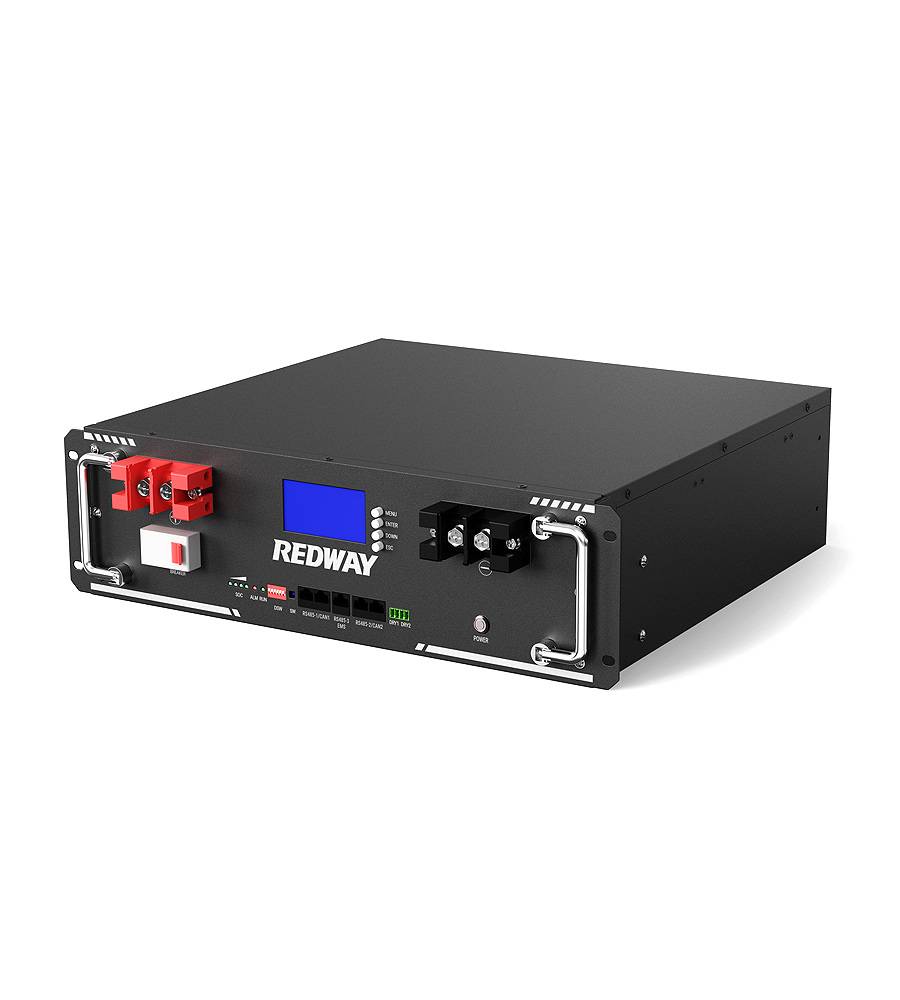
- Rack-mounted Lithium Battery
- E-Bike Battery
- All-in-One Home-ESS
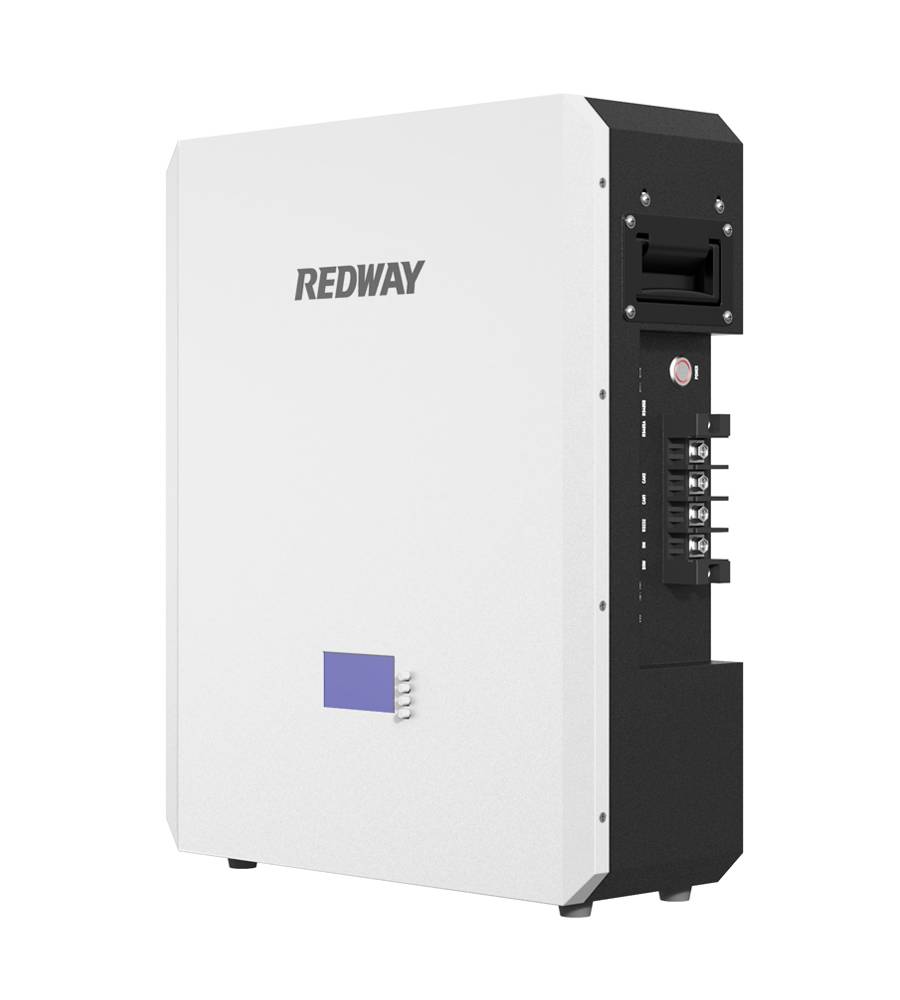
- Wall-mount Battery ESS
-
Home-ESS Lithium Battery PowerWall
- 24V 100Ah 2.4kWh PW24100-S PowerWall
- 48V 50Ah 2.4kWh PW4850-S PowerWall
- 48V 50Ah 2.56kWh PW5150-S PowerWall
- 48V 100Ah 5.12kWh PW51100-F PowerWall (IP65)
- 48V 100Ah 5.12kWh PW51100-S PowerWall
- 48V 100Ah 5.12kWh PW51100-H PowerWall
- 48V 200Ah 10kWh PW51200-H PowerWall
- 48V 300Ah 15kWh PW51300-H PowerWall
PowerWall 51.2V 100Ah LiFePO4 Lithium Battery
Highly popular in Asia and Eastern Europe.
CE Certification | Home-ESS -
Home-ESS Lithium Battery PowerWall
- Portable Power Stations
How to Test a Golf Cart Battery After Storage

Storing a golf cart battery for an extended period can raise concerns about its reliability and performance when it’s finally put back into use. To ensure optimal operation, it’s essential to test the battery thoroughly after storage. This guide provides a step-by-step process on how to test a golf cart battery after storage, focusing on measuring voltage under load and using a battery load tester. By following these detailed instructions, you can effectively determine the battery’s health and make informed decisions regarding its maintenance or replacement.
Understanding Battery Health
Before diving into testing procedures, it’s crucial to understand the significance of battery health. A golf cart battery’s performance directly affects the cart’s reliability and efficiency. After a period of inactivity, batteries can develop issues such as sulfation or reduced capacity. Testing the battery ensures that any potential problems are identified and addressed promptly.
Preparing for the Test
1. Gather Necessary Tools
To perform a comprehensive battery test, you’ll need the following tools:
- Battery load tester: Essential for applying a load to the battery and measuring its voltage drop.
- Digital multimeter: Useful for measuring voltage and ensuring accuracy.
- Protective gloves and safety goggles: For personal safety during the testing process.
2. Safety Precautions
Ensure the golf cart is turned off, and the battery is disconnected from the cart’s electrical system. Wear protective gear to prevent accidents, as batteries contain corrosive substances and can produce harmful gases.
Testing Procedure
Step 1: Inspect the Battery
Before testing, visually inspect the battery for any signs of damage or corrosion. Check for:
- Corrosion on terminals: White, ashy deposits indicate corrosion.
- Cracks or leaks: Any visible damage could compromise battery performance.
- Fluid levels: For batteries with removable caps, ensure the electrolyte levels are adequate.
Step 2: Charge the Battery
Ensure the battery is fully charged before performing any tests. A battery that is not fully charged may show misleading results. Connect the battery to a charger and let it charge for the recommended period, typically 8-12 hours.
Step 3: Measure the Voltage at Rest
Using a digital multimeter, measure the voltage of the battery after it has been fully charged and allowed to rest for at least 30 minutes. A fully charged 12-volt battery should read approximately 12.6 to 12.8 volts.
Step 4: Perform a Load Test
A load test simulates the battery’s performance under typical usage conditions. To perform this test:
- Connect the Battery Load Tester: Attach the load tester to the battery terminals. Ensure a secure connection to get accurate results.
- Apply the Load: Set the load tester to apply a load equal to half of the battery’s cold cranking amps (CCA) rating. For example, if the battery’s CCA is 500, apply a load of 250 amps.
- Measure Voltage Drop: Observe the voltage reading on the load tester while the load is applied. A healthy battery should maintain a voltage of 10.5 volts or higher under load. A significant drop below this level indicates a weak or faulty battery.
Step 5: Interpret the Results
After applying the load and measuring the voltage drop, interpret the results as follows:
- Stable Voltage (10.5 volts or higher): If the voltage remains stable, the battery is in good condition and capable of holding a charge.
- Significant Voltage Drop (below 10.5 volts): A noticeable drop in voltage indicates that the battery may be failing or may not hold a charge effectively. Consider replacing the battery if the drop is substantial.
Additional Testing Tips
1. Check Battery Connections
Ensure that all battery connections are clean and tight. Loose or corroded connections can affect performance and skew test results.
2. Test Multiple Times
For accuracy, perform the load test multiple times, ideally with a brief rest period between tests. Consistent results across multiple tests reinforce the reliability of your findings.
3. Consider Battery Age
Take into account the age of the battery. Even if a battery passes the load test, it may still be nearing the end of its service life if it’s several years old. Batteries typically last between 3 to 5 years, depending on usage and maintenance.
Maintaining Your Golf Cart Battery
To ensure longevity and performance, follow these maintenance tips:
- Regular Charging: Keep the battery charged, especially if the golf cart is not used frequently.
- Routine Inspections: Check the battery periodically for signs of wear, corrosion, or damage.
- Clean Terminals: Clean battery terminals and connections to prevent corrosion buildup.
- Store Properly: If storing the battery for extended periods, ensure it’s kept in a cool, dry place and periodically charged.
Conclusion
Testing a golf cart battery after storage is a critical step to ensure that your battery is in good working condition. By following the procedures outlined in this guide, you can accurately assess the battery’s health, identify any issues, and take necessary actions to maintain optimal performance. Regular testing and proper maintenance will contribute to a longer battery life and a more reliable golf cart experience.


