- Forklift Lithium Battery
-
48V
- 48V 210Ah
- 48V 300Ah
- 48V 420Ah (949 x 349 x 569 mm)
- 48V 420Ah (950 x 421 x 450 mm)
- 48V 456Ah
- 48V 460Ah (830 x 630 x 590 mm)
- 48V 460Ah (950 x 421 x 450 mm)
- 48V 460Ah (800 x 630 x 600 mm)
- 48V 460Ah (820 x 660 x 470 mm)
- 48V 500Ah
- 48V 560Ah (810 x 630 x 600 mm)
- 48V 560Ah (950 x 592 x 450 mm)
- 48V 600Ah
- 48V 630Ah
-
48V
- Lithium Golf Cart Battery
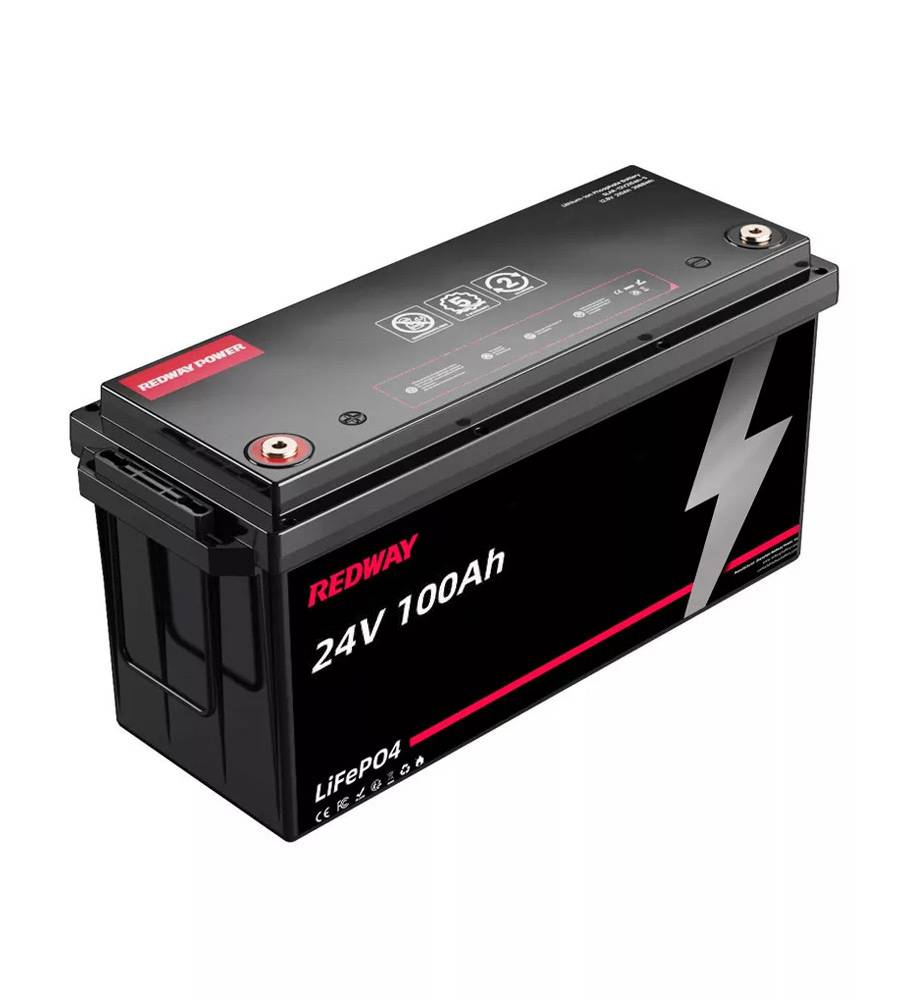
- 12V Lithium Battery


12V 150Ah Lithium RV Battery
Bluetooth App | BCI Group 31
LiFePO4 Lithium
Discharge Temperature -20°C ~ 65°C
Fast Charger 14.6V 50A
Solar MPPT Charging - 24V Lithium Battery
- 36V Lithium Battery
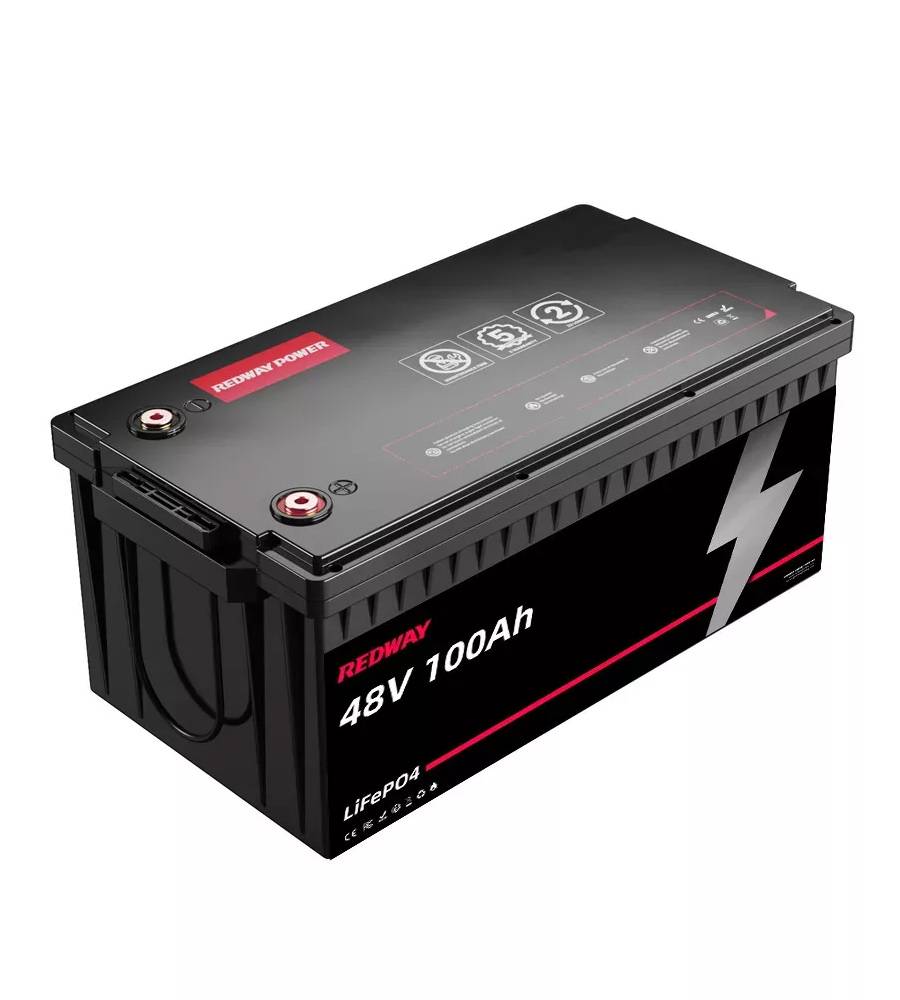
- 48V Lithium Battery
-
48V LiFePO4 Battery
- 48V 50Ah
- 48V 50Ah (for Golf Carts)
- 48V 60Ah (8D)
- 48V 100Ah (8D)
- 48V 100Ah
- 48V 100Ah (Discharge 100A for Golf Carts)
- 48V 100Ah (Discharge 150A for Golf Carts)
- 48V 100Ah (Discharge 200A for Golf Carts)
- 48V 150Ah (for Golf Carts)
- 48V 160Ah (Discharge 100A for Golf Carts)
- 48V 160Ah (Discharge 160A for Golf Carts)
-
48V LiFePO4 Battery
- 60V Lithium Battery
-
60V LiFePO4 Battery
- 60V 20Ah
- 60V 30Ah
- 60V 50Ah
- 60V 50Ah (Small Size / Side Terminal)
- 60V 100Ah (for Electric Motocycle, Electric Scooter, LSV, AGV)
- 60V 100Ah (for Forklift, AGV, Electric Scooter, Sweeper)
- 60V 150Ah (E-Motocycle / E-Scooter / E-Tricycle / Tour LSV)
- 60V 200Ah (for Forklift, AGV, Electric Scooter, Sweeper)
-
60V LiFePO4 Battery
- 72V~96V Lithium Battery
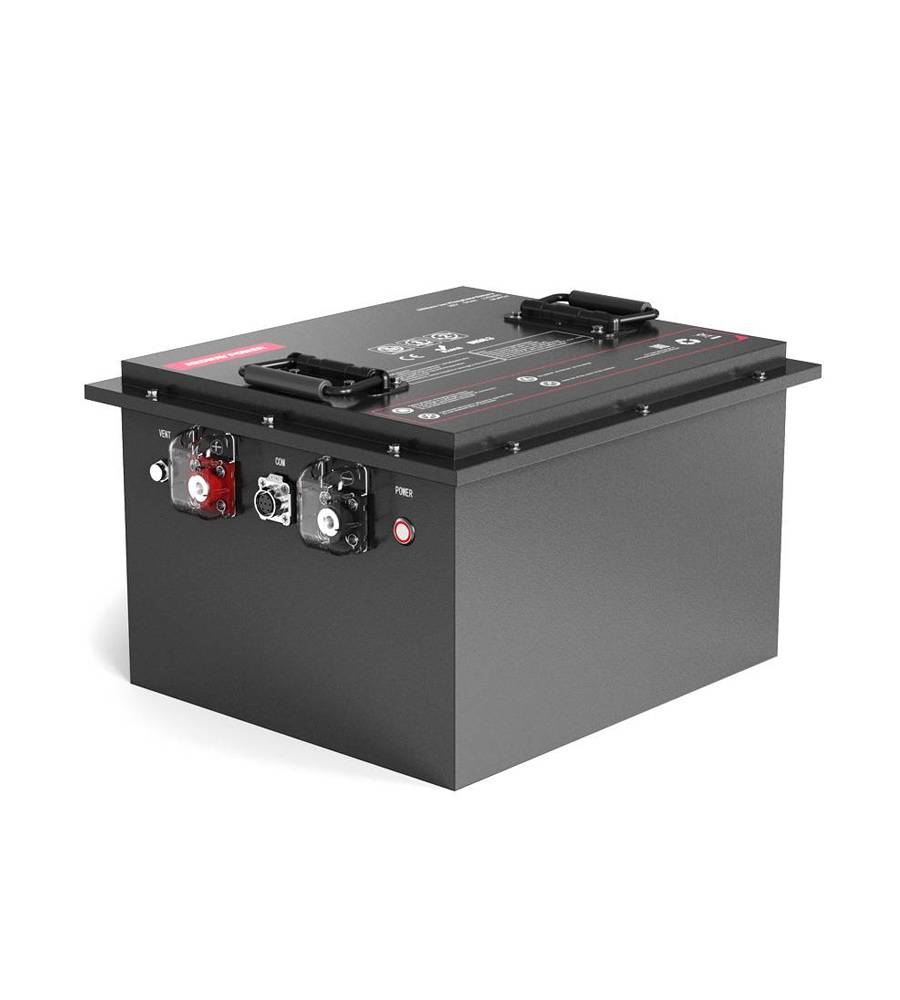
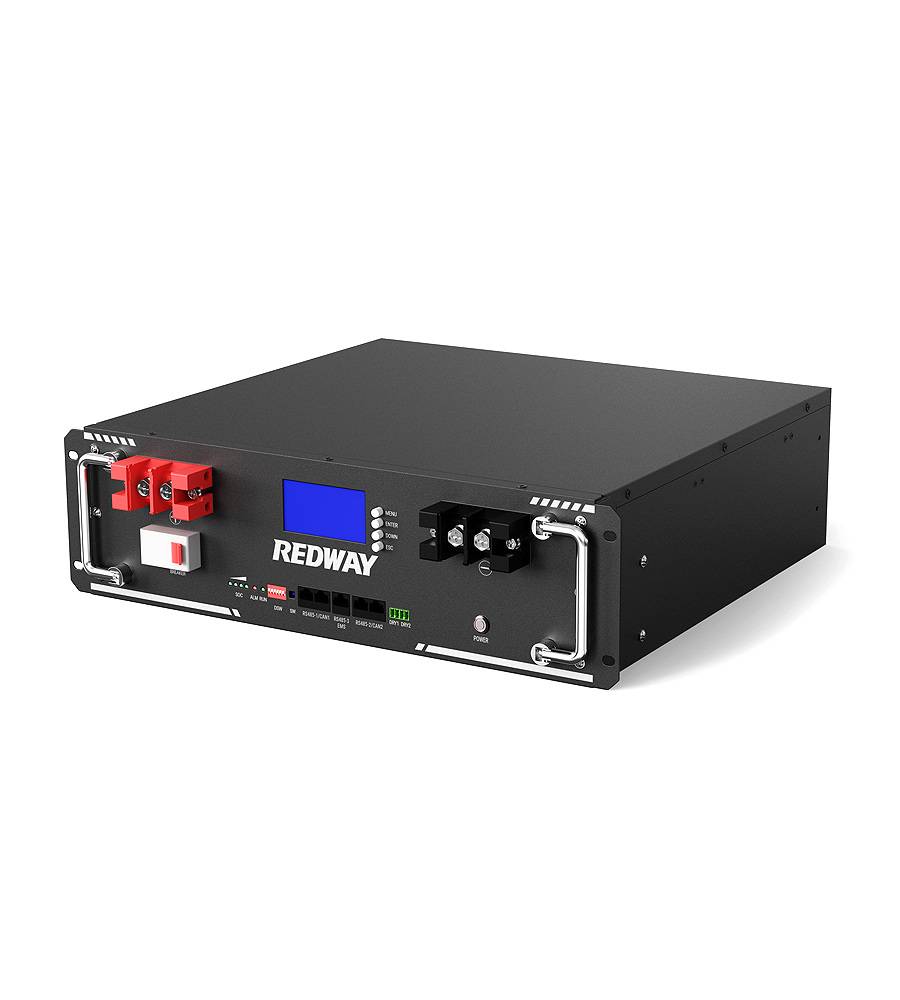
- Rack-mounted Lithium Battery
- E-Bike Battery
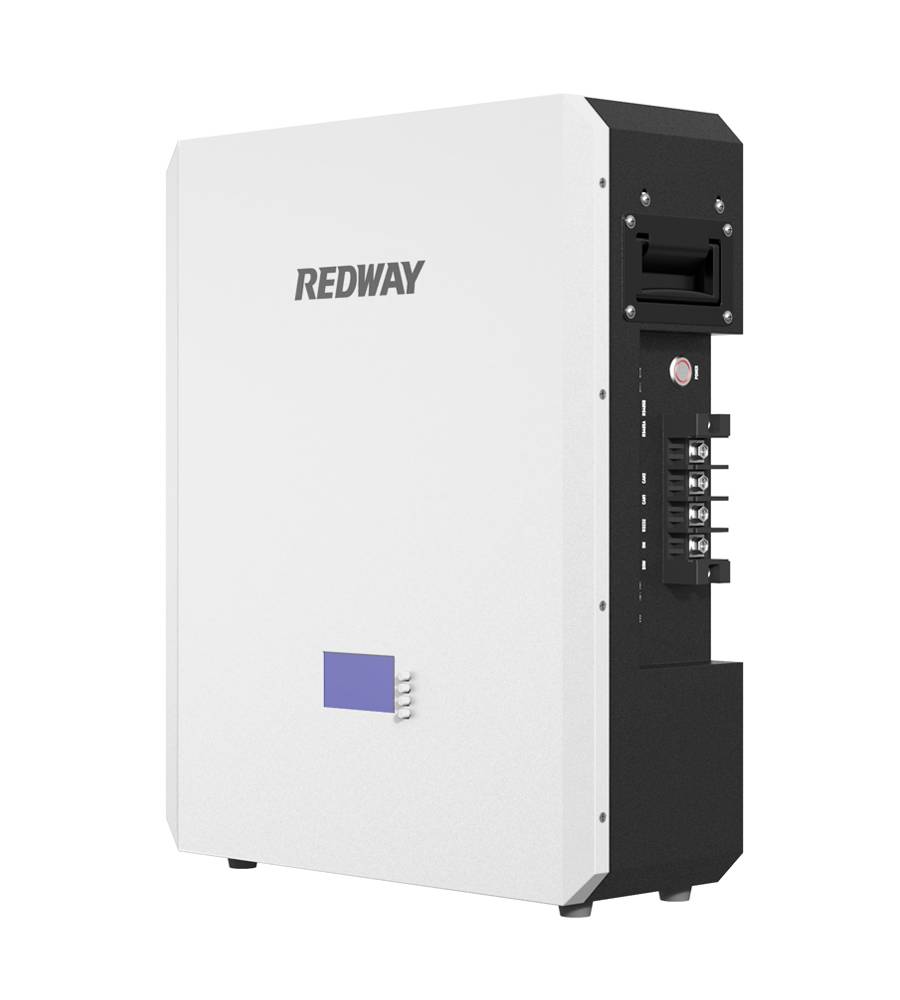
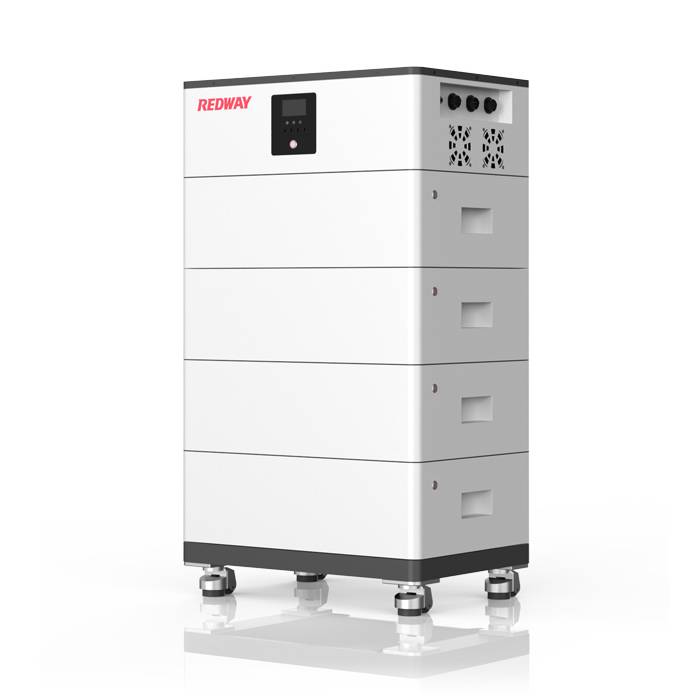
- All-in-One Home-ESS
- Wall-mount Battery ESS
-
Home-ESS Lithium Battery PowerWall
- 24V 100Ah 2.4kWh PW24100-S PowerWall
- 48V 50Ah 2.4kWh PW4850-S PowerWall
- 48V 50Ah 2.56kWh PW5150-S PowerWall
- 48V 100Ah 5.12kWh PW51100-F PowerWall (IP65)
- 48V 100Ah 5.12kWh PW51100-S PowerWall
- 48V 100Ah 5.12kWh PW51100-H PowerWall
- 48V 200Ah 10kWh PW51200-H PowerWall
- 48V 300Ah 15kWh PW51300-H PowerWall

PowerWall 51.2V 100Ah LiFePO4 Lithium Battery
Highly popular in Asia and Eastern Europe.
CE Certification | Home-ESS -
Home-ESS Lithium Battery PowerWall
- Portable Power Stations


How to Test a Battery with a Hydrometer and Safety Precautions
Testing a battery’s health is crucial for ensuring reliable performance and longevity. One effective method for assessing a battery’s condition is by using a hydrometer. This article will guide you through the process of testing a battery with a hydrometer and emphasize the safety precautions necessary to carry out the procedure effectively and securely.
Understanding the Hydrometer
A hydrometer is a device used to measure the specific gravity of a liquid. In the context of battery maintenance, it assesses the density of the electrolyte solution in the battery, which indicates the state of charge and overall health of the battery. A typical battery hydrometer consists of a glass or plastic tube with a float inside that rises or falls depending on the density of the electrolyte.
Safety Precautions: Protecting Yourself and Your Equipment
Before proceeding with the hydrometer test, it is imperative to prioritize safety to prevent accidents and ensure accurate results.
Wear Appropriate Safety Gear
- Eye Protection: Always wear safety goggles or glasses to shield your eyes from any potential splashes of battery acid or electrolyte solution. Battery acid is corrosive and can cause severe damage if it comes into contact with your eyes.
- Rubber Gloves: Use rubber gloves to protect your hands from direct contact with battery acid. This will also help prevent any accidental electrical shocks and contamination.
Disconnect the Battery
- Safety First: If you are testing a battery that is connected to a vehicle or other equipment, disconnect it before beginning the test. This is particularly important if the battery is under a high charge or discharge rate to avoid any electrical hazards or short circuits.
- Ensure Proper Ventilation: Conduct the test in a well-ventilated area to disperse any potentially harmful gases that may be emitted from the battery.
Step-by-Step Guide to Testing a Battery with a Hydrometer
Follow these detailed steps to accurately test your battery’s state of charge and overall health using a hydrometer.
1. Prepare for the Test
- Gather Equipment: Ensure you have all necessary tools and materials, including a clean hydrometer, safety gear, and a battery maintenance manual if needed.
- Inspect the Battery: Check the battery for any visible signs of damage or leakage. Do not attempt to test a damaged battery.
2. Remove the Vent Caps
- Locate the Vent Caps: Find the vent caps on top of the battery. These are usually small, removable covers that allow access to the electrolyte.
- Remove with Care: Carefully unscrew or pry off the vent caps. Use a clean cloth to wipe any excess electrolyte around the caps to prevent contamination.
3. Draw the Electrolyte into the Hydrometer
- Insert the Hydrometer: Place the tube of the hydrometer into the battery cell, ensuring it does not touch the bottom of the cell to avoid inaccurate readings.
- Draw the Liquid: Squeeze the bulb at the end of the hydrometer to draw the electrolyte into the tube. Be gentle and avoid any sudden movements that could lead to bubbles or splashes.
4. Read the Specific Gravity
- Observe the Float: Once the electrolyte has been drawn into the hydrometer, examine the position of the float inside the tube. The float will rise or fall based on the density of the electrolyte.
- Record the Reading: Note the specific gravity value indicated by the hydrometer. This value reflects the battery’s charge level and overall health. Compare the reading to the standard reference values provided in your battery’s manual.
5. Repeat for Each Cell
- Test Each Cell: If your battery has multiple cells, repeat the process for each one. Consistent readings across cells indicate a balanced battery, while significant variations may suggest potential issues.
6. Reassemble and Clean Up
- Replace the Vent Caps: After completing the test, carefully replace the vent caps on the battery. Ensure they are securely fastened to prevent any leakage or contamination.
- Clean the Area: Wipe down any spilled electrolyte and clean the hydrometer thoroughly. Proper disposal of any waste material is essential to prevent environmental contamination.
Interpreting the Results
Understanding the specific gravity readings will help you assess the battery’s condition:
- Fully Charged Battery: A specific gravity reading between 1.265 and 1.299 typically indicates a fully charged battery.
- Partially Charged Battery: Readings between 1.200 and 1.265 suggest that the battery is partially charged and may need recharging.
- Discharged or Faulty Battery: Readings below 1.200 indicate that the battery is significantly discharged and may require replacement.
Conclusion
Testing a battery with a hydrometer is a straightforward yet essential maintenance task that can significantly impact your battery’s performance and lifespan. By adhering to the safety precautions and following the methodical steps outlined in this guide, you can ensure accurate results and maintain the health of your battery effectively.
Properly using a hydrometer not only helps in diagnosing battery issues but also aids in preventing potential failures. Regular testing and maintenance, combined with vigilant safety practices, will contribute to the reliable operation of your battery and extend its service life.