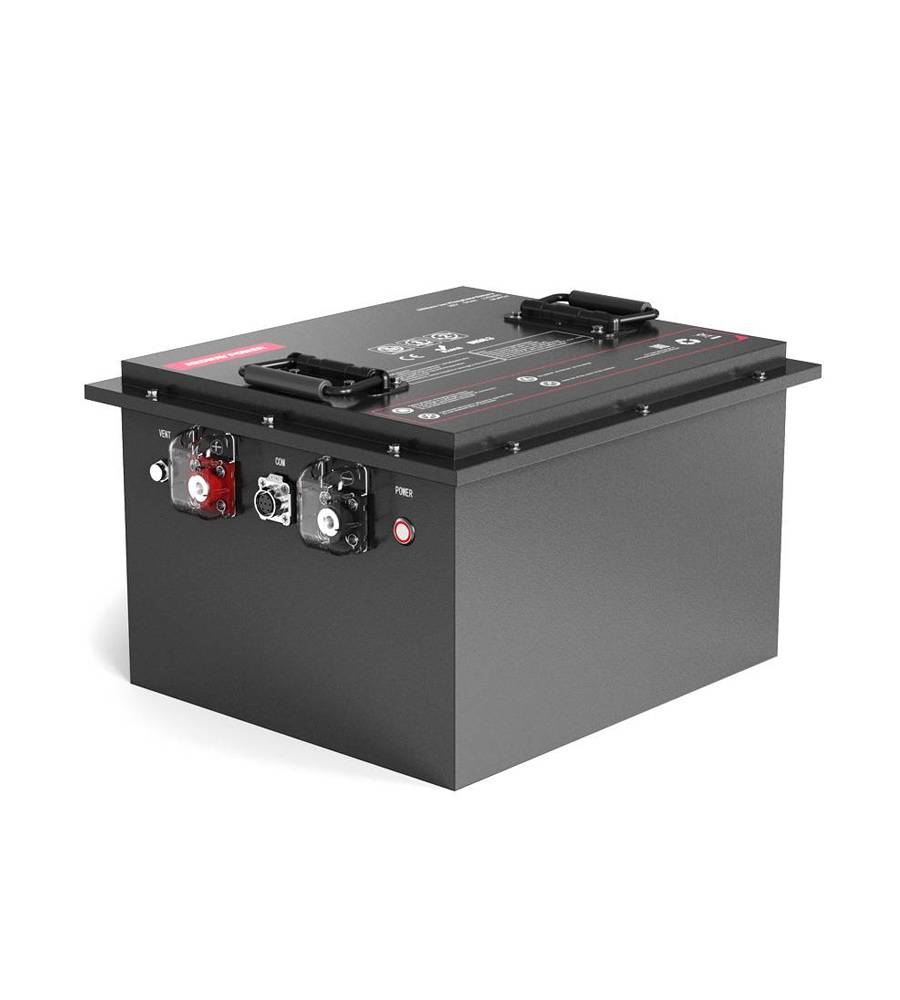
- Forklift Lithium Battery
-
48V
- 48V 210Ah
- 48V 300Ah
- 48V 420Ah (949 x 349 x 569 mm)
- 48V 420Ah (950 x 421 x 450 mm)
- 48V 456Ah
- 48V 460Ah (830 x 630 x 590 mm)
- 48V 460Ah (950 x 421 x 450 mm)
- 48V 460Ah (800 x 630 x 600 mm)
- 48V 460Ah (820 x 660 x 470 mm)
- 48V 500Ah
- 48V 560Ah (810 x 630 x 600 mm)
- 48V 560Ah (950 x 592 x 450 mm)
- 48V 600Ah
- 48V 630Ah
-
48V
- Lithium Golf Cart Battery
- 12V Lithium Battery
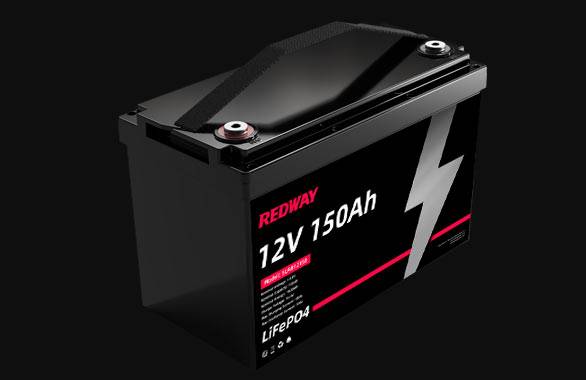
12V 150Ah Lithium RV Battery
Bluetooth App | BCI Group 31
LiFePO4 Lithium
Discharge Temperature -20°C ~ 65°C
Fast Charger 14.6V 50A
Solar MPPT Charging - 24V Lithium Battery
- 36V Lithium Battery
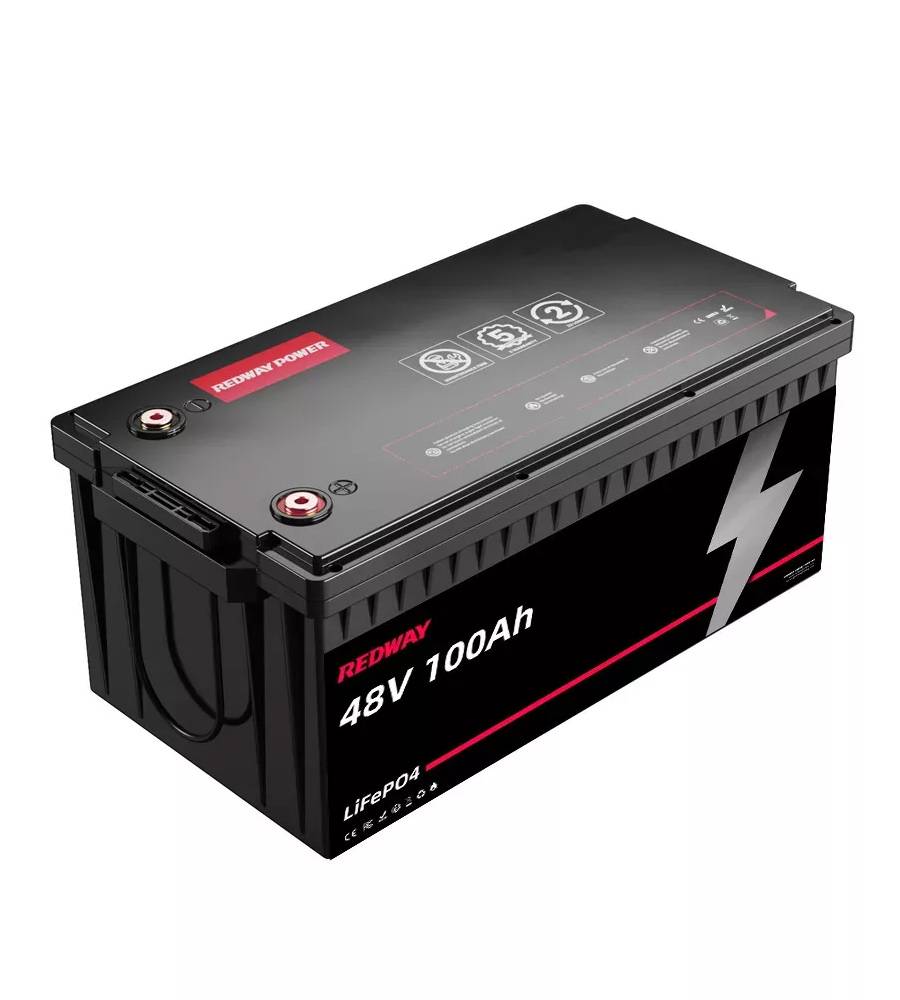
- 48V Lithium Battery
-
48V LiFePO4 Battery
- 48V 50Ah
- 48V 50Ah (for Golf Carts)
- 48V 60Ah (8D)
- 48V 100Ah (8D)
- 48V 100Ah
- 48V 100Ah (Discharge 100A for Golf Carts)
- 48V 100Ah (Discharge 150A for Golf Carts)
- 48V 100Ah (Discharge 200A for Golf Carts)
- 48V 150Ah (for Golf Carts)
- 48V 160Ah (Discharge 100A for Golf Carts)
- 48V 160Ah (Discharge 160A for Golf Carts)
-
48V LiFePO4 Battery
- 60V Lithium Battery
-
60V LiFePO4 Battery
- 60V 20Ah
- 60V 30Ah
- 60V 50Ah
- 60V 50Ah (Small Size / Side Terminal)
- 60V 100Ah (for Electric Motocycle, Electric Scooter, LSV, AGV)
- 60V 100Ah (for Forklift, AGV, Electric Scooter, Sweeper)
- 60V 150Ah (E-Motocycle / E-Scooter / E-Tricycle / Tour LSV)
- 60V 200Ah (for Forklift, AGV, Electric Scooter, Sweeper)
-
60V LiFePO4 Battery
- 72V~96V Lithium Battery
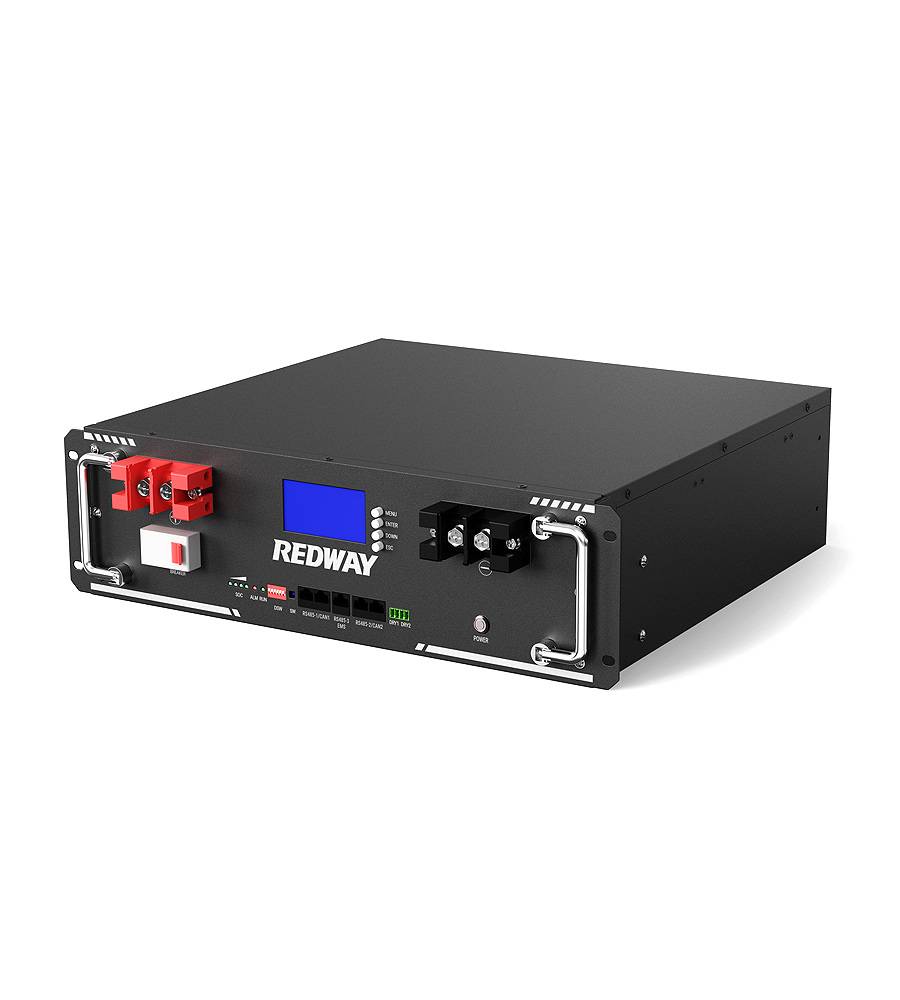
- Rack-mounted Lithium Battery
- E-Bike Battery
- All-in-One Home-ESS
- Wall-mount Battery ESS
-
Home-ESS Lithium Battery PowerWall
- 24V 100Ah 2.4kWh PW24100-S PowerWall
- 48V 50Ah 2.4kWh PW4850-S PowerWall
- 48V 50Ah 2.56kWh PW5150-S PowerWall
- 48V 100Ah 5.12kWh PW51100-F PowerWall (IP65)
- 48V 100Ah 5.12kWh PW51100-S PowerWall
- 48V 100Ah 5.12kWh PW51100-H PowerWall
- 48V 200Ah 10kWh PW51200-H PowerWall
- 48V 300Ah 15kWh PW51300-H PowerWall
PowerWall 51.2V 100Ah LiFePO4 Lithium Battery
Highly popular in Asia and Eastern Europe.
CE Certification | Home-ESS -
Home-ESS Lithium Battery PowerWall
- Portable Power Stations
How to Replace the Battery in a Smart-UPS 1500 Rack Mount: A Comprehensive Guide

Replacing the battery in a Smart-UPS 1500 rack mount is essential for maintaining reliable power backup in your systems. This guide outlines everything you need to know about recognizing when a battery replacement is necessary, how to perform the replacement, and testing the new battery for optimal performance.
What Is a Smart-UPS 1500 Rack Mount?
The Smart-UPS 1500 Rack Mount is an uninterruptible power supply (UPS) designed to provide backup power and surge protection for critical electronic equipment. It features a compact design suitable for server racks and includes advanced management features, making it ideal for data centers and network applications.Overview of Smart-UPS Specifications
| Specification | Value |
|---|---|
| Model | Smart-UPS 1500 Rack Mount (SUA1500RM) |
| Output Power | 1500 VA / 1000 W |
| Input Voltage | 120 V |
| Output Voltage | 120 V |
| Battery Type | Sealed Lead Acid or LiFePO4 |
What Are the Signs That Your UPS Battery Needs Replacement?
Recognizing when your Smart-UPS battery needs replacement is crucial for uninterrupted operation:
- Frequent Beeping: Continuous alarms indicate that the battery is failing or has reached its end of life.
- Reduced Runtime: If your UPS provides significantly less backup time during outages than before, it may be time for a new battery.
- Battery Age: Most UPS batteries should be replaced every 3 to 5 years, depending on usage and environmental conditions.
Signs of Battery Failure Summary
| Sign | Description |
|---|---|
| Frequent Beeping | Indicates battery failure |
| Reduced Runtime | Less backup time during outages |
| Age of Battery | Typically needs replacement every 3-5 years |
How Do You Prepare for Battery Replacement?
Preparation is key to ensuring a smooth battery replacement process:
- Gather Tools: You will need a Phillips screwdriver and possibly a flathead screwdriver.
- Purchase Replacement Battery: Ensure you have the correct replacement battery compatible with your Smart-UPS model.
- Power Down Equipment: While many models allow hot-swapping, it’s safer to power down connected devices before starting.
- Read User Manual: Familiarize yourself with specific instructions related to your UPS model.
Preparation Checklist
| Task | Description |
|---|---|
| Gather Tools | Phillips screwdriver, flathead screwdriver |
| Purchase Battery | Ensure compatibility |
| Power Down Equipment | Safeguard connected devices |
| Read User Manual | Understand specific model instructions |
What Are the Steps to Replace the Battery in a Smart-UPS 1500?
Follow these steps to replace your Smart-UPS battery safely:
- Remove Front Cover: Use a Phillips screwdriver to remove screws securing the front panel.
- Disconnect Old Battery: Unplug the battery connector carefully; some models may have a pull tab.
- Remove Old Battery: Slide out the old battery tray from the UPS chassis.
- Install New Battery: Insert the new battery into the tray, ensuring it fits securely and reconnects properly.
- Reattach Front Cover: Securely fasten the front cover back onto the UPS.
- Reconnect Power: Plug in your UPS and turn it on.
Battery Replacement Steps Summary
| Step | Action |
|---|---|
| Remove Front Cover | Unscrew and detach |
| Disconnect Old Battery | Unplug carefully |
| Remove Old Battery | Slide out from chassis |
| Install New Battery | Insert securely |
| Reattach Front Cover | Fasten securely |
| Reconnect Power | Plug in and turn on |
How to Test the New Battery After Installation?
Testing your new battery ensures it operates correctly:
- Run Self-Test: Most Smart-UPS models have a self-test feature that can be activated via buttons on their control panel.
- Check Status Indicators: Monitor LED indicators on the UPS for any alerts or warnings regarding battery status.
- Simulate Power Outage: Disconnect from mains power briefly to ensure that connected devices remain powered by the UPS.
- Monitor Runtime: Check if runtime during this test meets expectations based on previous performance metrics.
Testing Summary
| Test | Description |
|---|---|
| Run Self-Test | Activate via control panel |
| Check Status Indicators | Monitor LEDs for alerts |
| Simulate Power Outage | Disconnect from mains briefly |
| Monitor Runtime | Ensure expected performance |
What Are the Benefits of Regularly Replacing UPS Batteries?
Regularly replacing your UPS batteries offers several benefits:
- Reliability: Ensures that your equipment remains protected during power outages without unexpected failures.
- Performance Maintenance: Fresh batteries maintain optimal runtime and efficiency, enhancing overall system performance.
- Safety Assurance: Reduces risks associated with old batteries, such as leaks or thermal runaway incidents.
- Cost-Efficiency: Prevents potential damage to connected equipment by ensuring reliable power supply continuity.
Benefits Summary
| Benefit | Description |
|---|---|
| Reliability | Consistent protection during outages |
| Performance Maintenance | Optimal runtime and efficiency |
| Safety Assurance | Reduces risks associated with aging batteries |
| Cost-Efficiency | Prevents damage to connected equipment |
Industrial News
The market for uninterruptible power supplies (UPS) continues to grow as businesses increasingly rely on backup power solutions like those offered by APC and other manufacturers. Recent advancements in lithium iron phosphate (LiFePO4) technology are enhancing battery performance, longevity, and safety features, making them more appealing for critical applications in data centers and renewable energy systems.
Redway Power Expert Views
“Regular maintenance of UPS systems, including timely battery replacements, is crucial for ensuring operational reliability,” states Mark Thompson, an energy consultant at Redway Power. “Investing in high-quality batteries not only enhances performance but also safeguards critical equipment from power disruptions.”
Frequently Asked Questions
- Q1: How often should I replace my UPS battery?
A1: It is recommended to replace your UPS battery every 3 to 5 years, depending on usage and environmental conditions. - Q2: Can I replace my UPS battery myself?
A2: Yes, most UPS models allow users to replace batteries themselves with basic tools; however, always refer to your user manual for specific instructions. - Q3: What should I do if my UPS shows an error after replacing the battery?
A3: Check all connections to ensure they are secure; if issues persist, consult your user manual or contact customer support for troubleshooting assistance.


