
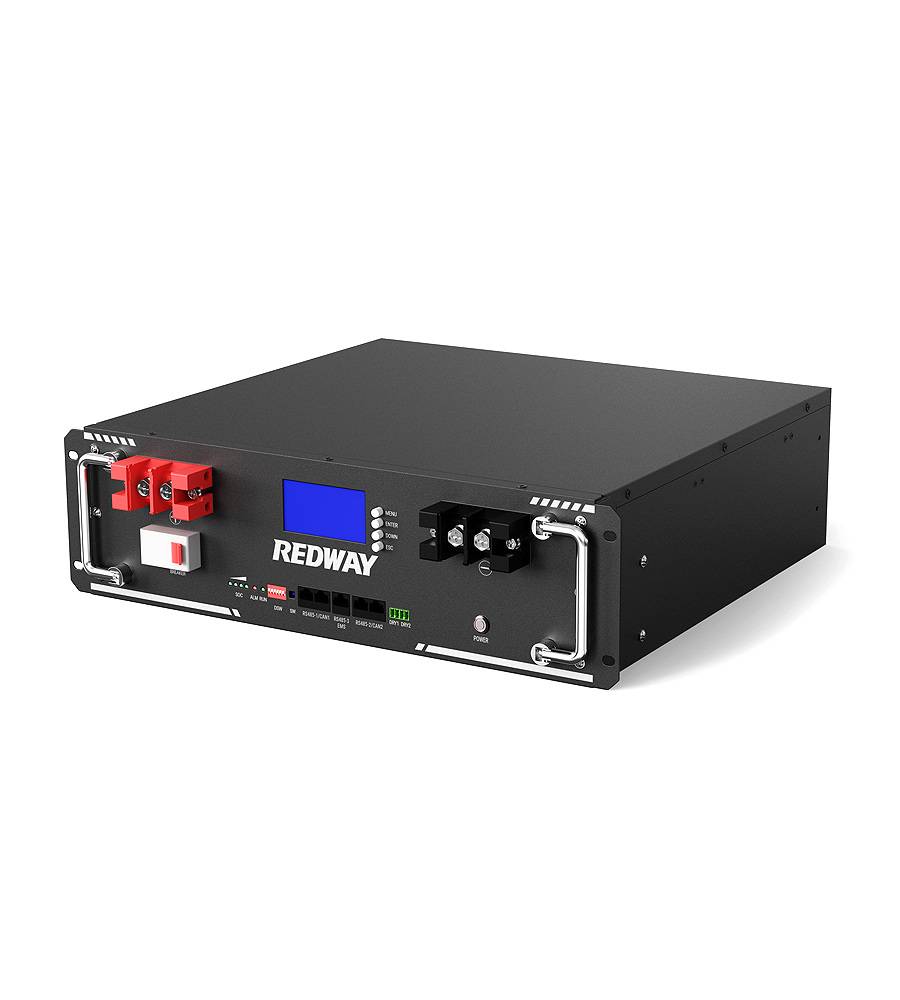
- Rack-mounted Lithium Battery
- Golf Cart Lithium Battery
-
Golf Cart Lithium Battery
- 36V 50Ah (for Golf Carts)
- 36V 80Ah (for Golf Carts)
- 36V 100Ah (for Golf Carts)
- 48V 50Ah (for Golf Carts)
- 48V 100Ah (Discharge 100A for Golf Carts)
- 48V 100Ah (Discharge 150A for Golf Carts)
- 48V 100Ah (Discharge 200A for Golf Carts)
- 48V 120Ah (for Golf Carts)
- 48V 150Ah (for Golf Carts)
- 48V 160Ah (Discharge 100A for Golf Carts)
- 48V 160Ah (Discharge 160A for Golf Carts)
-
Golf Cart Lithium Battery
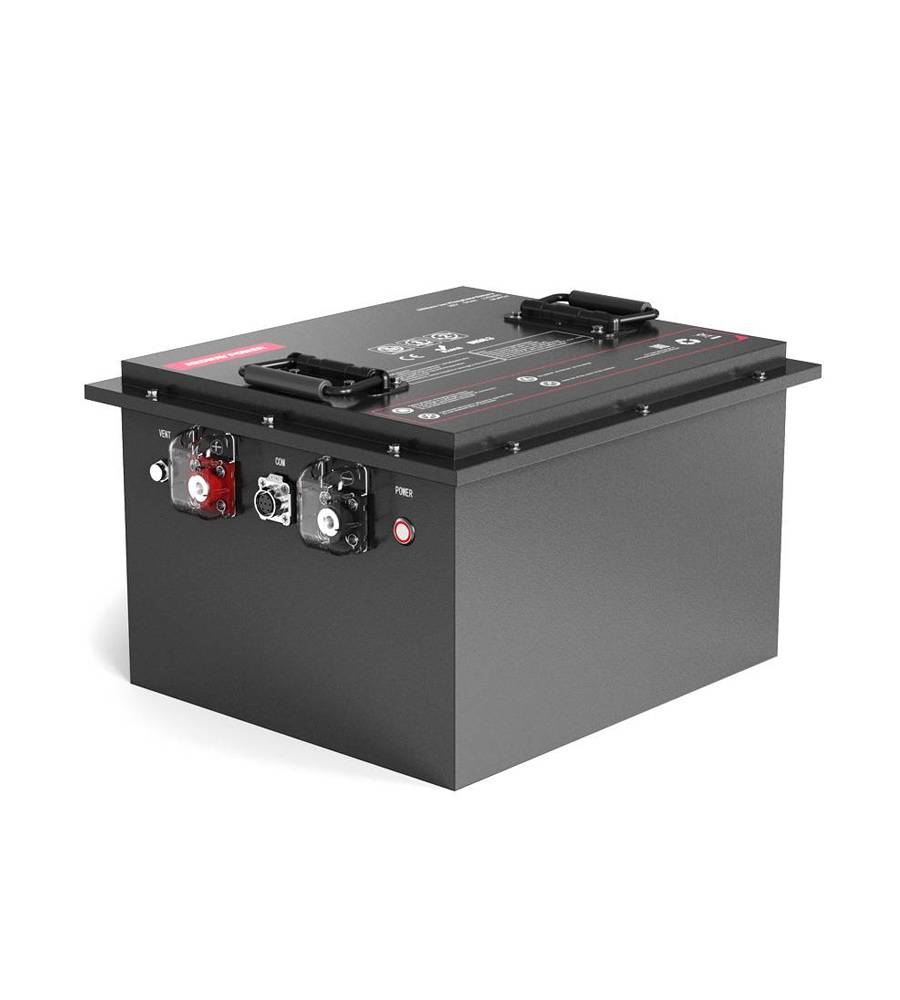
- Forklift Lithium Battery
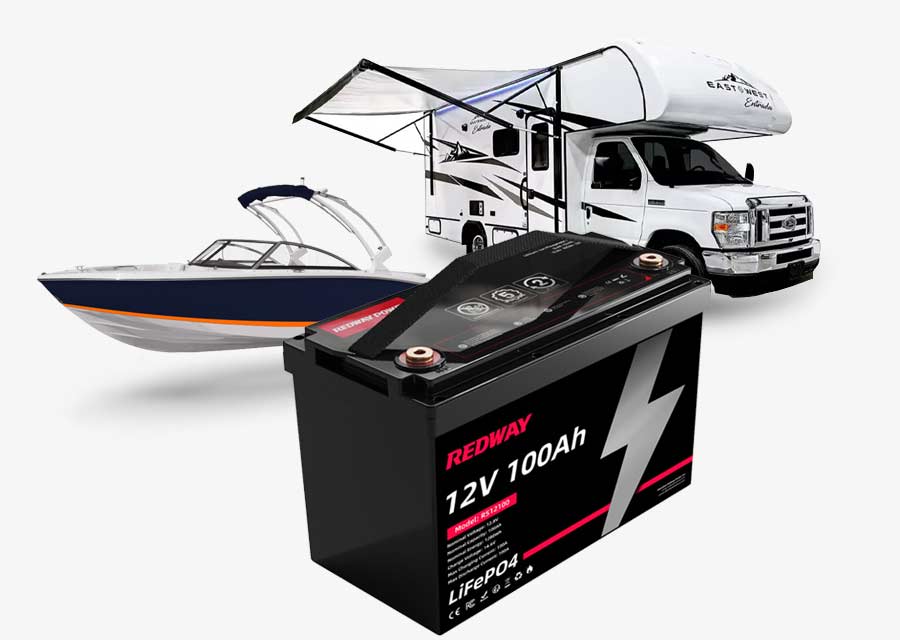
- 12V Lithium Battery
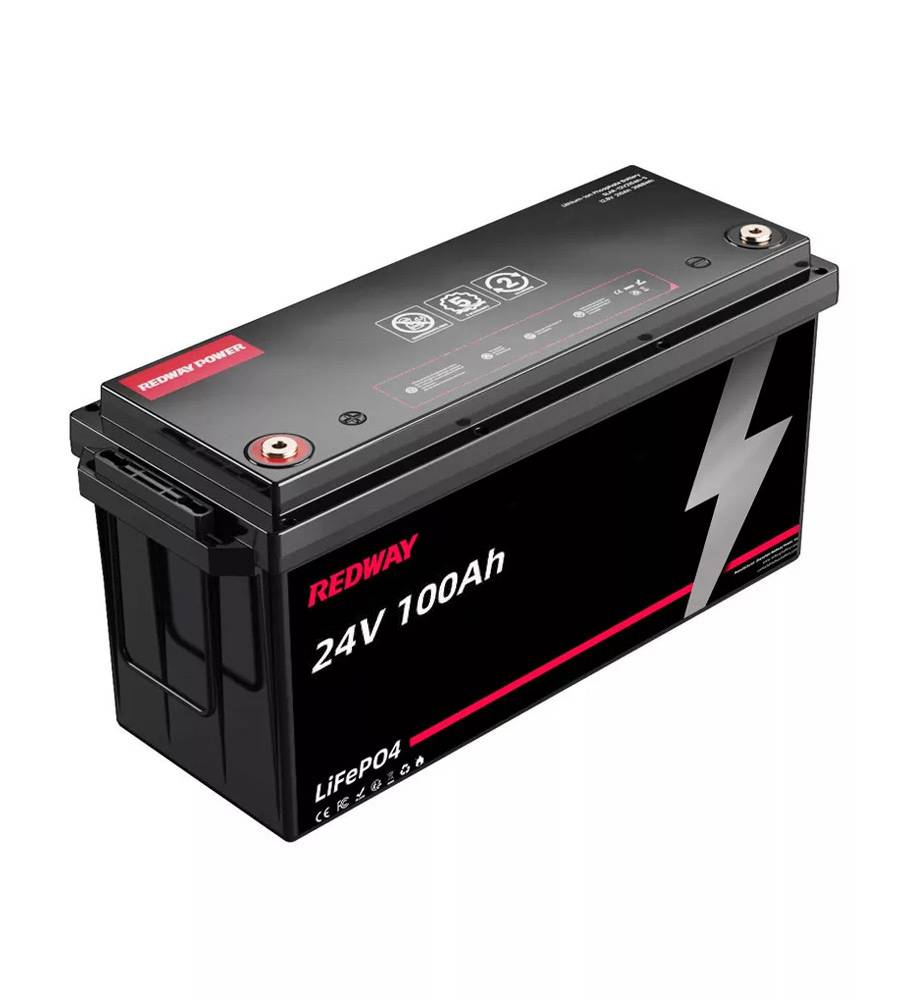
- 24V Lithium Battery
- 36V Lithium Battery
- 48V Lithium Battery
-
48V LiFePO4 Battery
- 48V 50Ah
- 48V 50Ah (for Golf Carts)
- 48V 60Ah (8D)
- 48V 100Ah (8D)
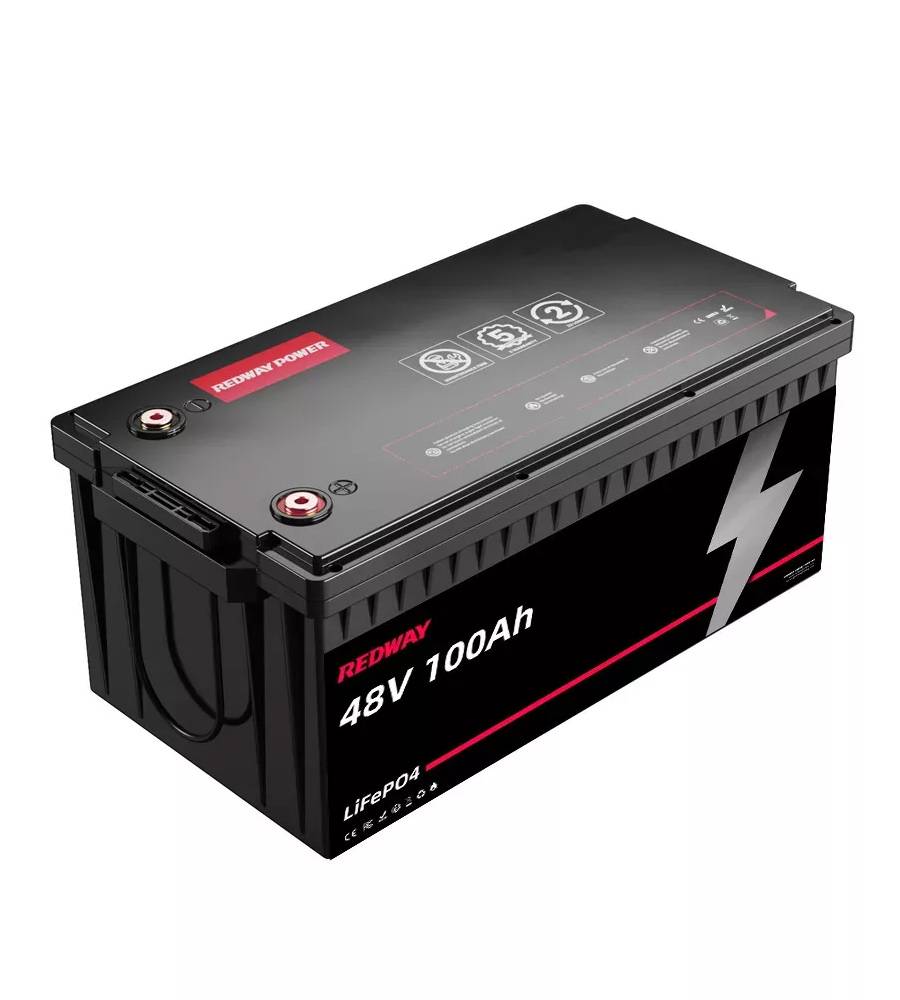
- 48V 100Ah
- 48V 100Ah (Discharge 100A for Golf Carts)
- 48V 100Ah (Discharge 150A for Golf Carts)
- 48V 100Ah (Discharge 200A for Golf Carts)
- 48V 150Ah (for Golf Carts)
- 48V 160Ah (Discharge 100A for Golf Carts)
- 48V 160Ah (Discharge 160A for Golf Carts)
-
48V LiFePO4 Battery
- 60V Lithium Battery
-
60V LiFePO4 Battery
- 60V 20Ah
- 60V 30Ah
- 60V 50Ah
- 60V 50Ah (Small Size / Side Terminal)
- 60V 100Ah (for Electric Motocycle, Electric Scooter, LSV, AGV)
- 60V 100Ah (for Forklift, AGV, Electric Scooter, Sweeper)
- 60V 150Ah (E-Motocycle / E-Scooter / E-Tricycle / Tour LSV)
- 60V 200Ah (for Forklift, AGV, Electric Scooter, Sweeper)
-
60V LiFePO4 Battery
- 72V~96V Lithium Battery
- E-Bike Battery
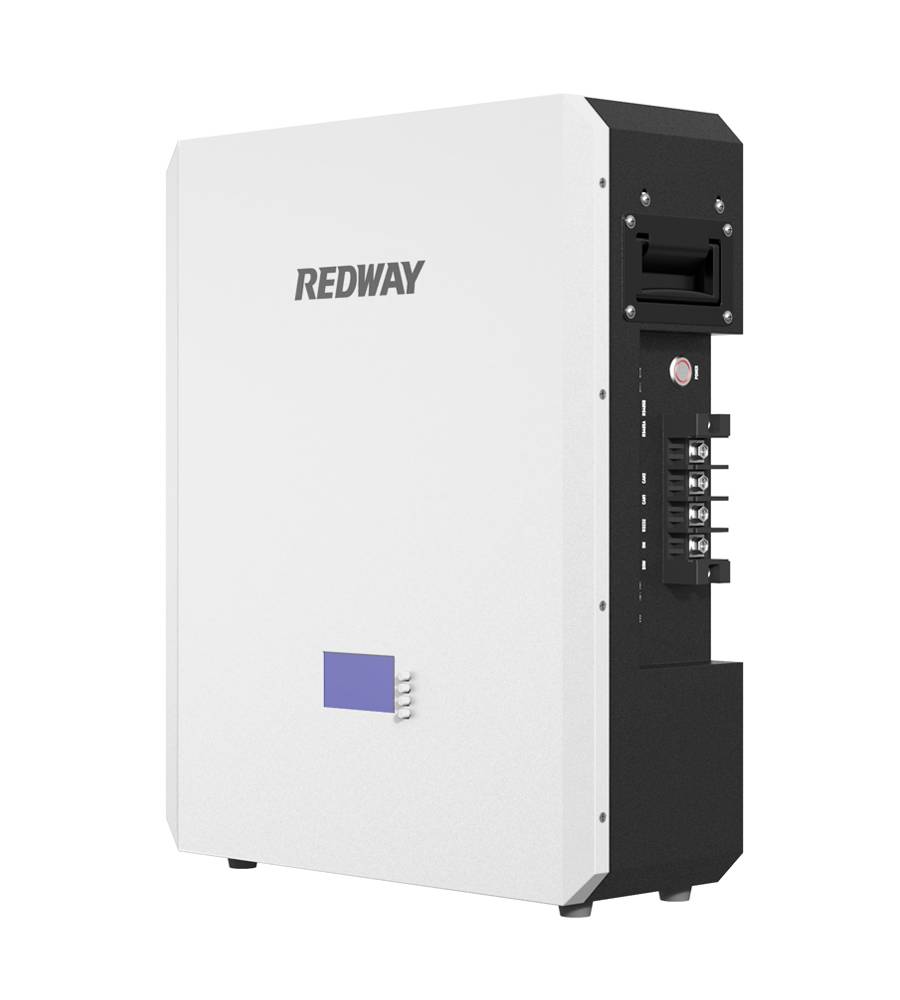
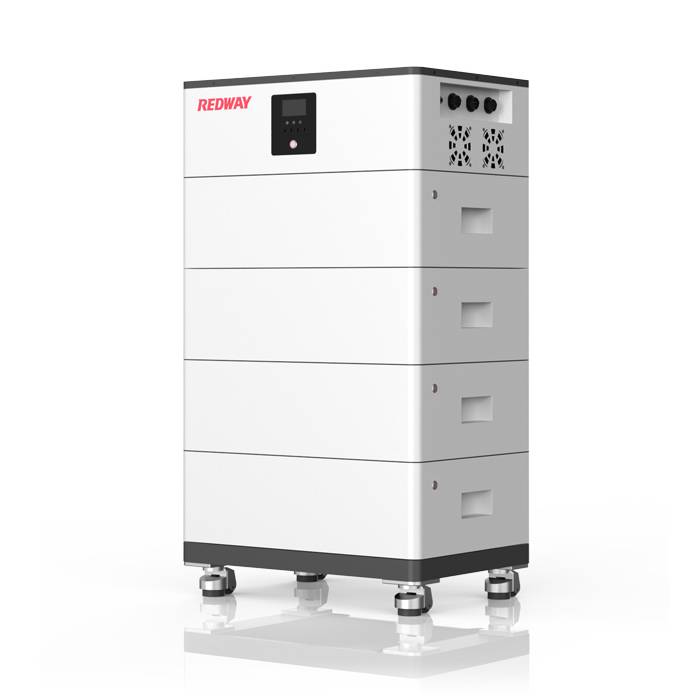
- All-in-One Home-ESS
- Wall-mount Battery ESS
-
Home-ESS Lithium Battery PowerWall
- 24V 100Ah 2.4kWh PW24100-S PowerWall
- 48V 50Ah 2.4kWh PW4850-S PowerWall
- 48V 50Ah 2.56kWh PW5150-S PowerWall
- 48V 100Ah 5.12kWh PW51100-F PowerWall (IP65)
- 48V 100Ah 5.12kWh PW51100-S PowerWall
- 48V 100Ah 5.12kWh PW51100-H PowerWall
- 48V 200Ah 10kWh PW51200-H PowerWall
- 48V 300Ah 15kWh PW51300-H PowerWall

PowerWall 51.2V 100Ah LiFePO4 Lithium Battery
Highly popular in Asia and Eastern Europe.
CE Certification | Home-ESS -
Home-ESS Lithium Battery PowerWall
- Portable Power Stations


How to Replace the Battery in a Smart-UPS 1000 Rack Mount
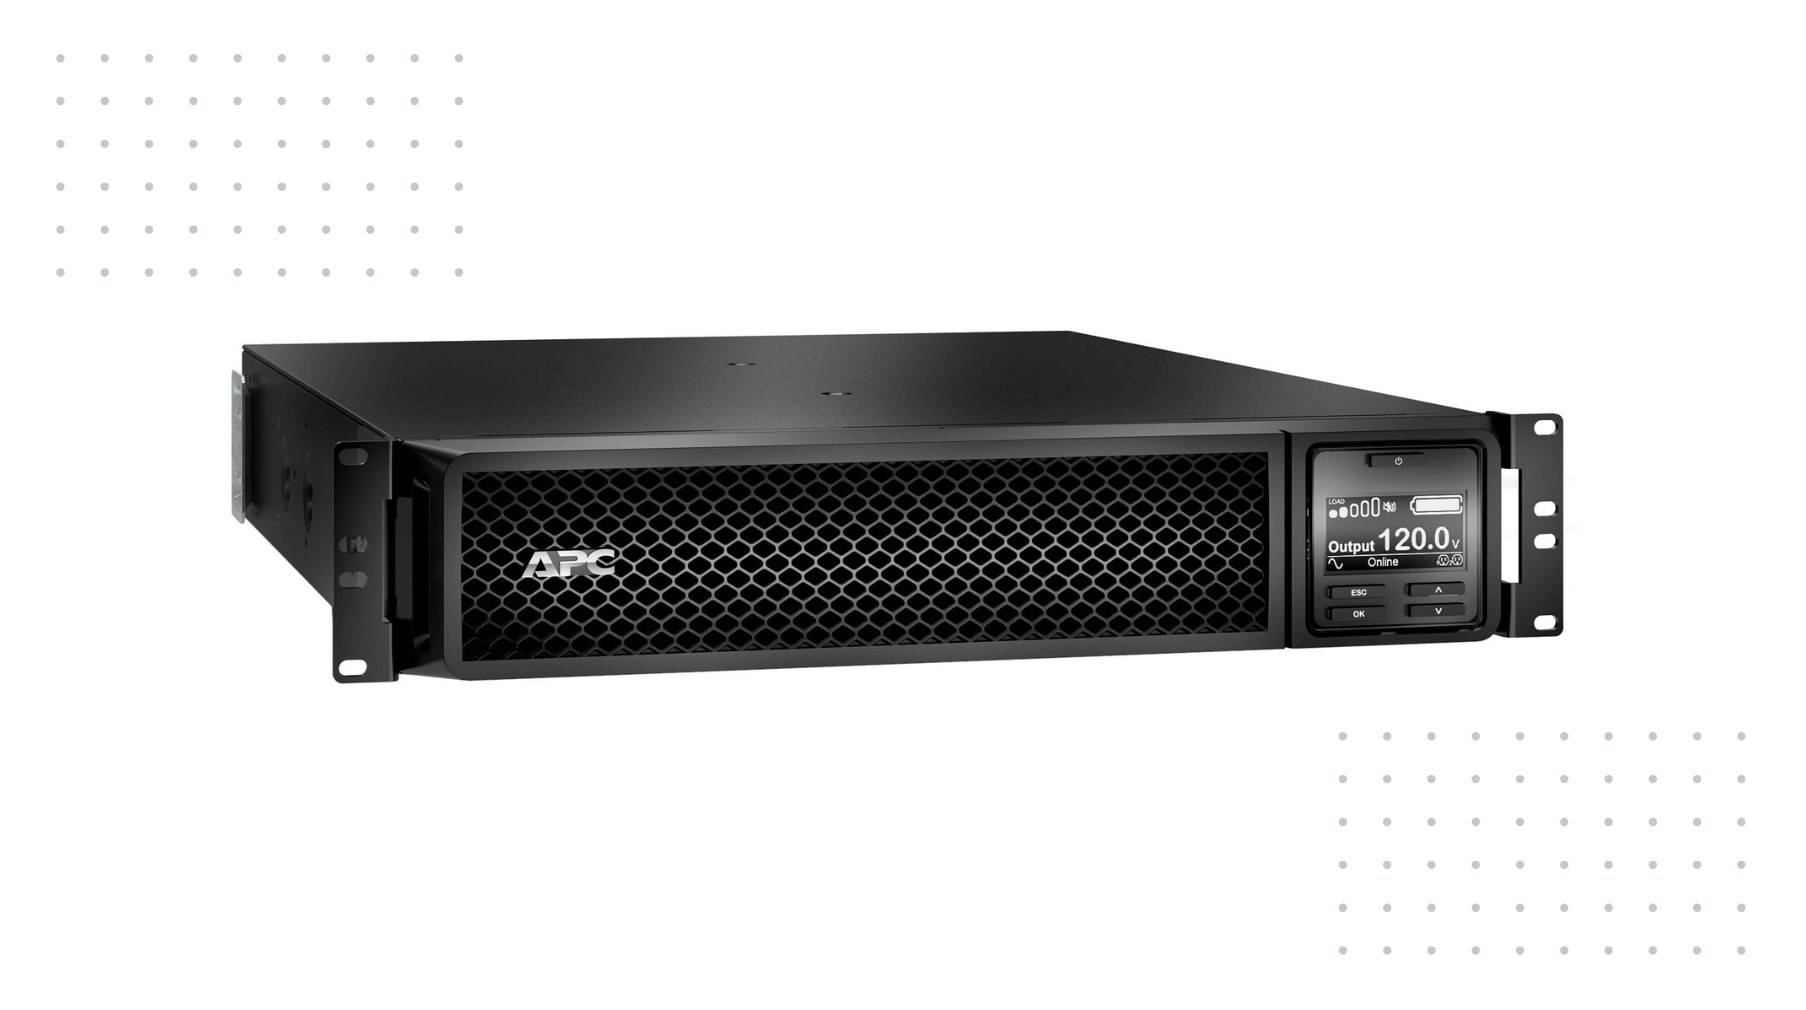
When it comes to keeping your critical systems running smoothly, a reliable uninterruptible power supply (UPS) is essential. The Smart-UPS 1000 Rack Mount is designed to ensure your equipment stays powered during outages or fluctuations. But what happens when the battery starts losing its charge? A non-functional battery can lead to unexpected downtime and potential data loss—two nightmares for any IT professional.
Fortunately, replacing the battery in your Smart-UPS 1000 isn’t as daunting as it may seem. With a little guidance and the right tools at hand, you can restore that vital backup power capability in no time. Whether you’re dealing with an aging unit or just want to be proactive about maintenance, this guide will walk you through everything you need to know for a smooth battery replacement process.
Understanding the Importance of a Functional Battery in Your Smart-UPS 1000 Rack Mount
Your Smart-UPS 1000 Rack Mount is more than just a power supply; it’s your safety net during electrical disruptions. The battery serves as the heart of this system, ensuring that your equipment remains operational when you need it most.
A functional battery allows for seamless transitions during power outages, preventing data loss and hardware damage. It provides enough time to save work and safely shut down systems, which is crucial in any business environment.
Moreover, regular monitoring and maintenance of the battery can enhance the overall lifespan of your UPS unit. A well-maintained battery not only boosts performance but also offers peace of mind knowing that you’re protected against unforeseen events.
Investing time into understanding how vital this component is can save you from costly interruptions down the line. Keeping an eye on its health ensures that your operations remain uninterrupted and efficient at all times.
Tools and Materials Needed for Battery Replacement
Before diving into the battery replacement process, gather the necessary tools and materials. This ensures a smooth experience.
You’ll need a new compatible battery for your Smart-UPS 1000 Rack Mount. Check the specifications to choose the right one.
A screwdriver is essential for accessing the unit’s casing. Depending on your model, you might require either a Phillips or flathead screwdriver.
Additionally, have safety gloves handy. They protect your hands while handling potentially hazardous components.
A multimeter can be useful if you want to test voltage levels before replacing the battery. It helps confirm that your old battery indeed needs replacing.
Keep some absorbent cloths nearby to clean any spilled fluids during the process. Being prepared with these items will make your task easier and more efficient as you replace that vital component in your UPS system.
Step-by-Step Guide for Replacing the Battery
Start by turning off your Smart-UPS 1000 Rack Mount. Unplug all connected devices to ensure safety during the battery replacement process.
Next, locate the front panel and carefully remove it. This usually involves unscrewing a few screws or gently pulling it away from the chassis. Once exposed, you’ll see the battery compartment.
Disconnect the old battery by removing its connectors. Take note of how they are attached for easier installation later on.
Now, take your new battery and connect it exactly as you noted earlier. Ensure that each connector is secure to prevent any future issues.
After connecting, replace the front panel securely. Plug in your UPS and turn it back on. You’re almost there! Check if everything functions properly and run a test to confirm that power backup is operational again.
Common Mistakes to Avoid
When replacing the battery in your Smart-UPS 1000 Rack Mount, several common mistakes can lead to issues down the line.
One major error is overlooking safety precautions. Always unplug the UPS and disconnect all devices before starting the replacement process. This ensures you avoid any electrical hazards.
Another mistake is not using a compatible battery. Ensure that you purchase an OEM or certified replacement specifically designed for your model.
Rushing through installation can also cause problems. Take your time to properly secure connections and close up compartments; loose components can affect performance.
Some users forget about proper disposal of old batteries. Make sure to recycle them according to local regulations to avoid environmental harm.
Neglecting regular maintenance checks after replacement can shorten battery life significantly. Keep an eye on performance indicators so you catch potential issues early on.
Tips for Maintaining Your UPS Battery Life
To extend the life of your UPS battery, start by keeping it in a well-ventilated space. Heat can significantly reduce battery efficiency and lifespan.
Regularly check for dust buildup on both the unit and vents. A clean environment helps ensure optimal airflow and cooling.
It’s also essential to perform routine self-tests. Many smart UPS systems have built-in diagnostics that alert you to potential issues before they become serious problems.
Keep an eye on the battery’s charge cycle. Avoid deep discharges whenever possible; instead, try to maintain a charge level between 40% and 80%.
Remember that batteries age even when not in use. If your UPS has been sitting idle for extended periods, consider cycling its power periodically to keep everything functioning smoothly.
Troubleshooting FAQs
When facing issues with your Smart-UPS 1000 Rack Mount, it’s common to have questions. Here are some troubleshooting FAQs that might help.
If the UPS doesn’t power on after battery replacement, check the connections. Ensure all plugs are firmly seated and secure. Sometimes a loose connection can prevent startup.
Another frequent concern is an alarm sounding unexpectedly. This could indicate a faulty battery or overload condition. Inspect the load connected to the UPS and reduce it if necessary.
If you notice fluctuating voltage levels, consider running a self-test through the management software or directly on the unit itself. This feature helps identify potential faults in performance.
For devices not recognizing your UPS, ensure proper drivers are installed on your system. Compatibility issues can often arise without the latest updates.
These tips should aid in resolving common problems effectively while keeping your system operational.
Conclusion
Replacing the battery in your Smart-UPS 1000 Rack Mount is a straightforward process that can significantly enhance its performance and reliability. A well-functioning battery ensures that your devices remain protected during power outages, preventing data loss and hardware damage.
By following the steps outlined above, you can successfully complete the replacement with minimal hassle. Remember to gather all necessary tools beforehand and double-check compatibility when purchasing a new battery.
Maintaining your UPS system doesn’t end after replacing the battery. Regular checks, proper environment control, and good usage habits contribute to extending its lifespan. Should any issues arise post-replacement, refer back to our troubleshooting FAQs for guidance.
Keeping these tips in mind will help ensure you get the most out of your Smart-UPS unit while safeguarding your valuable equipment against unexpected power disruptions.