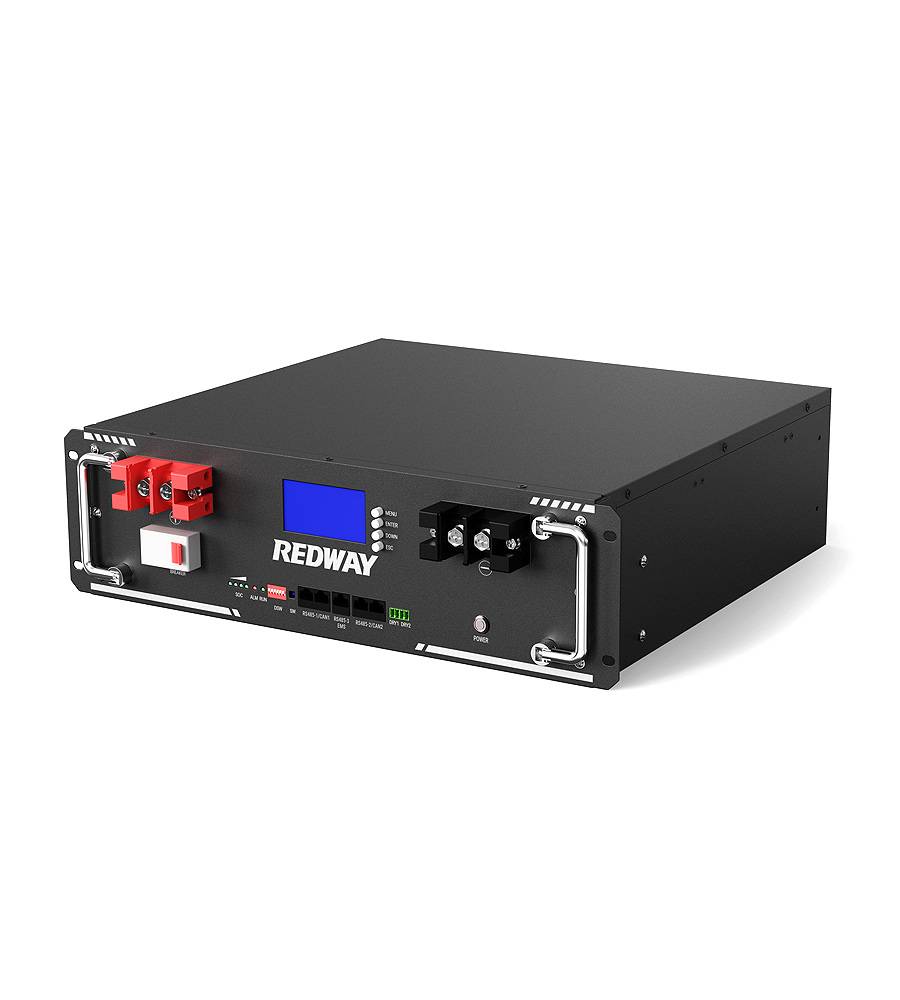
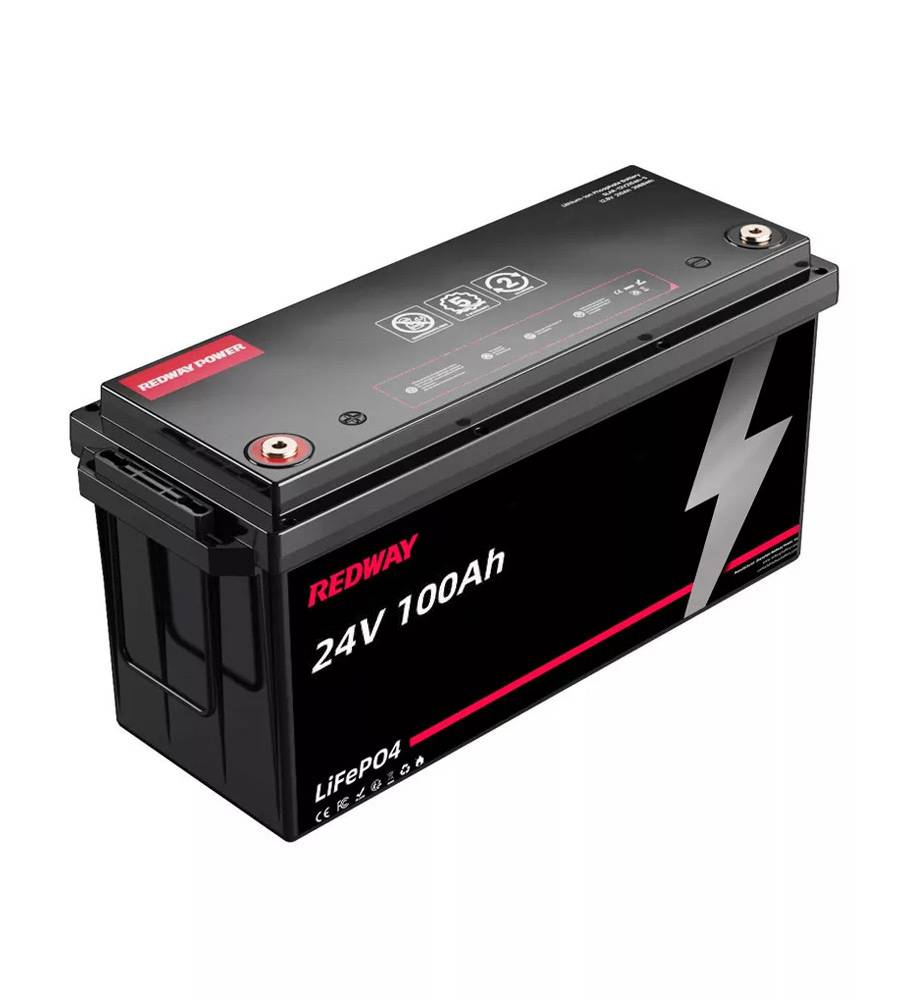
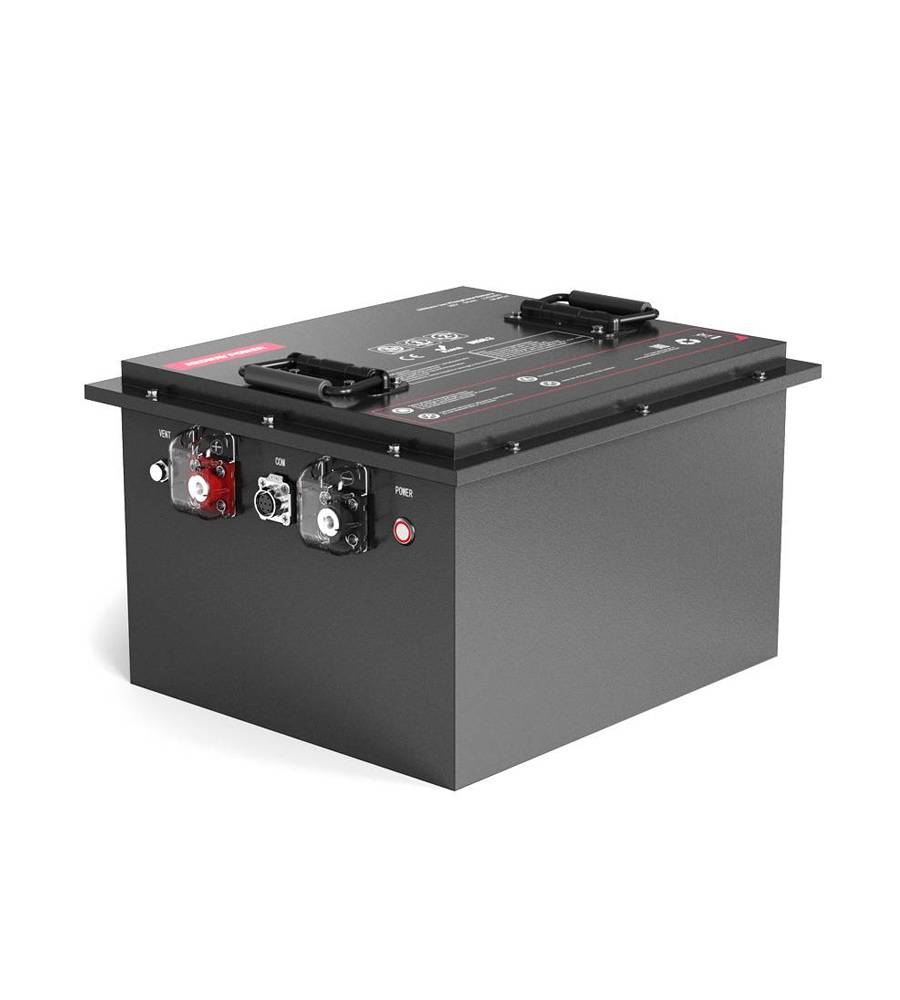
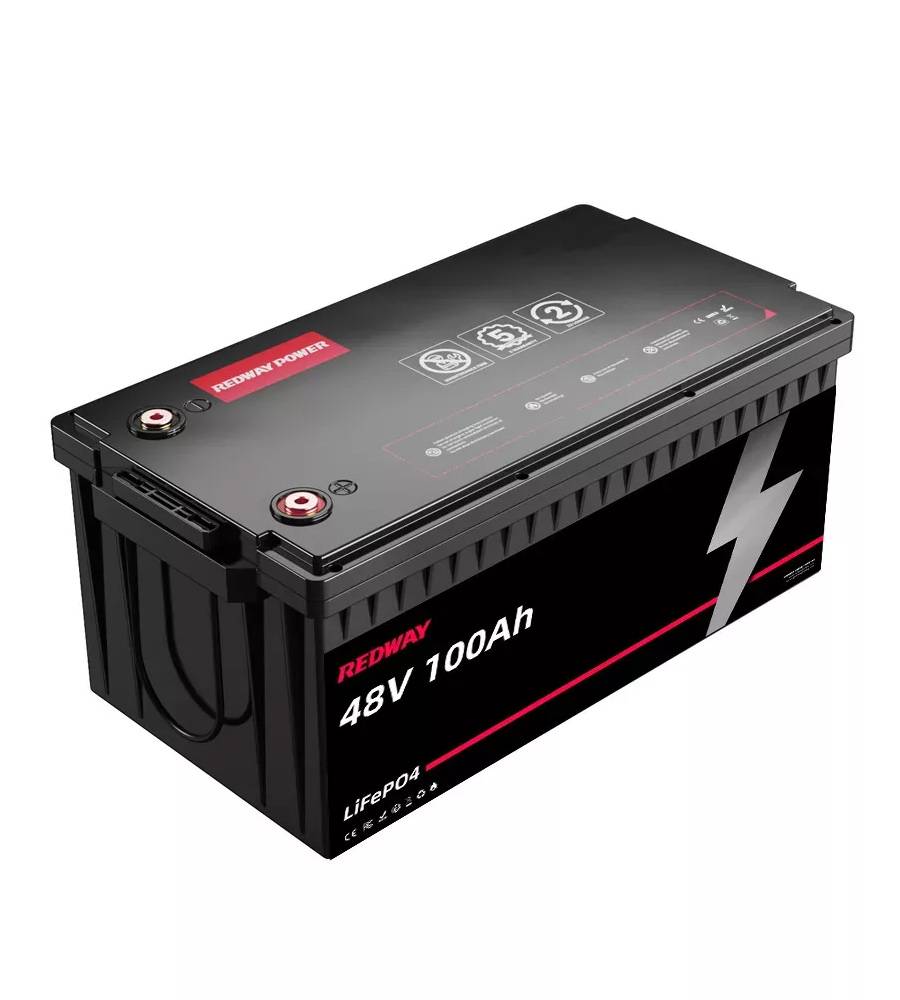
- Rack-mounted Lithium Battery
- Golf Cart Lithium Battery
-
Golf Cart Lithium Battery
- 36V 50Ah (for Golf Carts)
- 36V 80Ah (for Golf Carts)
- 36V 100Ah (for Golf Carts)
- 48V 50Ah (for Golf Carts)
- 48V 100Ah (Discharge 100A for Golf Carts)
- 48V 100Ah (Discharge 150A for Golf Carts)
- 48V 100Ah (Discharge 200A for Golf Carts)
- 48V 120Ah (for Golf Carts)
- 48V 150Ah (for Golf Carts)
- 48V 160Ah (Discharge 100A for Golf Carts)
- 48V 160Ah (Discharge 160A for Golf Carts)
-
Golf Cart Lithium Battery
- Forklift Lithium Battery
- 12V Lithium Battery
- 24V Lithium Battery
- 36V Lithium Battery
- 48V Lithium Battery
-
48V LiFePO4 Battery
- 48V 50Ah
- 48V 50Ah (for Golf Carts)
- 48V 60Ah (8D)
- 48V 100Ah (8D)
- 48V 100Ah
- 48V 100Ah (Discharge 100A for Golf Carts)
- 48V 100Ah (Discharge 150A for Golf Carts)
- 48V 100Ah (Discharge 200A for Golf Carts)
- 48V 150Ah (for Golf Carts)
- 48V 160Ah (Discharge 100A for Golf Carts)
- 48V 160Ah (Discharge 160A for Golf Carts)
-
48V LiFePO4 Battery
- 60V Lithium Battery
-
60V LiFePO4 Battery
- 60V 20Ah
- 60V 30Ah
- 60V 50Ah
- 60V 50Ah (Small Size / Side Terminal)
- 60V 100Ah (for Electric Motocycle, Electric Scooter, LSV, AGV)
- 60V 100Ah (for Forklift, AGV, Electric Scooter, Sweeper)
- 60V 150Ah (E-Motocycle / E-Scooter / E-Tricycle / Tour LSV)
- 60V 200Ah (for Forklift, AGV, Electric Scooter, Sweeper)
-
60V LiFePO4 Battery
- 72V~96V Lithium Battery
- E-Bike Battery
- All-in-One Home-ESS
- Wall-mount Battery ESS
-
Home-ESS Lithium Battery PowerWall
- 24V 100Ah 2.4kWh PW24100-S PowerWall
- 48V 50Ah 2.4kWh PW4850-S PowerWall
- 48V 50Ah 2.56kWh PW5150-S PowerWall
- 48V 100Ah 5.12kWh PW51100-F PowerWall (IP65)
- 48V 100Ah 5.12kWh PW51100-S PowerWall
- 48V 100Ah 5.12kWh PW51100-H PowerWall
- 48V 200Ah 10kWh PW51200-H PowerWall
- 48V 300Ah 15kWh PW51300-H PowerWall
PowerWall 51.2V 100Ah LiFePO4 Lithium Battery
Highly popular in Asia and Eastern Europe.
CE Certification | Home-ESS -
Home-ESS Lithium Battery PowerWall
- Portable Power Stations
How to Measure Amperage? Step by Step (with Images)
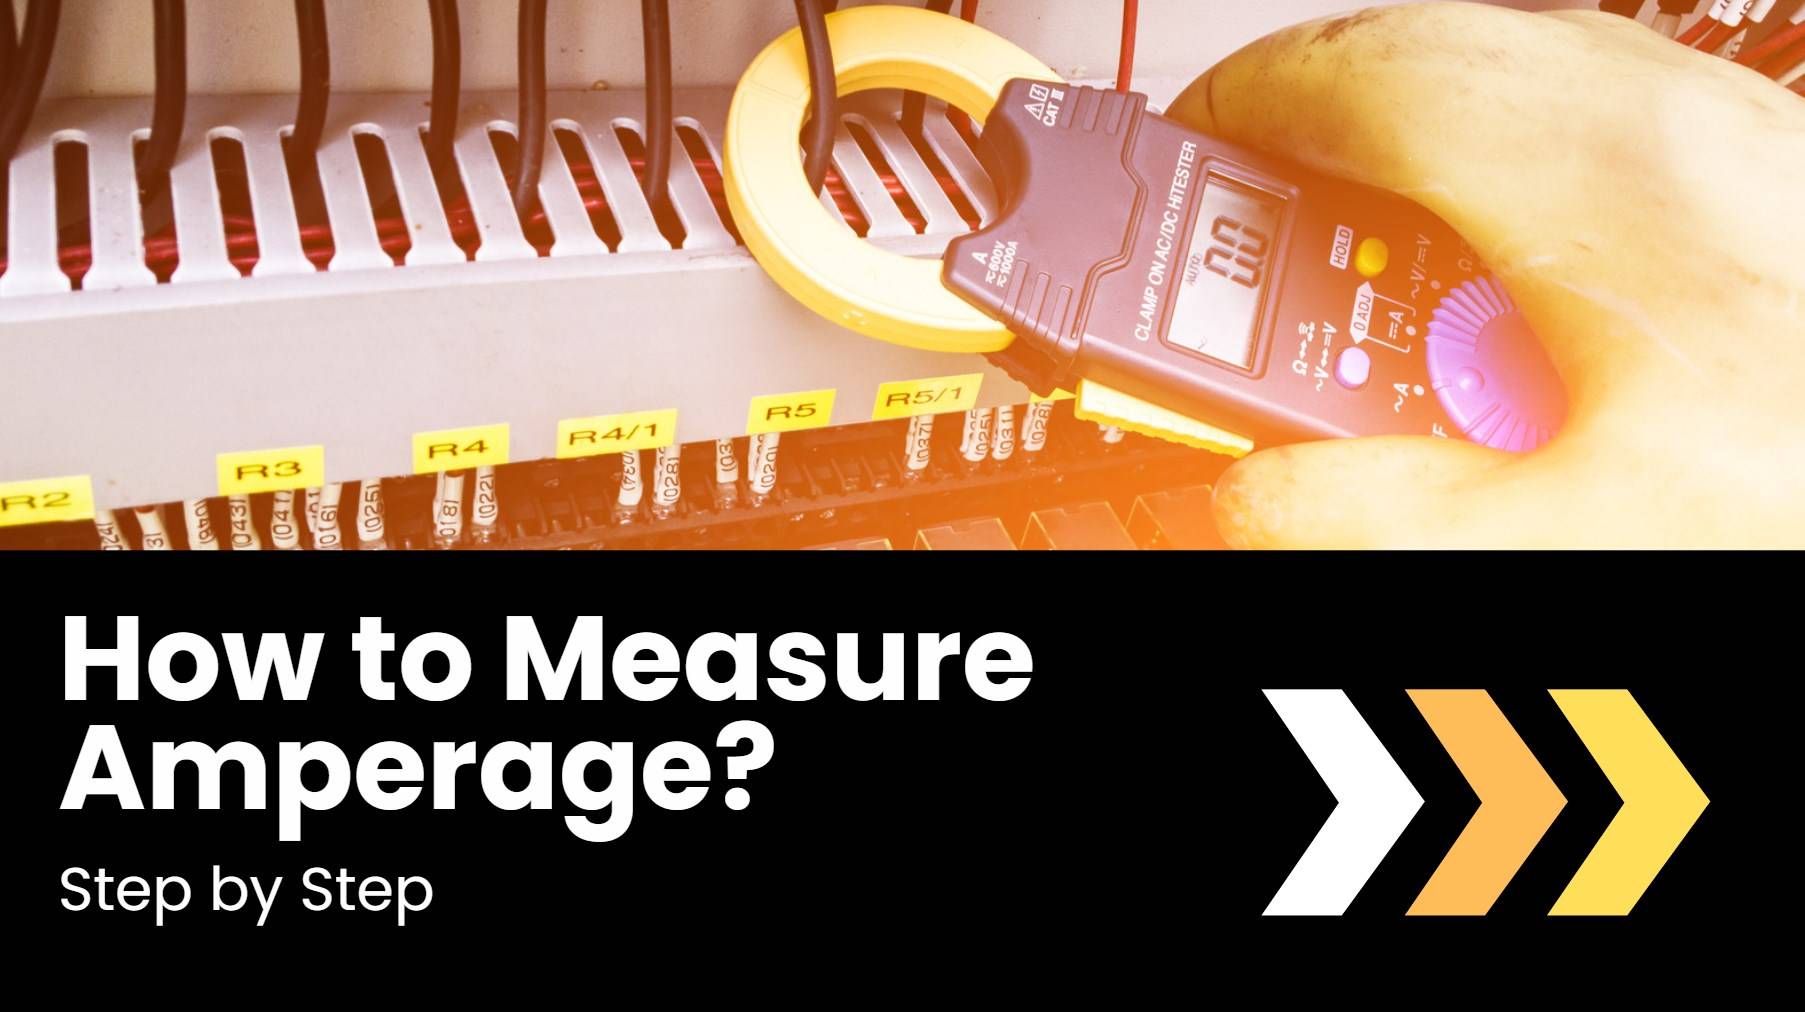
Accurate measurement of circuit amperage is essential for both troubleshooting and maintaining electrical systems. Whether you’re working on household appliances or complex electrical projects, understanding how to measure amperage can save you from potential issues and ensure that your systems operate efficiently. This guide will walk you through the basics of amperage, how to use an ammeter or clamp meter effectively, and how to measure current accurately using a multimeter.
What is Amperage?
Amperage, often abbreviated as amps (A), is the unit used to measure the intensity of electric current. Named after André-Marie Ampère, the pioneer of electromagnetism, amperage quantifies the flow of electric charge through a conductor. Essentially, it measures how many electrons are passing through a circuit per unit of time.
In household appliances, the amperage requirement is typically specified in their technical details. For example:
- An air conditioner may require 5-15 amps.
- A washing machine might use 1-5 amps.
- A refrigerator could need 0.5-1.5 amps.
- An induction cooktop often demands 5-15 amps.
In the U.S., standard household outlets are designed to provide either 15 or 20 amps. When setting up energy systems, such as those in homes or RVs, the amperage of the battery directly influences the specification of the connecting wires and the safety of the system. Proper wire gauge selection and the use of circuit breakers are crucial for managing the maximum amperage and preventing overheating.
How to Configure a Multimeter for Amperage Measurement
Measuring amperage with a multimeter involves several important steps to ensure accuracy and safety:
1. Check Maximum Amperage Rating
Before using a multimeter, verify that the current being measured does not exceed the maximum rating of your multimeter. This information is usually indicated on the power source’s label. If the current exceeds the multimeter’s capacity, consider using an AC/DC Current Clamp, which can measure a wider range of amperage values safely.
2. Insert Probes Correctly
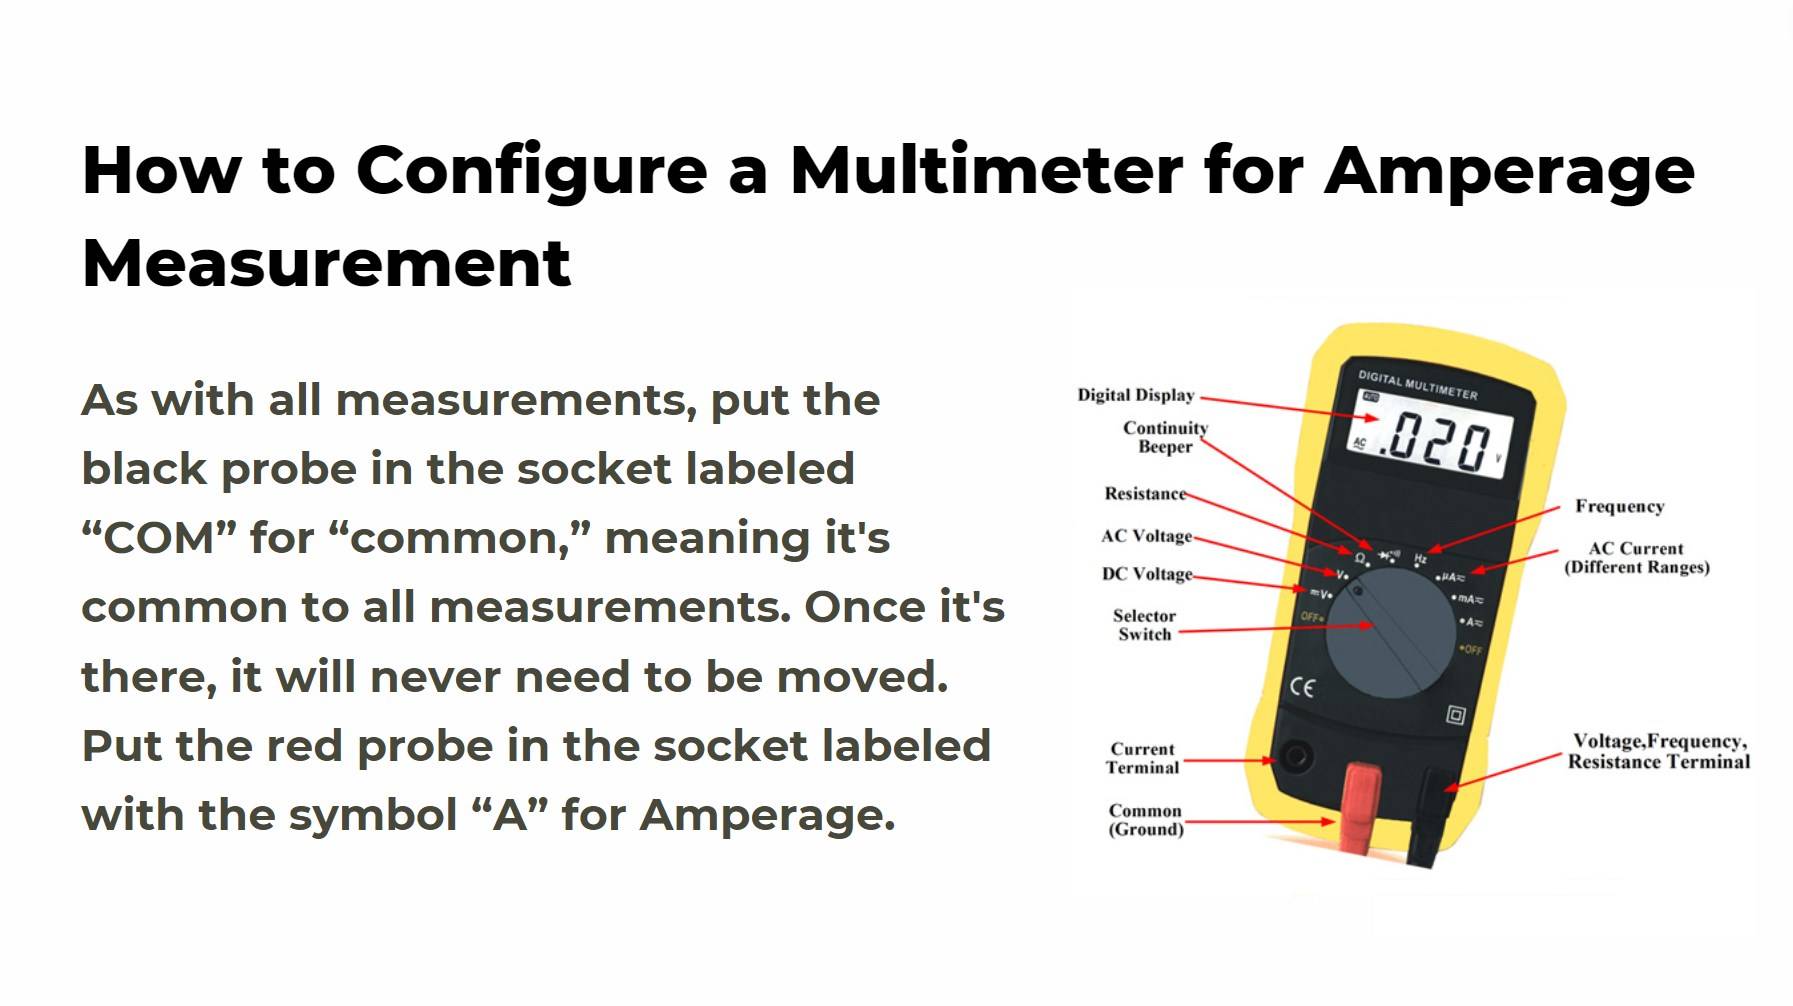
- Black Probe: Insert the black probe into the “COM” socket of the multimeter, labeled as “COM” or marked with a negative symbol.
- Red Probe: Place the red probe into the socket labeled with “A” for amperage measurement. Multimeters typically have two settings for current measurement:
- 10A Socket: For measuring high currents up to 10 amps.
- mA Socket: For measuring lower currents up to 300 milliamps.
Ensure you use the appropriate socket based on the expected current range. The “V” or “Ω” sockets are for voltage and resistance measurements and should be ignored for amperage testing.
3. Select the Current Measurement Function
Set your multimeter to measure either DC (direct current) or AC (alternating current), depending on the type of current in your circuit. Most household appliances use AC, while devices powered by batteries use DC. Refer to the device’s labels or instructions if unsure.
4. Adjust the Range
Set the multimeter to the highest current range initially to avoid damaging the device or blowing a fuse. Once the measurement is stable, you can adjust the range to a lower setting if needed.
How to Measure Amperage
1. Turn Off the Circuit Power
Safety first: always turn off the power supply before connecting the multimeter to prevent electrical shock.
2. Disconnect the Positive Line
To measure current, the multimeter must be connected in series with the circuit. Disconnect the positive wire from the power source and prepare it for connection to the multimeter.

If it is necessary to cut the positive wire of the power source, ensure that the wire can make good contact. You can use a pair of scissors or cutting tools to remove a small section of the wire insulation, exposing the wire for easy use with alligator clips.
It may not be necessary to cut the wire. Instead, locate the red wire (positive wire) that connects the device to the power source. Power connections for devices usually have interfaces with a cover that can be unscrewed to release the connection.

3. Connect the Probes
Attach the positive probe to the positive wire and the negative probe to the other end. Ensure the connections are secure to get an accurate reading.
4. Read the Measurement
Turn on the power supply and wait for the current to stabilize. The multimeter will display the amperage. Avoid turning on additional devices that might overload the multimeter.

Be mindful of other devices in the circuit and avoid starting them unless necessary, as it can pose an overload risk to the multimeter.
Safety and Amperage: What You Need to Know
Safe Levels of Amps and Volts for the Human Body
Safety regulations stipulate that voltages should not exceed 36V, with a limit of 24V for continuous contact. The safe current level is generally considered to be 10 milliamps (mA). Current passing through the human body can be dangerous:
- 0.6 mA: May cause a mild tingling sensation.
- 20 mA: Can cause severe pain and difficulty breathing.
- 50 mA: Potentially life-threatening.
- 100 mA and above: Can cause cardiac arrest and potentially be fatal.
Measuring Amps with Volts
To find the amperage using voltage and power, use the formula: Amps (A)=Watts (W)Volts (V)\text{Amps (A)} = \frac{\text{Watts (W)}}{\text{Volts (V)}}
For instance:
- 15A: For a device consuming 1650W at 110V.
- 20A: For a device consuming 2400W at 120V.
Conclusion
Accurate amperage measurement is essential for both diagnosing electrical issues and ensuring the safe operation of electrical systems. By using a multimeter correctly and understanding the safe levels of current and voltage, you can effectively monitor and maintain your electrical systems. Always prioritize safety and proper technique to avoid damage to your equipment and ensure your own well-being.
