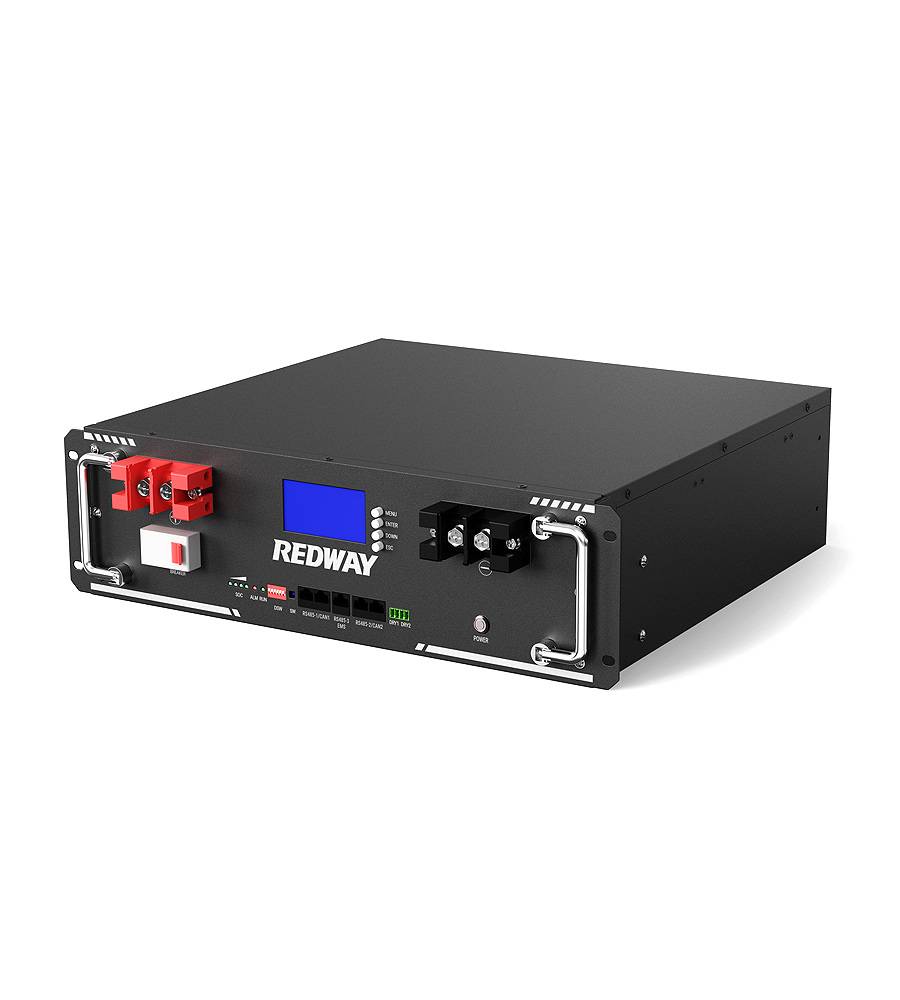
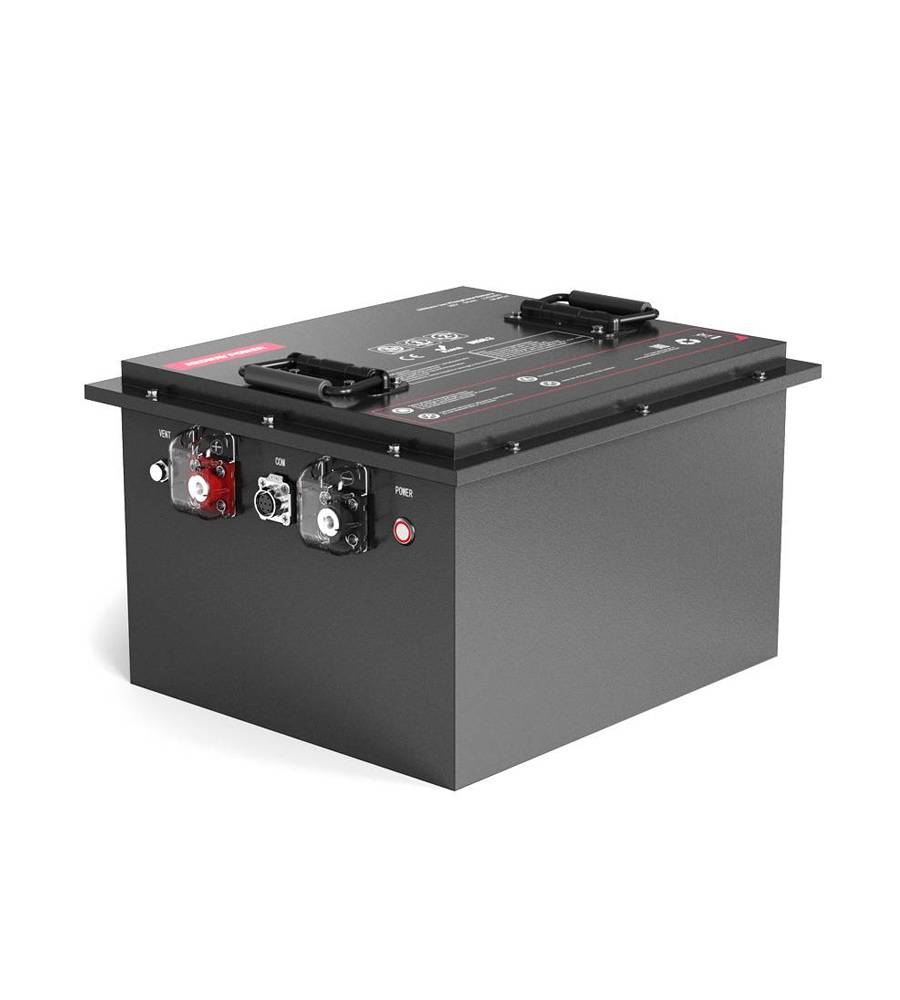
- Rack-mounted Lithium Battery
- Golf Cart Lithium Battery
-
Golf Cart Lithium Battery
- 36V 50Ah (for Golf Carts)
- 36V 80Ah (for Golf Carts)
- 36V 100Ah (for Golf Carts)
- 48V 50Ah (for Golf Carts)
- 48V 100Ah (Discharge 100A for Golf Carts)
- 48V 100Ah (Discharge 150A for Golf Carts)
- 48V 100Ah (Discharge 200A for Golf Carts)
- 48V 120Ah (for Golf Carts)
- 48V 150Ah (for Golf Carts)
- 48V 160Ah (Discharge 100A for Golf Carts)
- 48V 160Ah (Discharge 160A for Golf Carts)
-
Golf Cart Lithium Battery
- Forklift Lithium Battery
- 12V Lithium Battery
- 24V Lithium Battery
- 36V Lithium Battery
- 48V Lithium Battery
-
48V LiFePO4 Battery
- 48V 50Ah
- 48V 50Ah (for Golf Carts)
- 48V 60Ah (8D)
- 48V 100Ah (8D)
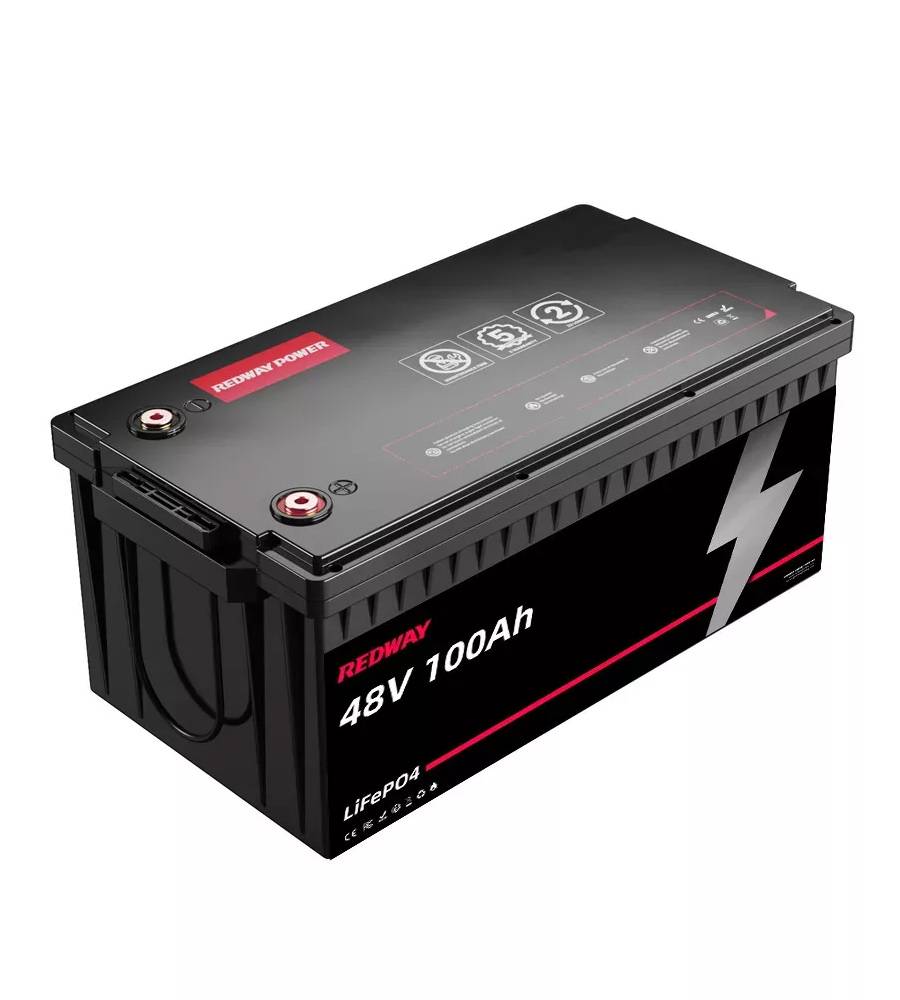
- 48V 100Ah
- 48V 100Ah (Discharge 100A for Golf Carts)
- 48V 100Ah (Discharge 150A for Golf Carts)
- 48V 100Ah (Discharge 200A for Golf Carts)
- 48V 150Ah (for Golf Carts)
- 48V 160Ah (Discharge 100A for Golf Carts)
- 48V 160Ah (Discharge 160A for Golf Carts)
-
48V LiFePO4 Battery
- 60V Lithium Battery
-
60V LiFePO4 Battery
- 60V 20Ah
- 60V 30Ah
- 60V 50Ah
- 60V 50Ah (Small Size / Side Terminal)
- 60V 100Ah (for Electric Motocycle, Electric Scooter, LSV, AGV)
- 60V 100Ah (for Forklift, AGV, Electric Scooter, Sweeper)
- 60V 150Ah (E-Motocycle / E-Scooter / E-Tricycle / Tour LSV)
- 60V 200Ah (for Forklift, AGV, Electric Scooter, Sweeper)
-
60V LiFePO4 Battery
- 72V~96V Lithium Battery
- E-Bike Battery
- All-in-One Home-ESS
- Wall-mount Battery ESS
-
Home-ESS Lithium Battery PowerWall
- 24V 100Ah 2.4kWh PW24100-S PowerWall
- 48V 50Ah 2.4kWh PW4850-S PowerWall
- 48V 50Ah 2.56kWh PW5150-S PowerWall
- 48V 100Ah 5.12kWh PW51100-F PowerWall (IP65)
- 48V 100Ah 5.12kWh PW51100-S PowerWall
- 48V 100Ah 5.12kWh PW51100-H PowerWall
- 48V 200Ah 10kWh PW51200-H PowerWall
- 48V 300Ah 15kWh PW51300-H PowerWall
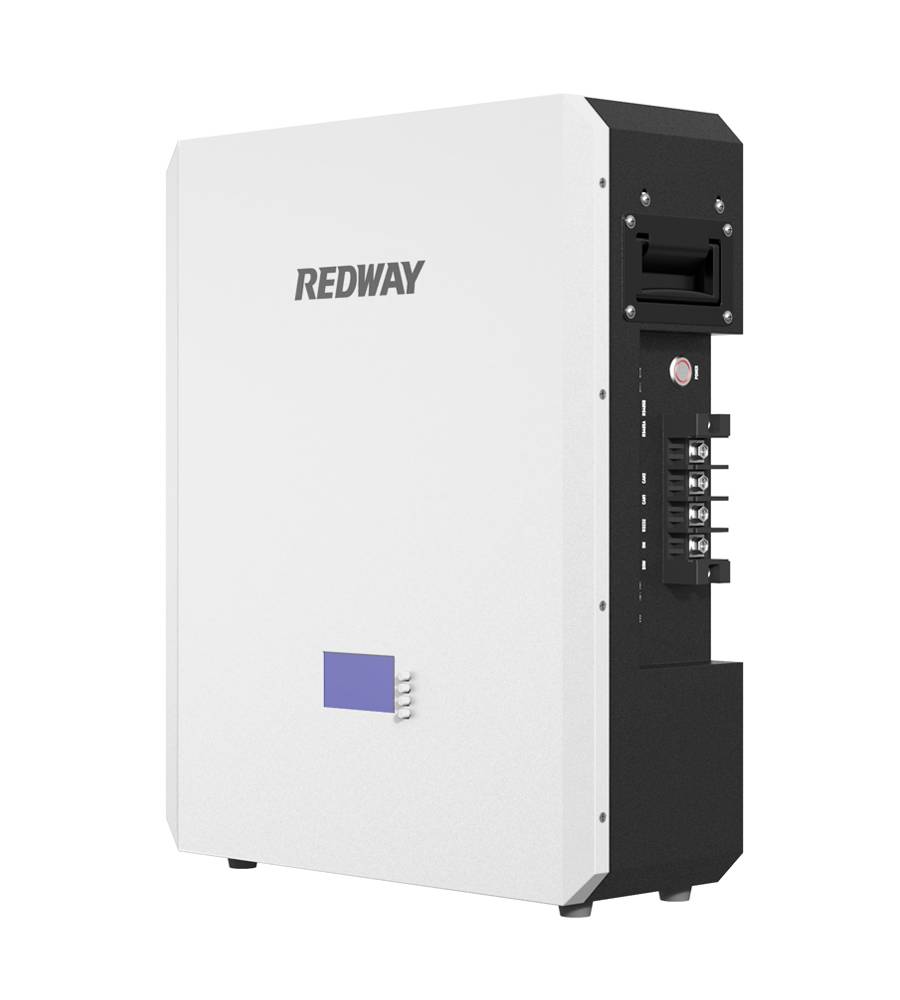
PowerWall 51.2V 100Ah LiFePO4 Lithium Battery
Highly popular in Asia and Eastern Europe.
CE Certification | Home-ESS -
Home-ESS Lithium Battery PowerWall
- Portable Power Stations
How to Install Golf Cart Batteries with Ease: A Step-by-Step Guide
Installing golf cart batteries might seem daunting, but with the right guidance, it can be a straightforward task. Proper installation ensures that your golf cart runs smoothly, and it can extend the life of your new batteries. Here, we provide a comprehensive guide to help you install your golf cart batteries efficiently and safely.
1. Don Your Safety Gear
Before you begin, prioritize safety. Wearing the appropriate safety gear is crucial to prevent accidents and injuries during the battery installation process.
- Gloves: Protect your hands from acid spills and potential injuries.
- Safety Glasses: Shield your eyes from any potential splashes or debris.
By donning these items, you ensure that you are protected from common hazards associated with battery installation.
2. Locate the Batteries
The next step is to find the location of your golf cart batteries. Typically, batteries are housed in one of the following locations:
- Under the Seat: Many golf carts have a battery compartment directly under the seat, making it easily accessible.
- Front Compartment: In some models, the battery compartment is located in the front section of the golf cart.
Consult your golf cart’s manual if you are unsure of the exact location. Properly locating the batteries is essential for a smooth installation process.
3. Verify the New Batteries
Before removing the old batteries, ensure that the new batteries are compatible with your golf cart. This involves:
- Checking Specifications: Verify that the new batteries match the voltage and size specifications required by your golf cart.
- Confirming Type: Ensure that the new batteries are the correct type, such as Lead-Acid or Lithium-Ion, as required by your cart.
Correctly verifying your new batteries will prevent any compatibility issues and ensure optimal performance.
4. Pull the Cables
Disconnecting the cables from the old batteries must be done with care to avoid short circuits or damage. Follow these steps:
- Start with the Negative Cable: Always disconnect the negative (-) cable first. This step is crucial to prevent electrical shorts.
- Follow with the Positive Cable: After removing the negative cable, disconnect the positive (+) cable.
Properly disconnecting the cables prevents electrical hazards and ensures that you can safely remove the old batteries.
5. Remove the Brackets
If your golf cart batteries are secured with brackets, these will need to be removed to free the old batteries. To do this:
- Locate the Brackets: Identify the brackets holding the batteries in place. They are usually metal straps or clamps.
- Remove the Brackets: Use the appropriate tools, such as a wrench or screwdriver, to unscrew and remove the brackets.
Carefully removing the brackets ensures that you can easily lift out the old batteries without damaging the surrounding components.
6. Inspect the Compartment
With the old batteries removed, take the opportunity to inspect the battery compartment:
- Check for Corrosion: Look for any signs of corrosion around the battery terminals or inside the compartment.
- Look for Damage: Ensure that there are no cracks or other damage that could affect the installation of the new batteries.
If you find any issues, addressing them before installing the new batteries will help maintain the longevity and performance of your golf cart.
7. Clean the Wires
Before installing the new batteries, it is essential to clean the battery cables and terminals:
- Use a Wire Brush: Clean the cables and terminals with a wire brush to remove any corrosion or dirt.
- Apply Battery Cleaner: Alternatively, use a battery cleaner to ensure the connections are free of contaminants.
Clean connections are crucial for ensuring that the new batteries operate efficiently and have a reliable power transfer.
8. Insert and Connect the New Batteries
Now that the compartment is prepared and clean, you can install the new batteries:
- Insert the Batteries: Place the new batteries into the compartment, ensuring they are positioned correctly and securely.
- Connect the Cables: Start by connecting the positive (+) cable to the positive terminal of the new battery. Next, connect the negative (-) cable to the negative terminal.
Make sure all connections are tight and secure to prevent any electrical issues. Proper installation ensures optimal battery performance and safety.
9. Test the Installation
After installing and connecting the new batteries, it is important to test the installation:
- Check Connections: Verify that all cables and connections are secure and properly installed.
- Power On the Golf Cart: Turn on the golf cart to ensure that the new batteries are functioning correctly and that there are no issues with the electrical system.
Testing ensures that your installation is successful and that the golf cart operates as expected.
10. Contact Redway Power for Custom Solutions
For those seeking high-quality golf cart batteries, Redway Power offers a range of solutions. As a leading lifepo4 battery factory wholesaler, Redway Power specializes in 48v golf cart batteries and can provide custom solutions quickly to B2B or OEM clients worldwide.
- Expertise: With extensive experience in battery manufacturing, Redway Power ensures top-notch quality and performance.
- Custom Solutions: They offer tailored battery solutions to meet specific needs and requirements.
For a quick quote or more information, contact Redway Power to explore how they can support your battery needs.
Conclusion
Installing golf cart batteries doesn’t have to be a complicated task. By following these detailed steps, you can ensure a smooth installation and get back to enjoying your outdoor adventures with minimal hassle. From safety precautions to testing the installation, each step is crucial for achieving optimal performance and safety.
