- Lithium Golf Cart Battery
- Forklift Lithium Battery
-
48V
- 48V 210Ah
- 48V 300Ah
- 48V 420Ah (949 x 349 x 569 mm)
- 48V 420Ah (950 x 421 x 450 mm)
- 48V 456Ah
- 48V 460Ah (830 x 630 x 590 mm)
- 48V 460Ah (950 x 421 x 450 mm)
- 48V 460Ah (800 x 630 x 600 mm)
- 48V 460Ah (820 x 660 x 470 mm)
- 48V 500Ah
- 48V 560Ah (810 x 630 x 600 mm)
- 48V 560Ah (950 x 592 x 450 mm)
- 48V 600Ah
- 48V 630Ah
-
48V
- 12V Lithium Battery
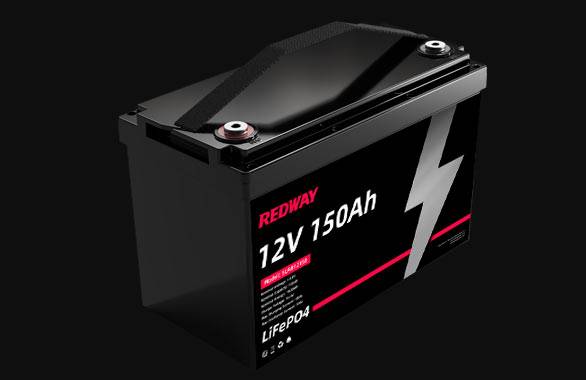
12V 150Ah Lithium RV Battery
Bluetooth App | BCI Group 31
LiFePO4 Lithium
Discharge Temperature -20°C ~ 65°C
Fast Charger 14.6V 50A
Solar MPPT Charging - 24V Lithium Battery
- 36V Lithium Battery
- 48V Lithium Battery
-
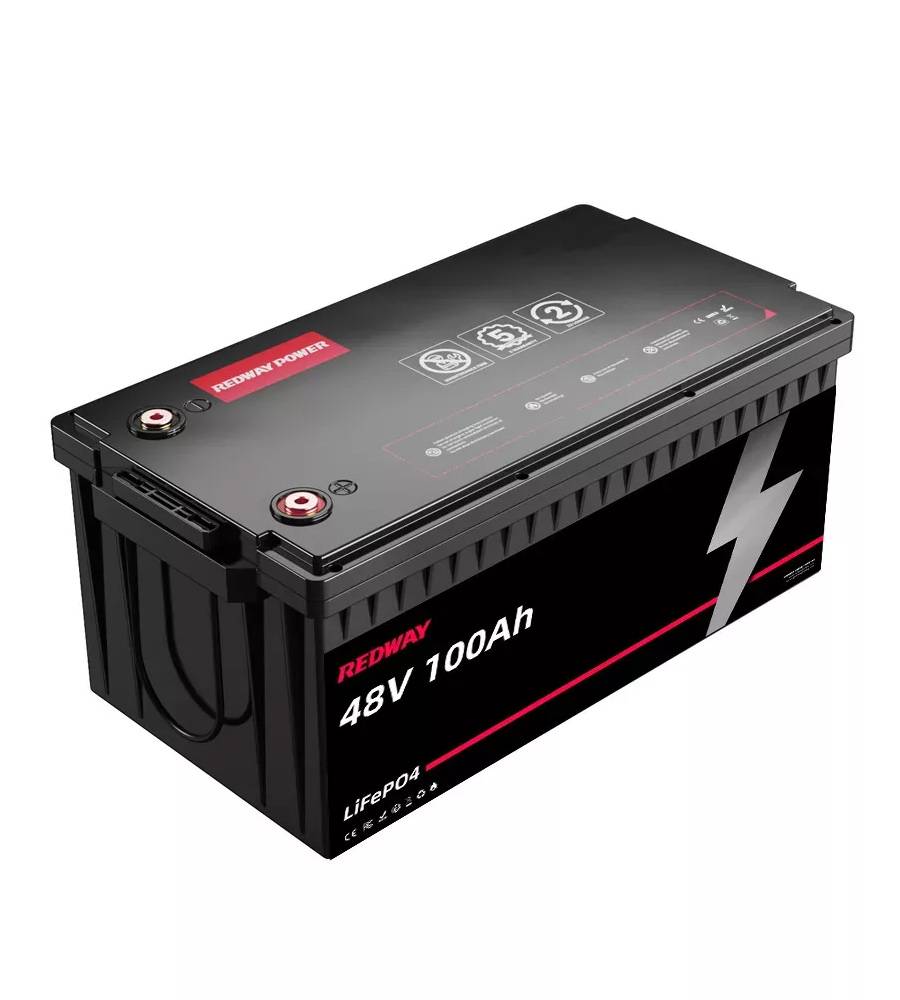
48V LiFePO4 Battery
- 48V 50Ah
- 48V 50Ah (for Golf Carts)
- 48V 60Ah (8D)
- 48V 100Ah (8D)
- 48V 100Ah
- 48V 100Ah (Discharge 100A for Golf Carts)
- 48V 100Ah (Discharge 150A for Golf Carts)
- 48V 100Ah (Discharge 200A for Golf Carts)
- 48V 150Ah (for Golf Carts)
- 48V 160Ah (Discharge 100A for Golf Carts)
- 48V 160Ah (Discharge 160A for Golf Carts)
-
48V LiFePO4 Battery
- 60V Lithium Battery
-
60V LiFePO4 Battery
- 60V 20Ah
- 60V 30Ah
- 60V 50Ah
- 60V 50Ah (Small Size / Side Terminal)
- 60V 100Ah (for Electric Motocycle, Electric Scooter, LSV, AGV)
- 60V 100Ah (for Forklift, AGV, Electric Scooter, Sweeper)
- 60V 150Ah (E-Motocycle / E-Scooter / E-Tricycle / Tour LSV)
- 60V 200Ah (for Forklift, AGV, Electric Scooter, Sweeper)
-
60V LiFePO4 Battery
- 72V~96V Lithium Battery
- Rack-mounted Lithium Battery
- E-Bike Battery
- All-in-One Home-ESS
- Wall-mount Battery ESS
-
Home-ESS Lithium Battery PowerWall
- 24V 100Ah 2.4kWh PW24100-S PowerWall
- 48V 50Ah 2.4kWh PW4850-S PowerWall
- 48V 50Ah 2.56kWh PW5150-S PowerWall
- 48V 100Ah 5.12kWh PW51100-F PowerWall (IP65)
- 48V 100Ah 5.12kWh PW51100-S PowerWall
- 48V 100Ah 5.12kWh PW51100-H PowerWall
- 48V 200Ah 10kWh PW51200-H PowerWall
- 48V 300Ah 15kWh PW51300-H PowerWall
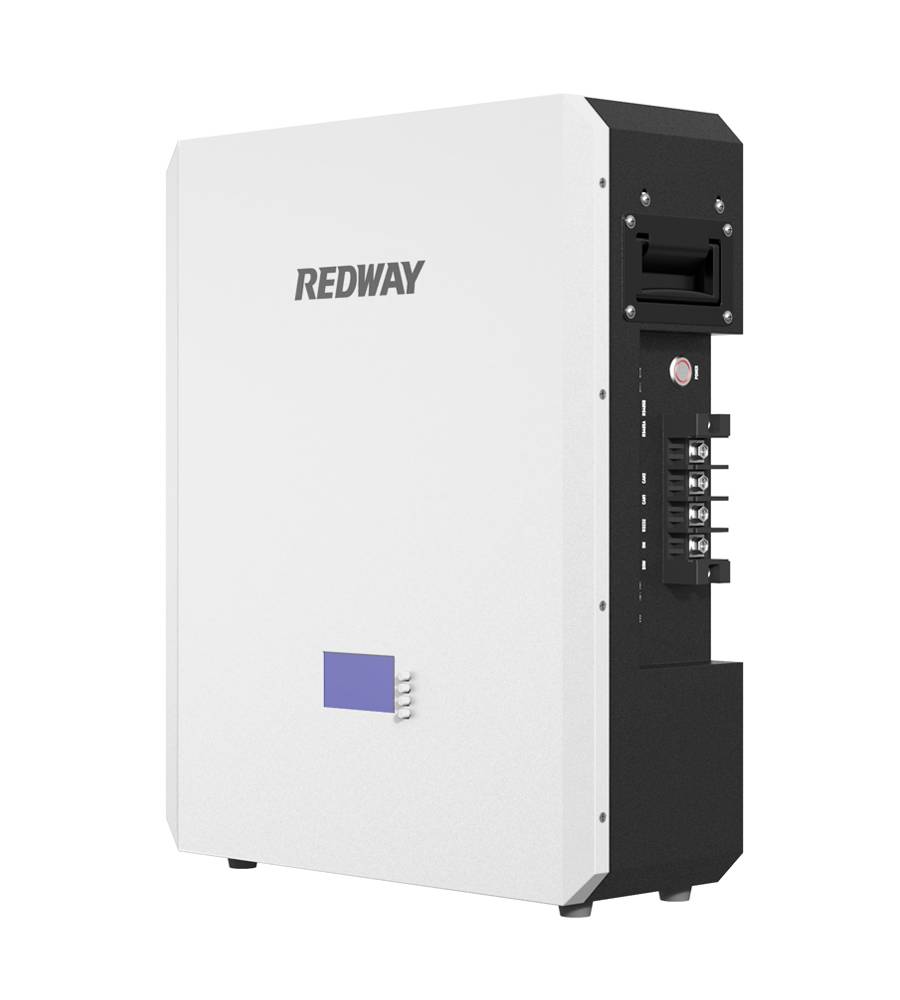
PowerWall 51.2V 100Ah LiFePO4 Lithium Battery
Highly popular in Asia and Eastern Europe.
CE Certification | Home-ESS -
Home-ESS Lithium Battery PowerWall
- Portable Power Stations
How to Install a 48V Lithium Battery in Your Golf Cart
Upgrading your golf cart to a 48V lithium battery is an excellent choice for enhanced performance, longer lifespan, and improved efficiency. This guide provides a comprehensive step-by-step process for installing a 48V lithium battery in your golf cart, ensuring a smooth transition and optimal results.
1. Choose the Right Battery
Selecting the correct 48V lithium battery is crucial for a successful installation. Consider the following factors:
- Compatibility: Ensure the battery is a direct replacement for your existing lead-acid batteries. Most golf carts use group-size GC2 or GC8 batteries, so choose a lithium battery that matches these dimensions.
- Quality: Opt for a reputable brand with proven performance and reliability.
2. Gather Necessary Tools and Materials
Before starting the installation, gather all the necessary tools and materials:
- Basic Tools: Wrenches, screwdrivers, and pliers.
- New Lithium Battery: Ensure it matches the specifications required for your golf cart.
- Compatible Charger: A charger specifically designed for lithium batteries.
3. Disconnect the Old Batteries
Safety first: Turn off your golf cart to prevent electrical accidents. Follow these steps:
- Disconnect the Negative Terminal: This helps avoid electrical shorts.
- Disconnect the Positive Terminal: Proceed after removing the negative connection.
- Remove Old Batteries: Take out any mounting straps or brackets, then carefully lift out the old batteries from the compartment.
4. Clean the Battery Tray
Inspect the battery tray for any signs of corrosion or debris. A clean tray is essential for:
- Good Electrical Connections: Ensures that the new battery makes proper contact.
- Prevention of Corrosion: Reduces the risk of future issues.
Use a wire brush or a cleaning solution to thoroughly clean the tray. Dry it completely before proceeding.
5. Install the New Lithium Battery
Place the new 48V lithium battery into the battery compartment:
- Fit: Ensure the battery fits securely in the tray without obstructing any other components.
- Mounting: Use the original straps or brackets to secure the battery, preventing movement during operation.
6. Connect the Battery
Connect the battery following these steps:
- Attach the Positive Terminal First: Connect the positive terminal to the battery post.
- Connect the Negative Terminal: Attach the negative terminal next.
- Ensure Tight Connections: Make sure all connections are secure and free from corrosion.
If you are installing multiple lithium batteries, connect them in parallel:
- Positive to Positive: Connect all positive terminals together.
- Negative to Negative: Connect all negative terminals together.
7. Check Compatibility with Charger
Using a charger specifically designed for lithium batteries is essential:
- Voltage: Ensure the charger is rated for 48V.
- Lithium Technology: Avoid chargers meant for lead-acid batteries, as they can damage lithium batteries.
8. Charge the Battery
Before using your golf cart, fully charge the new lithium battery:
- Follow Manufacturer Instructions: Charge according to the manufacturer’s guidelines to ensure optimal performance.
- Initial Charge: A full initial charge is crucial for the longevity and efficiency of the battery.
9. Test the Installation
Once installation and charging are complete, test the battery:
- Turn On the Golf Cart: Check all electrical systems to ensure they are functioning properly.
- Verify Performance: Ensure the battery provides adequate power and efficiency.
10. Regular Maintenance
To maintain the health of your new 48V lithium battery:
- Monitor Performance: Regularly check the battery’s performance and charge levels.
- Frequent Charging: Lithium batteries benefit from frequent, partial charging rather than deep discharges.
By adhering to these detailed steps, you can effectively install a 48V lithium battery in your golf cart, enhancing its performance and reliability. For specialized battery solutions, Redway Power offers high-quality lithium LiFePO4 batteries for golf carts. Contact us for a quick quote and explore our customized solutions for your needs.
Know more:
How do I properly hook up 48-volt golf cart batteries?
To hook up 48-volt golf cart batteries, first ensure all batteries are the same voltage and type. Connect the positive terminal of the first battery to the negative terminal of the second battery. Repeat this pattern until all batteries are connected. Finally, connect the remaining positive and negative terminals to the golf cart’s power system.
What tools do I need to connect 48-volt golf cart batteries?
You will need basic tools such as a wrench or socket set for terminal connections, wire cutters/strippers for adjusting cables, and safety gear like gloves and goggles. A multimeter can also be helpful to check voltage levels before and after installation to ensure proper connections.]
How can I ensure a safe connection when hooking up batteries?
To ensure a safe connection, always disconnect the power before starting. Double-check that terminals are clean and free of corrosion. Use appropriate gauge wires for connections, tighten terminal bolts securely, and avoid over-tightening. Lastly, ensure that all connections are insulated to prevent short circuits.
What should I do if my golf cart batteries are not charging properly?
If your golf cart batteries are not charging properly, first check all connections for tightness and corrosion. Ensure that the charger is functioning correctly and is compatible with your battery type. If issues persist, test each battery individually with a multimeter to identify any faulty cells that may need replacement.


