
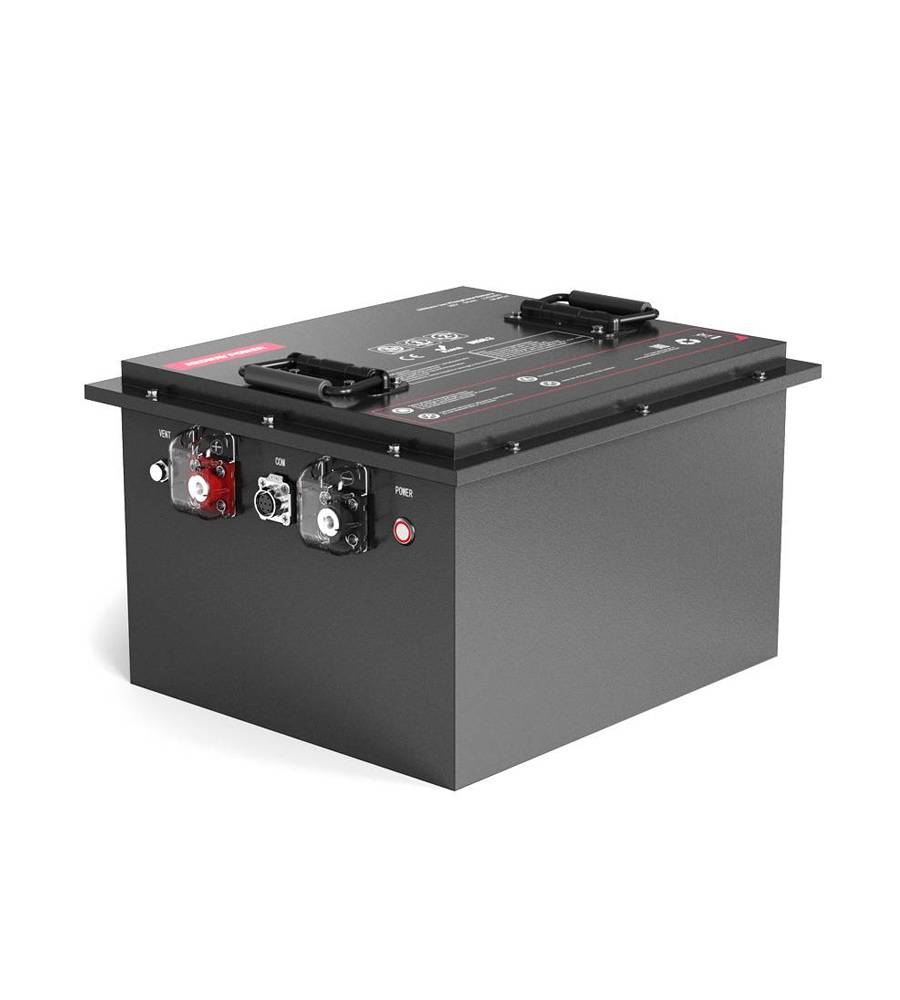
- Lithium Golf Cart Battery
- Forklift Lithium Battery
-
48V
- 48V 210Ah
- 48V 300Ah
- 48V 420Ah (949 x 349 x 569 mm)
- 48V 420Ah (950 x 421 x 450 mm)
- 48V 456Ah
- 48V 460Ah (830 x 630 x 590 mm)
- 48V 460Ah (950 x 421 x 450 mm)
- 48V 460Ah (800 x 630 x 600 mm)
- 48V 460Ah (820 x 660 x 470 mm)
- 48V 500Ah
- 48V 560Ah (810 x 630 x 600 mm)
- 48V 560Ah (950 x 592 x 450 mm)
- 48V 600Ah
- 48V 630Ah
-
48V
- 12V Lithium Battery
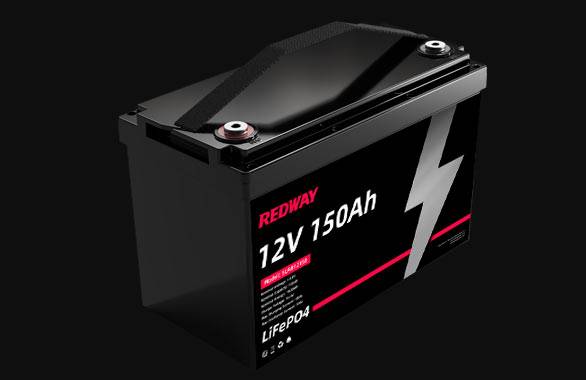

12V 150Ah Lithium RV Battery
Bluetooth App | BCI Group 31
LiFePO4 Lithium
Discharge Temperature -20°C ~ 65°C
Fast Charger 14.6V 50A
Solar MPPT Charging - 24V Lithium Battery
- 36V Lithium Battery
- 48V Lithium Battery
-
48V LiFePO4 Battery
- 48V 50Ah
- 48V 50Ah (for Golf Carts)
- 48V 60Ah (8D)
- 48V 100Ah (8D)
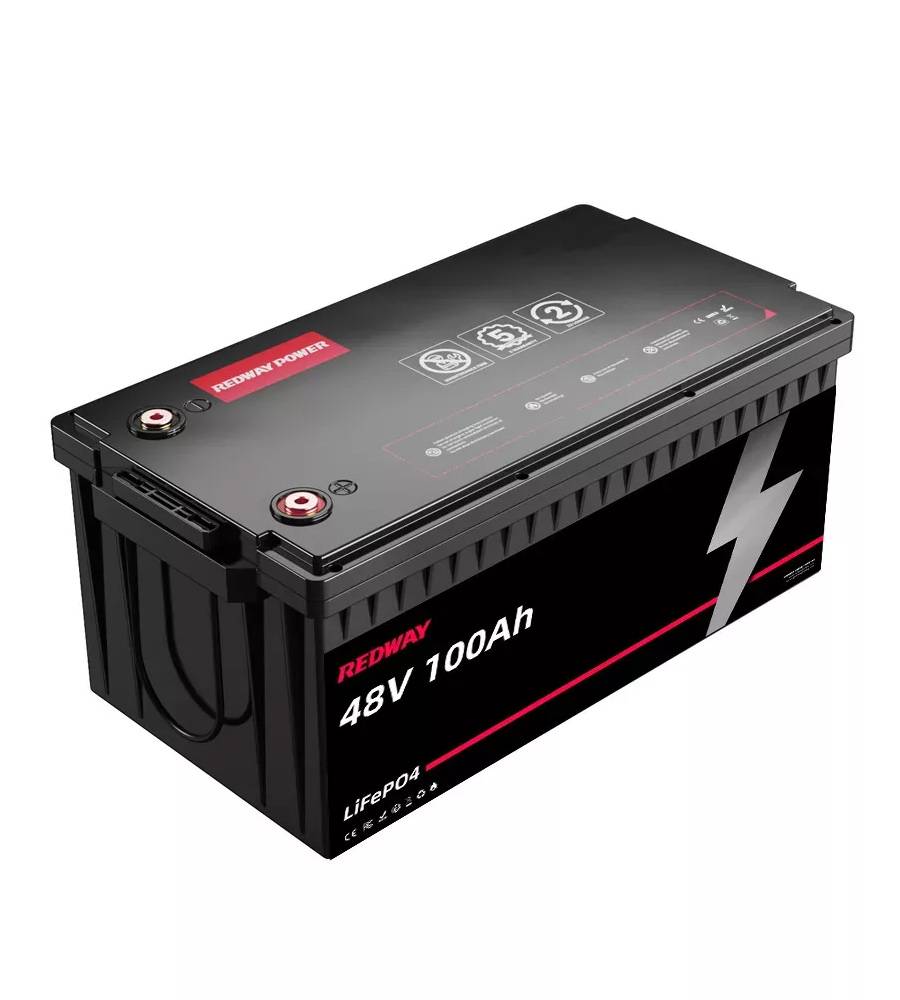
- 48V 100Ah
- 48V 100Ah (Discharge 100A for Golf Carts)
- 48V 100Ah (Discharge 150A for Golf Carts)
- 48V 100Ah (Discharge 200A for Golf Carts)
- 48V 150Ah (for Golf Carts)
- 48V 160Ah (Discharge 100A for Golf Carts)
- 48V 160Ah (Discharge 160A for Golf Carts)
-
48V LiFePO4 Battery
- 60V Lithium Battery
-
60V LiFePO4 Battery
- 60V 20Ah
- 60V 30Ah
- 60V 50Ah
- 60V 50Ah (Small Size / Side Terminal)
- 60V 100Ah (for Electric Motocycle, Electric Scooter, LSV, AGV)
- 60V 100Ah (for Forklift, AGV, Electric Scooter, Sweeper)
- 60V 150Ah (E-Motocycle / E-Scooter / E-Tricycle / Tour LSV)
- 60V 200Ah (for Forklift, AGV, Electric Scooter, Sweeper)
-
60V LiFePO4 Battery
- 72V~96V Lithium Battery
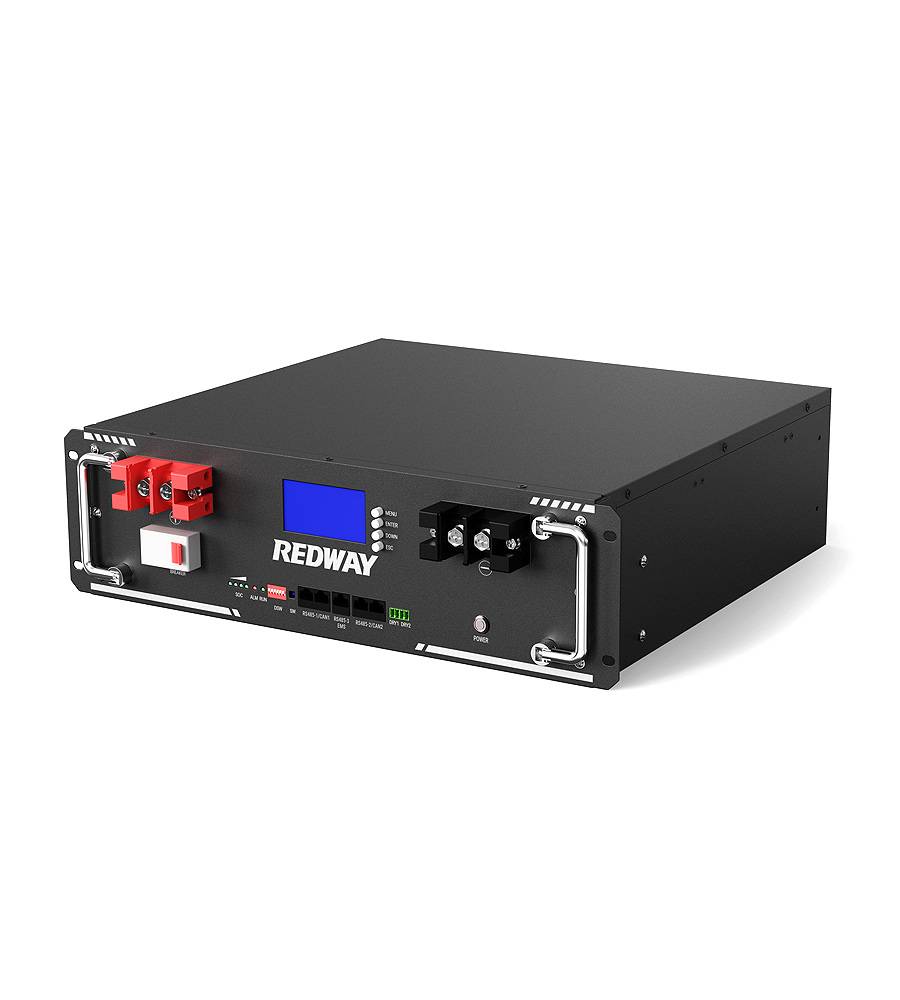
- Rack-mounted Lithium Battery
- E-Bike Battery
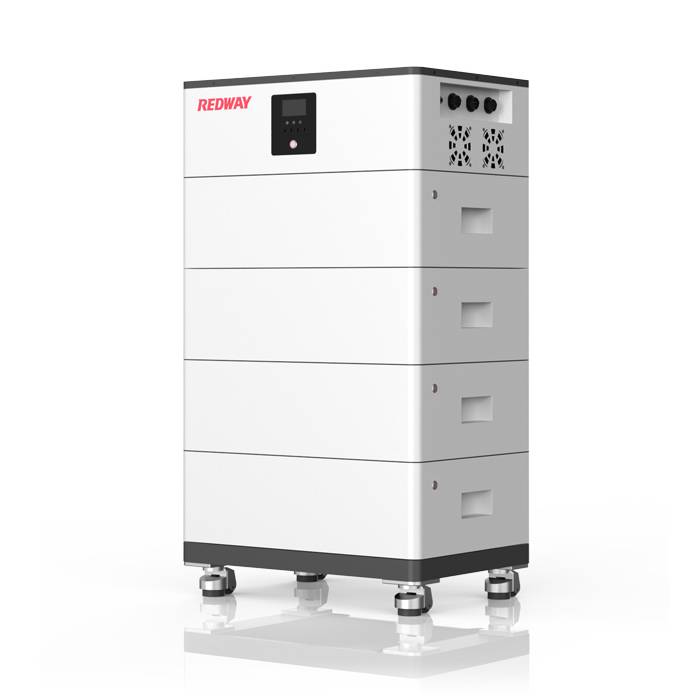
- All-in-One Home-ESS
- Wall-mount Battery ESS
-
Home-ESS Lithium Battery PowerWall
- 24V 100Ah 2.4kWh PW24100-S PowerWall
- 48V 50Ah 2.4kWh PW4850-S PowerWall
- 48V 50Ah 2.56kWh PW5150-S PowerWall
- 48V 100Ah 5.12kWh PW51100-F PowerWall (IP65)
- 48V 100Ah 5.12kWh PW51100-S PowerWall
- 48V 100Ah 5.12kWh PW51100-H PowerWall
- 48V 200Ah 10kWh PW51200-H PowerWall
- 48V 300Ah 15kWh PW51300-H PowerWall
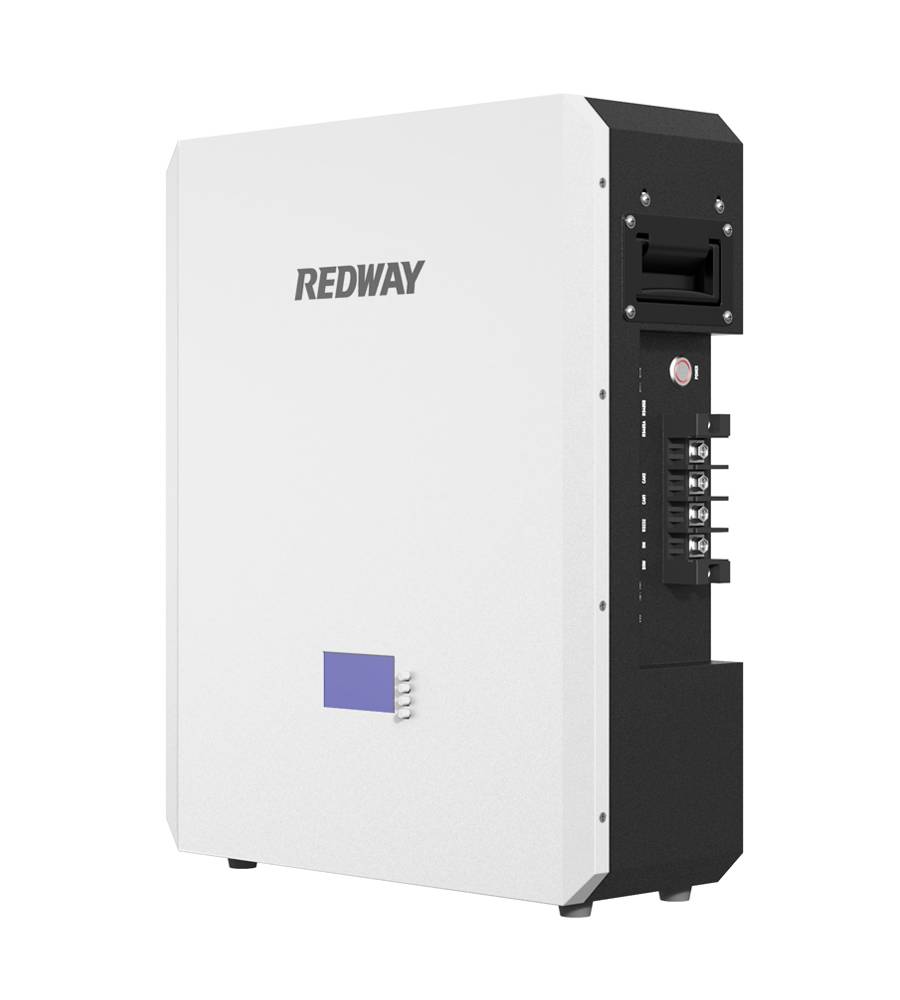

PowerWall 51.2V 100Ah LiFePO4 Lithium Battery
Highly popular in Asia and Eastern Europe.
CE Certification | Home-ESS -
Home-ESS Lithium Battery PowerWall
- Portable Power Stations


How to Charge Two 12V Batteries in Parallel: A Comprehensive Guide
Charging two 12-volt batteries in parallel is a practical method for increasing your power capacity without changing the voltage. This approach is commonly used in various applications, including RVs, boats, and off-grid solar systems. To ensure effective and safe charging, it is essential to follow a precise procedure. This guide provides a detailed, step-by-step approach to achieve optimal results.
1. Understanding Battery Specifications
Before beginning the charging process, it’s crucial to ensure that both batteries are compatible. Here’s what you need to check:
- Battery Type and Capacity: Both batteries should be of the same type (e.g., lead-acid, AGM, or gel) and have similar capacities. Mismatched batteries can lead to inefficient charging and reduced performance.
- Battery Age: Ideally, the batteries should be of similar age to ensure consistent performance and longevity.
2. Safety Precautions
Safety is paramount when working with batteries. Follow these precautions to protect yourself and your equipment:
- Work in a Well-Ventilated Area: Batteries can emit gases that are potentially hazardous. Ensure you’re working in an area with good airflow.
- Wear Protective Gear: Use safety glasses and gloves to prevent any contact with battery acid or sparks.
- Avoid Sparks and Flames: Batteries can produce explosive gases, so keep any sources of ignition away from the working area.
3. Connecting the Batteries
To charge two 12-volt batteries in parallel, you need to connect them correctly. Follow these steps:
Step 3.1: Position the Batteries
Place both batteries close to each other to minimize the length of the connecting cables. Ensure they are securely mounted and not prone to movement.
Step 3.2: Connect the Positive Terminals
Using a high-quality cable, connect the positive terminal of the first battery to the positive terminal of the second battery. Ensure the connection is firm and free from corrosion.
Step 3.3: Connect the Negative Terminals
Similarly, connect the negative terminal of the first battery to the negative terminal of the second battery. Ensure the connection is secure and clean.
Step 3.4: Check Connections
Double-check all connections to ensure they are tight and free from any signs of corrosion or damage. Loose or corroded connections can lead to inefficient charging or safety hazards.
4. Attaching the Charger
The next step is to connect the charger to one of the batteries. Follow these guidelines:
Step 4.1: Choose the Right Charger
Select a charger that is compatible with the type and voltage of your batteries. It should be capable of charging at the appropriate current for the battery’s capacity.
Step 4.2: Connect the Charger’s Positive Lead
Attach the charger’s positive lead to the positive terminal of one of the batteries. Ensure a secure and clean connection.
Step 4.3: Connect the Charger’s Negative Lead
Attach the charger’s negative lead to the negative terminal of the same battery. Make sure the connection is firm and secure.
Step 4.4: Start the Charging Process
Turn on the charger and begin the charging process. Monitor the charger’s settings and ensure they are appropriate for your battery’s specifications.
5. Monitoring the Charging Process
Regular monitoring is crucial to ensure that the batteries are charging correctly and safely:
Step 5.1: Check Battery Voltage
Regularly check the voltage of both batteries to ensure they are charging evenly. The voltage should rise gradually as charging progresses.
Step 5.2: Inspect Connections
Periodically inspect all connections for signs of overheating or corrosion. Tighten any loose connections and clean any corrosion if necessary.
Step 5.3: Monitor Charger Performance
Keep an eye on the charger’s performance and settings. Ensure it is operating within the recommended parameters for your batteries.
6. Maintenance and Care
Proper maintenance of the batteries and charging system can enhance performance and longevity:
Step 6.1: Regular Cleaning
Clean the battery terminals and connections periodically to prevent corrosion. Use a battery cleaning solution and a brush designed for battery maintenance.
Step 6.2: Check Battery Fluid Levels
For lead-acid batteries, regularly check the fluid levels and top up with distilled water if necessary. Ensure the battery is off and fully charged before performing this task.
Step 6.3: Test Battery Performance
Periodically test the batteries’ performance using a battery tester. This helps identify any potential issues and ensures they are functioning optimally.
7. Troubleshooting Common Issues
In case you encounter any issues during the charging process, consider the following troubleshooting tips:
Step 7.1: Uneven Charging
If one battery is not charging properly, check for any loose or corroded connections. Ensure both batteries are of similar capacity and condition.
Step 7.2: Overheating
If the batteries or charger overheat, stop the charging process immediately. Allow them to cool down before resuming. Check for any issues with the charger or connections.
Step 7.3: Low Charge
If the batteries do not reach the expected charge level, verify that the charger is functioning correctly and that it is compatible with the batteries.
8. Conclusion
Charging two 12-volt batteries in parallel is a straightforward process that, when done correctly, ensures efficient power storage and usage. By following these detailed steps and guidelines, you can safely and effectively charge your batteries, enhancing their performance and extending their lifespan. Regular maintenance and proper monitoring will help you keep your batteries in optimal condition, ensuring reliable operation for your power needs.