- Forklift Lithium Battery
-
48V
- 48V 210Ah
- 48V 300Ah
- 48V 420Ah (949 x 349 x 569 mm)
- 48V 420Ah (950 x 421 x 450 mm)
- 48V 456Ah
- 48V 460Ah (830 x 630 x 590 mm)
- 48V 460Ah (950 x 421 x 450 mm)
- 48V 460Ah (800 x 630 x 600 mm)
- 48V 460Ah (820 x 660 x 470 mm)
- 48V 500Ah
- 48V 560Ah (810 x 630 x 600 mm)
- 48V 560Ah (950 x 592 x 450 mm)
- 48V 600Ah
- 48V 630Ah
-
48V
- Lithium Golf Cart Battery
- 12V Lithium Battery
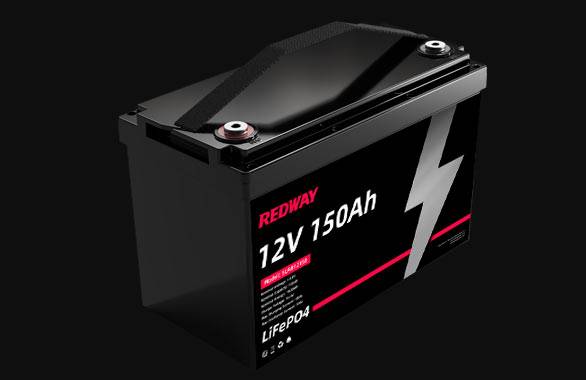

12V 150Ah Lithium RV Battery
Bluetooth App | BCI Group 31
LiFePO4 Lithium
Discharge Temperature -20°C ~ 65°C
Fast Charger 14.6V 50A
Solar MPPT Charging - 24V Lithium Battery
- 36V Lithium Battery
- 48V Lithium Battery
-
48V LiFePO4 Battery
- 48V 50Ah
- 48V 50Ah (for Golf Carts)
- 48V 60Ah (8D)
- 48V 100Ah (8D)
- 48V 100Ah
- 48V 100Ah (Discharge 100A for Golf Carts)
- 48V 100Ah (Discharge 150A for Golf Carts)
- 48V 100Ah (Discharge 200A for Golf Carts)
- 48V 150Ah (for Golf Carts)
- 48V 160Ah (Discharge 100A for Golf Carts)
- 48V 160Ah (Discharge 160A for Golf Carts)
-
48V LiFePO4 Battery
- 60V Lithium Battery
-
60V LiFePO4 Battery
- 60V 20Ah
- 60V 30Ah
- 60V 50Ah
- 60V 50Ah (Small Size / Side Terminal)
- 60V 100Ah (for Electric Motocycle, Electric Scooter, LSV, AGV)
- 60V 100Ah (for Forklift, AGV, Electric Scooter, Sweeper)
- 60V 150Ah (E-Motocycle / E-Scooter / E-Tricycle / Tour LSV)
- 60V 200Ah (for Forklift, AGV, Electric Scooter, Sweeper)
-
60V LiFePO4 Battery
- 72V~96V Lithium Battery
- Rack-mounted Lithium Battery
- E-Bike Battery
- All-in-One Home-ESS
- Wall-mount Battery ESS
-
Home-ESS Lithium Battery PowerWall
- 24V 100Ah 2.4kWh PW24100-S PowerWall
- 48V 50Ah 2.4kWh PW4850-S PowerWall
- 48V 50Ah 2.56kWh PW5150-S PowerWall
- 48V 100Ah 5.12kWh PW51100-F PowerWall (IP65)
- 48V 100Ah 5.12kWh PW51100-S PowerWall
- 48V 100Ah 5.12kWh PW51100-H PowerWall
- 48V 200Ah 10kWh PW51200-H PowerWall
- 48V 300Ah 15kWh PW51300-H PowerWall
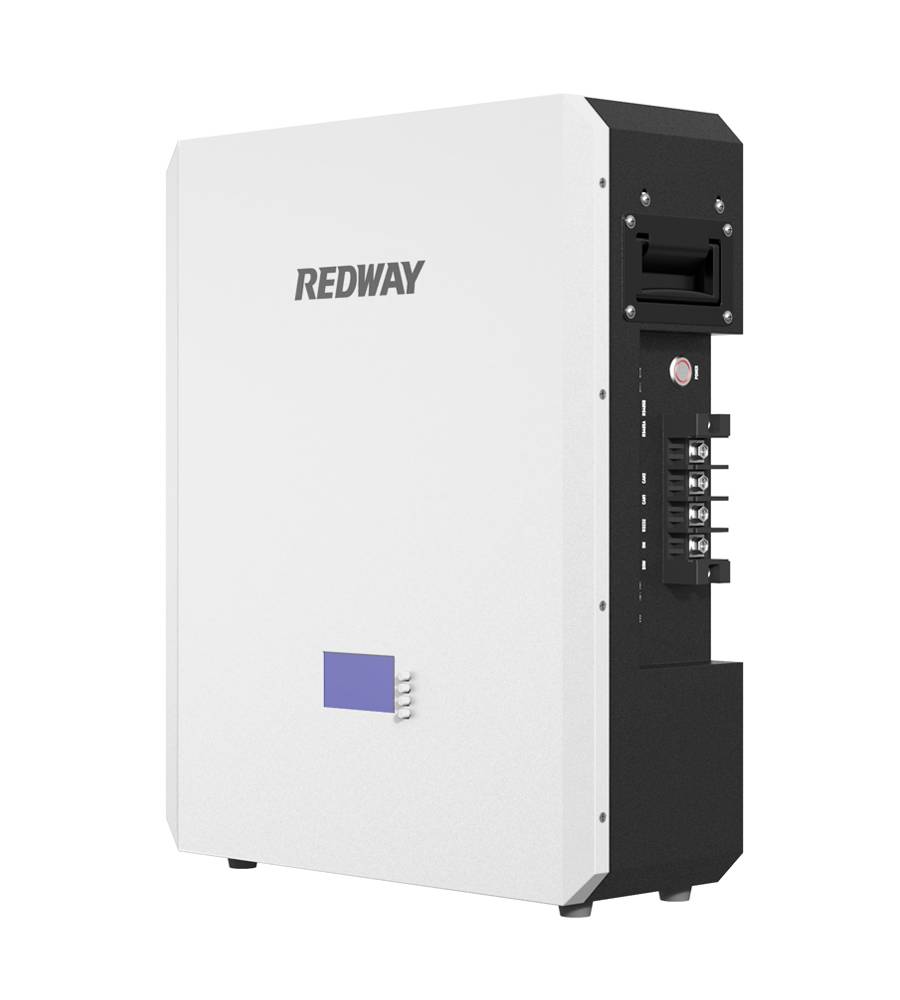

PowerWall 51.2V 100Ah LiFePO4 Lithium Battery
Highly popular in Asia and Eastern Europe.
CE Certification | Home-ESS -
Home-ESS Lithium Battery PowerWall
- Portable Power Stations


How to Charge a Dead 12V Battery: A Step-by-Step Guide
When faced with a dead 12-volt battery, whether in your car, motorcycle, or another vehicle, knowing the correct procedure for recharging it is essential. A 12V battery is the lifeblood of many vehicles, and without proper care, it can leave you stranded at the most inconvenient times. In this comprehensive guide, we’ll walk you through every step required to charge a dead 12V battery, ensuring your vehicle gets back on the road swiftly and safely.
Understanding the Basics of a 12V Battery
A 12-volt battery is a lead-acid type, commonly found in automotive applications. It consists of six cells, each producing approximately 2.1 volts when fully charged. Together, these cells provide the 12.6 volts necessary to power your vehicle. Over time, batteries can lose their charge due to prolonged inactivity, extreme temperatures, or faulty electrical systems. When this happens, recharging becomes necessary.
Safety Precautions Before Charging
Before you begin the charging process, it is crucial to prioritize safety. Batteries contain sulfuric acid, which can be dangerous if not handled properly. Additionally, improper charging can lead to overheating or even explosions. Here’s what you need to do:
- Work in a well-ventilated area: Charging a battery releases hydrogen gas, which is highly flammable.
- Wear protective gear: Use gloves and safety goggles to protect your skin and eyes from acid splashes.
- Check the battery for damage: Inspect the battery for cracks, leaks, or any other visible damage. If you find any, do not attempt to charge the battery.
Step-by-Step Guide to Charging a Dead 12V Battery
1. Locate Your Vehicle’s Battery Terminals
The first step in charging a dead 12V battery is to locate the battery terminals. These are usually found under the hood of the vehicle, but some vehicles may have the battery in the trunk or under a seat. The battery terminals are clearly marked with positive (+) and negative (-) signs.
- Positive Terminal (+): Often red and marked with a plus sign.
- Negative Terminal (-): Typically black and marked with a minus sign.
2. Prepare Your Battery Charger
Before connecting the charger, ensure that it is unplugged and turned off. This is a crucial safety step to prevent accidental sparks or short circuits. Different chargers have various settings, so familiarize yourself with the manufacturer’s instructions.
3. Connect the Charger to the Battery
Now it’s time to connect the charger to the battery:
- Attach the Positive Clamp: Connect the red (positive) clamp to the positive terminal of the battery.
- Attach the Negative Clamp: Connect the black (negative) clamp to the negative terminal of the battery.
Ensure that the clamps are securely attached to avoid loose connections, which can lead to poor charging efficiency or dangerous sparks.
4. Plug in the Charger and Set the Correct Settings
After securing the clamps, plug the charger into a power outlet. Most modern chargers have settings that allow you to adjust the voltage and amperage. For a standard 12V battery:
- Select 12V as the charging voltage.
- Choose the appropriate amperage setting. A lower amperage (e.g., 2-10 amps) is recommended for a slow charge, which is safer and prolongs battery life. A higher amperage (e.g., 10-20 amps) can charge the battery faster but is riskier if not monitored carefully.
5. Monitor the Charging Process
While the battery is charging, it’s important to monitor the process. Modern chargers often have indicators showing the charging status:
- Green Light or Full Indicator: The battery is fully charged.
- Charging Indicator: The battery is still being charged.
Charging times can vary depending on the battery’s capacity and the charger’s output. A deeply discharged battery may take anywhere from 4 to 24 hours to fully charge. Avoid leaving the battery on the charger longer than necessary, as overcharging can damage the battery.
6. Disconnect the Charger Safely
Once the battery is fully charged, you can proceed to disconnect the charger. Start by turning off the charger and unplugging it from the outlet. Then, remove the negative clamp first, followed by the positive clamp. This sequence helps prevent short circuits and sparks.
7. Test the Battery
After charging, it’s a good idea to test the battery before reinstalling it in your vehicle. Use a multimeter to check the voltage. A fully charged 12V battery should read between 12.6 and 12.8 volts. If the battery shows a significantly lower voltage, it may not be holding a charge properly and could require replacement.
Frequently Asked Questions
How Long Does It Take to Charge a 12V Battery?
The time required to charge a 12V battery depends on several factors:
- Battery Capacity: Larger batteries take longer to charge.
- Charger Output: Higher amperage chargers will charge the battery faster.
- Battery Condition: A severely depleted or old battery may take longer to charge.
On average, charging a dead 12V battery with a 10-amp charger can take approximately 6-12 hours. For a trickle charger (2-4 amps), expect the process to take 24 hours or more.
Can I Charge a 12V Battery at Home?
Yes, charging a 12V battery at home is entirely feasible as long as you have the necessary equipment. Ensure that you follow all safety guidelines and use a charger that is compatible with your battery type.
What Are the Signs of a Battery That Needs to Be Recharged?
Common signs that your 12V battery needs recharging include:
- Slow engine crank: The engine takes longer to start than usual.
- Dim headlights: Headlights appear dimmer, especially when the vehicle is idling.
- Dashboard warning lights: Some vehicles have battery warning indicators.
If you notice these symptoms, it’s time to check and recharge your battery.
Can I Overcharge a 12V Battery?
Yes, overcharging a 12V battery can lead to serious damage. Overcharging causes the battery to overheat, which can warp the internal plates, cause the electrolyte to evaporate, and ultimately reduce the battery’s lifespan. Always use a charger with an automatic shutoff feature to prevent overcharging.
Conclusion
Charging a dead 12V battery is a straightforward process when you follow the correct steps. By prioritizing safety, using the appropriate equipment, and monitoring the charging process, you can effectively restore your battery’s charge and extend its lifespan. Regular maintenance and proper charging practices will help ensure that your 12V battery continues to provide reliable service for years to come.