- Lithium Golf Cart Battery
- Forklift Lithium Battery
-
48V
- 48V 210Ah
- 48V 300Ah
- 48V 420Ah (949 x 349 x 569 mm)
- 48V 420Ah (950 x 421 x 450 mm)
- 48V 456Ah
- 48V 460Ah (830 x 630 x 590 mm)
- 48V 460Ah (950 x 421 x 450 mm)
- 48V 460Ah (800 x 630 x 600 mm)
- 48V 460Ah (820 x 660 x 470 mm)
- 48V 500Ah
- 48V 560Ah (810 x 630 x 600 mm)
- 48V 560Ah (950 x 592 x 450 mm)
- 48V 600Ah
- 48V 630Ah
-
48V
- 12V Lithium Battery
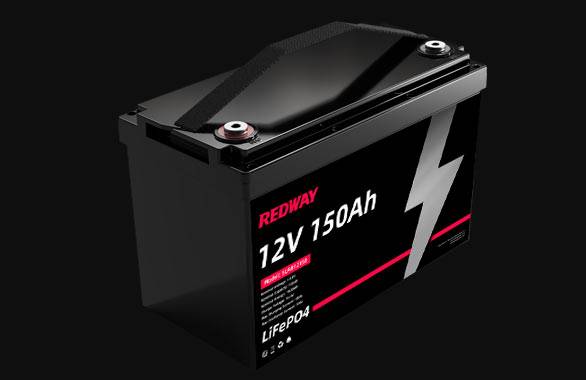
12V 150Ah Lithium RV Battery
Bluetooth App | BCI Group 31
LiFePO4 Lithium
Discharge Temperature -20°C ~ 65°C
Fast Charger 14.6V 50A
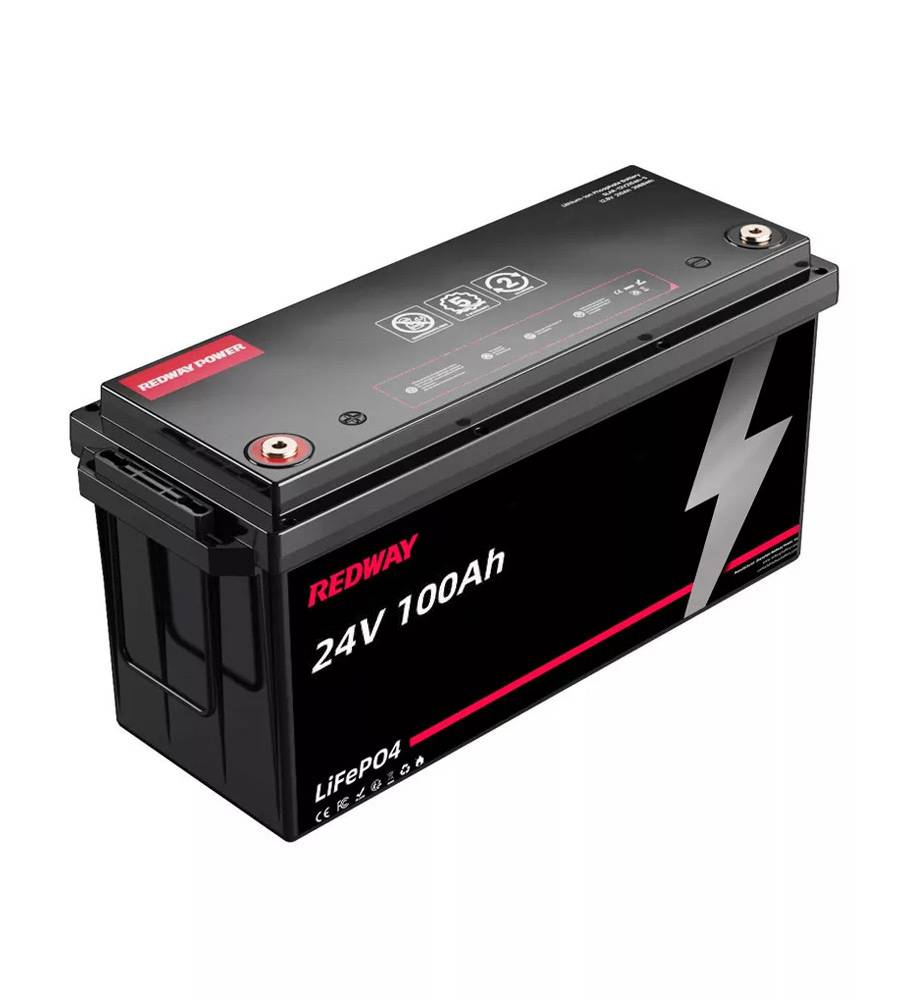
Solar MPPT Charging - 24V Lithium Battery
- 36V Lithium Battery
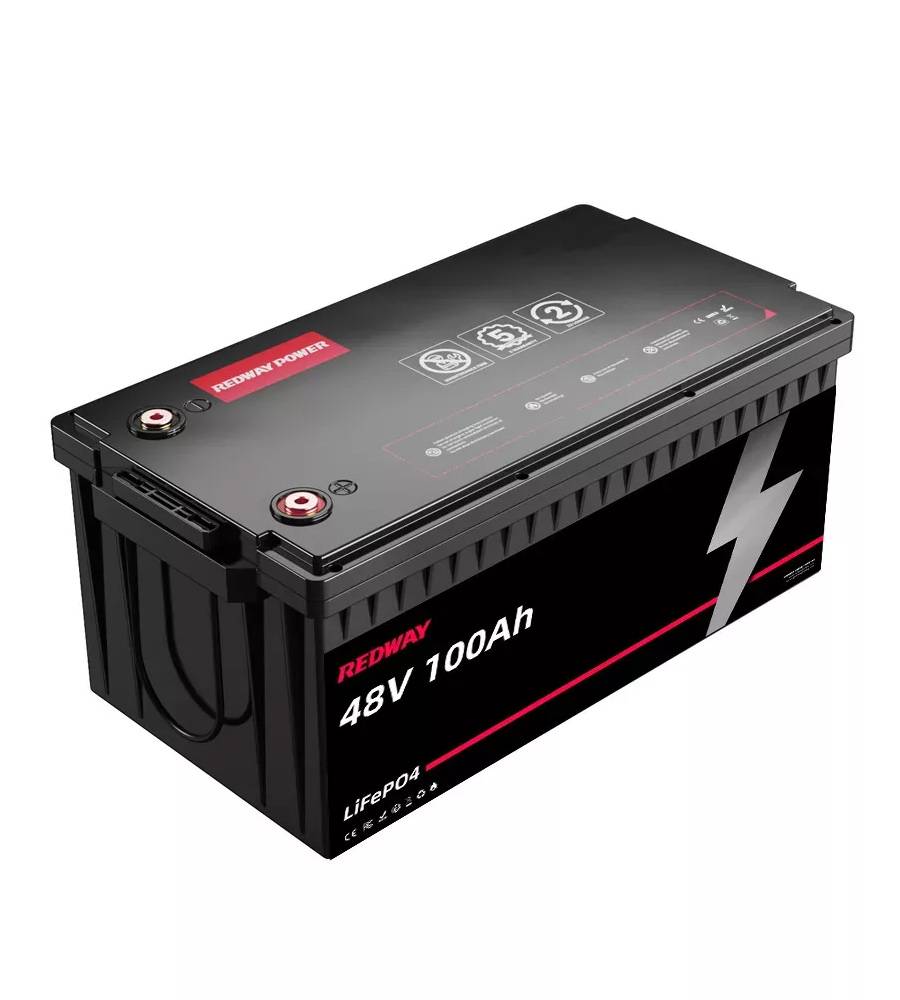
- 48V Lithium Battery
-
48V LiFePO4 Battery
- 48V 50Ah
- 48V 50Ah (for Golf Carts)
- 48V 60Ah (8D)
- 48V 100Ah (8D)
- 48V 100Ah
- 48V 100Ah (Discharge 100A for Golf Carts)
- 48V 100Ah (Discharge 150A for Golf Carts)
- 48V 100Ah (Discharge 200A for Golf Carts)
- 48V 150Ah (for Golf Carts)
- 48V 160Ah (Discharge 100A for Golf Carts)
- 48V 160Ah (Discharge 160A for Golf Carts)
-
48V LiFePO4 Battery
- 60V Lithium Battery
-
60V LiFePO4 Battery
- 60V 20Ah
- 60V 30Ah
- 60V 50Ah
- 60V 50Ah (Small Size / Side Terminal)
- 60V 100Ah (for Electric Motocycle, Electric Scooter, LSV, AGV)
- 60V 100Ah (for Forklift, AGV, Electric Scooter, Sweeper)
- 60V 150Ah (E-Motocycle / E-Scooter / E-Tricycle / Tour LSV)
- 60V 200Ah (for Forklift, AGV, Electric Scooter, Sweeper)
-
60V LiFePO4 Battery
- 72V~96V Lithium Battery
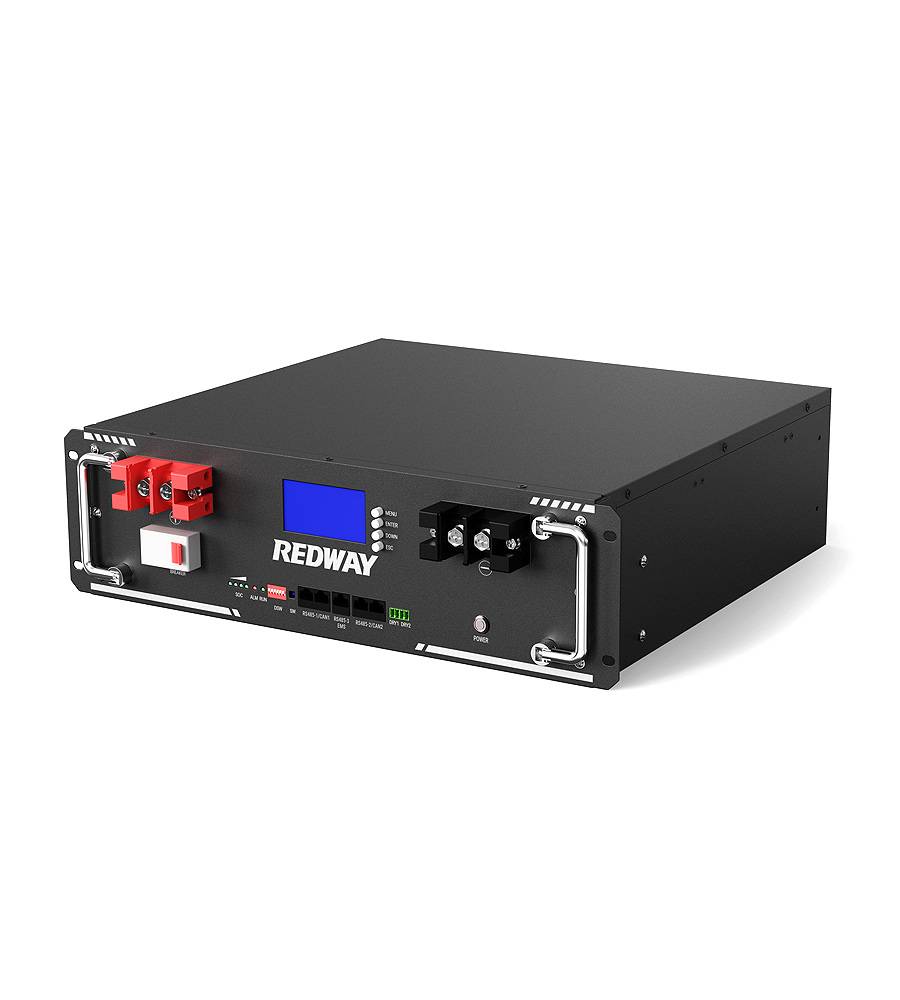
- Rack-mounted Lithium Battery
- E-Bike Battery
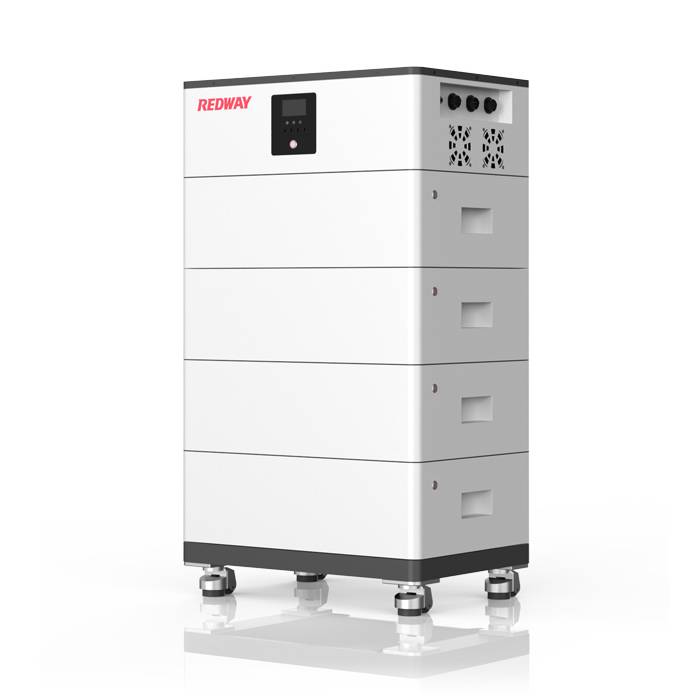
- All-in-One Home-ESS
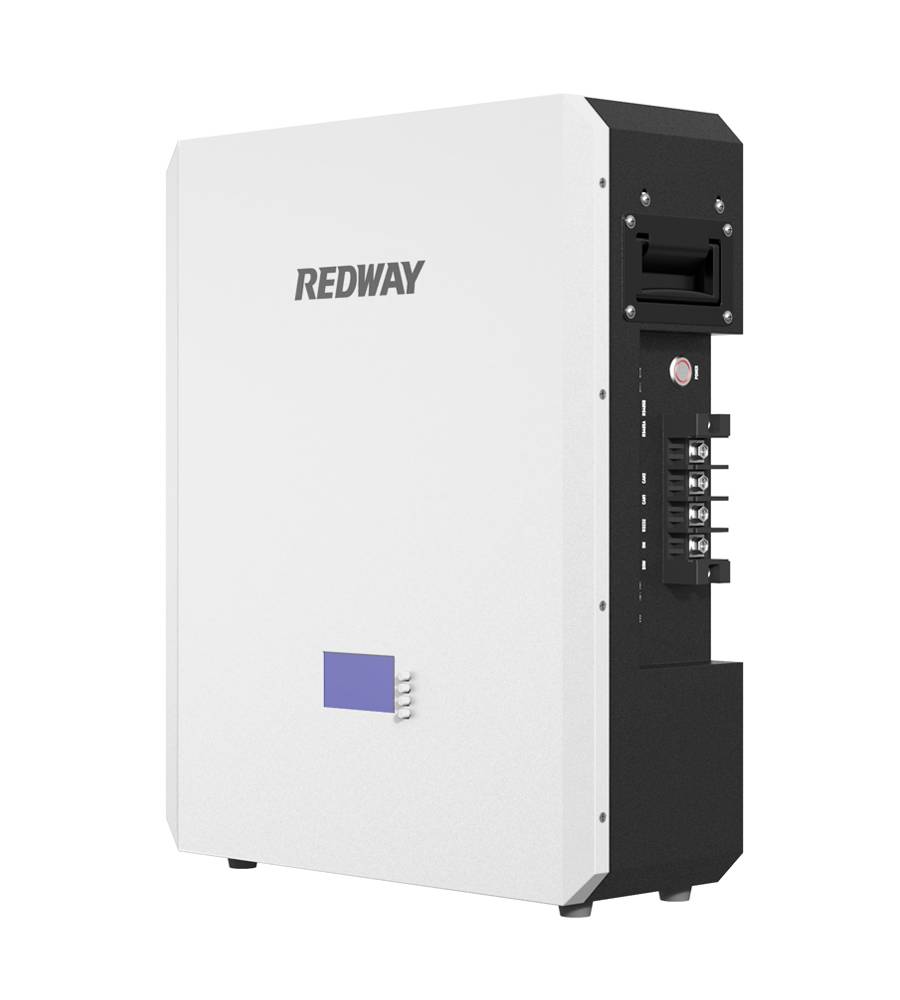
- Wall-mount Battery ESS
-
Home-ESS Lithium Battery PowerWall
- 24V 100Ah 2.4kWh PW24100-S PowerWall
- 48V 50Ah 2.4kWh PW4850-S PowerWall
- 48V 50Ah 2.56kWh PW5150-S PowerWall
- 48V 100Ah 5.12kWh PW51100-F PowerWall (IP65)
- 48V 100Ah 5.12kWh PW51100-S PowerWall
- 48V 100Ah 5.12kWh PW51100-H PowerWall
- 48V 200Ah 10kWh PW51200-H PowerWall
- 48V 300Ah 15kWh PW51300-H PowerWall
PowerWall 51.2V 100Ah LiFePO4 Lithium Battery
Highly popular in Asia and Eastern Europe.
CE Certification | Home-ESS -
Home-ESS Lithium Battery PowerWall
- Portable Power Stations
How Long Does It Take to Install Solar Panels on an RV?
Installing solar panels on an RV can be a game-changer for those who love to travel off-grid, offering both convenience and sustainability. The installation process typically takes around three days, but this duration can vary based on several factors. Understanding the installation process in detail is crucial for maximizing the efficiency and performance of your solar system.
Factors Influencing Installation Time
Number of Solar Panels
The more solar panels you plan to install, the longer the installation will take. A simple setup with one or two panels might be completed within a day, while a more complex system with multiple panels could extend the installation time to three days or more.
Complexity of the Installation
The complexity of the installation is another critical factor. If your RV requires custom mounts or specialized wiring, it will take longer to complete the setup. Additionally, if your RV has pre-installed wiring or a solar-ready infrastructure, the process will be faster.
Professional vs. DIY Installation
While a professional installer can typically complete the job more quickly due to experience and expertise, a DIY installation might take longer. Professionals also ensure that the installation adheres to safety standards and optimizes system performance.
Steps Involved in Installing Solar Panels on an RV
1. Initial Assessment and Planning
The first step involves assessing your RV’s power needs and planning the solar panel system accordingly. This includes determining the number and type of solar panels, batteries, inverters, and charge controllers required. A professional installer will perform a site survey to identify the best locations for mounting the panels.
2. Mounting the Panels
Mounting the panels on the RV roof is a critical step that involves securely attaching the panels to ensure they withstand the elements while on the road. This step might include installing brackets or custom mounts and sealing any holes to prevent leaks.
3. Wiring the System
The wiring process connects the solar panels to the charge controller, batteries, and inverter. This step requires precision to ensure safety and efficiency. Properly sized wires and connectors are crucial for minimizing energy loss and preventing electrical issues.
4. Installing the Charge Controller and Inverter
The charge controller regulates the power coming from the solar panels to the batteries, preventing overcharging. The inverter converts the stored DC power in the batteries to AC power, which is used by most RV appliances. These components need to be installed in well-ventilated areas to prevent overheating.
5. Connecting the Batteries
The batteries store the energy generated by the solar panels. They must be correctly wired to the charge controller and inverter. Ensuring proper ventilation and securing the batteries in place are essential steps to ensure safety and performance.
6. Testing the System
Once everything is installed, the system needs to be thoroughly tested. This involves checking all connections, ensuring the panels are generating power, and verifying that the batteries are charging correctly. Testing also includes making sure that the inverter is supplying power to the RV appliances.
Choosing the Right Professional Installer
Experience and Expertise
When selecting a professional installer, it’s essential to choose one with experience and expertise in RV solar installations. Experienced installers are familiar with the nuances of RV electrical systems and can provide reliable service.
Customer Reviews and References
Reading customer reviews and asking for references can provide insights into the quality of the installer’s work. Look for feedback regarding the timeliness, professionalism, and overall satisfaction of past clients.
Warranty and Support
A reputable installer will offer a warranty on their work and provide support for any issues that arise post-installation. This ensures peace of mind and long-term reliability of your solar system.
Maximizing the Efficiency and Performance of Your Solar System
Regular Maintenance
Regular maintenance is crucial for keeping your solar system running efficiently. This includes cleaning the panels to remove dirt and debris, checking the wiring for any signs of wear, and ensuring the batteries are in good condition.
Monitoring System Performance
Many modern solar systems come with monitoring tools that allow you to track the performance of your system. Monitoring helps identify any issues early and ensures that your system is operating at its peak efficiency.
Optimizing Energy Usage
To get the most out of your solar system, optimize your energy usage. Use energy-efficient appliances, minimize power consumption during peak sunlight hours, and consider adding additional panels or batteries if your energy needs increase.
Conclusion
Installing solar panels on an RV is a worthwhile investment that offers independence and sustainability. While the installation process typically takes around three days, several factors can influence the duration. Consulting with a professional installer ensures a smooth and efficient installation process, maximizing the performance of your solar system. Regular maintenance and monitoring will help you get the most out of your investment, providing reliable power for all your adventures on the road.
FAQs
Can you have too much solar on an RV?
The question of having too much solar on an RV depends on individual needs and goals. Factors such as shading, energy consumption, available roof space, and the quality of solar controllers should be considered. While some RV owners may prefer to maximize energy production, others prioritize space efficiency or have specific energy requirements. Designing the solar power system based on individual needs and goals ensures optimal performance. Consider factors like battery capacity, expected energy production, and the ability to recover from cloudy days for an optimized RV solar power system.
How hard is it to add solar panels to an RV?
Adding solar panels to an RV is a simple process that allows you to become energy independent while on the road. With the right equipment and step-by-step instructions, you can easily install solar panels on your RV roof. The installation involves planning the layout, mounting the panels, connecting them to a portable power station, running wires for DC appliances, and connecting the wires to the fuse panel. Whether using fixed mounting systems, flexible mounting systems, or tilt mounting systems, adding solar panels to your RV is a rewarding and sustainable solution for off-grid living.
How long will a 100-watt solar panel take to charge a RV battery?
Charging an RV battery with a 100-watt solar panel typically takes around 8-10 hours. However, the actual charging time depends on factors such as the size of the battery, the type of solar panel, the weather conditions, and the amount of sunlight the panel receives. It’s important to consider these factors when estimating the charging time. A 100-watt solar panel provides a reliable and efficient solution for keeping your RV battery charged while on the road, allowing you to enjoy off-grid adventures with peace of mind.
How hard is it to add solar panels to an RV?
Adding solar panels to an RV is a rewarding and sustainable solution for off-grid living. With the right guidance, the process can be relatively simple. Understand how off-grid systems work, gather the necessary equipment, plan the solar panel layout on your RV roof, mount the panels, connect them to a portable power station, run wires for DC appliances, and connect them to the fuse panel. By following step-by-step instructions and avoiding common mistakes, you can easily add solar panels to your RV and enjoy the benefits of renewable energy while on the road.


