- Lithium Golf Cart Battery
- Forklift Lithium Battery
-
48V
- 48V 210Ah
- 48V 300Ah
- 48V 420Ah (949 x 349 x 569 mm)
- 48V 420Ah (950 x 421 x 450 mm)
- 48V 456Ah
- 48V 460Ah (830 x 630 x 590 mm)
- 48V 460Ah (950 x 421 x 450 mm)
- 48V 460Ah (800 x 630 x 600 mm)
- 48V 460Ah (820 x 660 x 470 mm)
- 48V 500Ah
- 48V 560Ah (810 x 630 x 600 mm)
- 48V 560Ah (950 x 592 x 450 mm)
- 48V 600Ah
- 48V 630Ah
-
48V
- 12V Lithium Battery
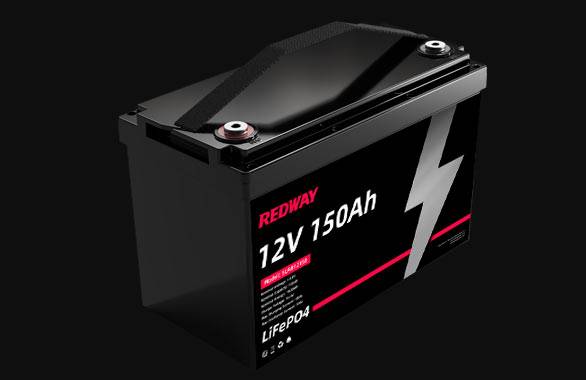
12V 150Ah Lithium RV Battery
Bluetooth App | BCI Group 31
LiFePO4 Lithium
Discharge Temperature -20°C ~ 65°C
Fast Charger 14.6V 50A
Solar MPPT Charging - 24V Lithium Battery
- 36V Lithium Battery
- 48V Lithium Battery
-
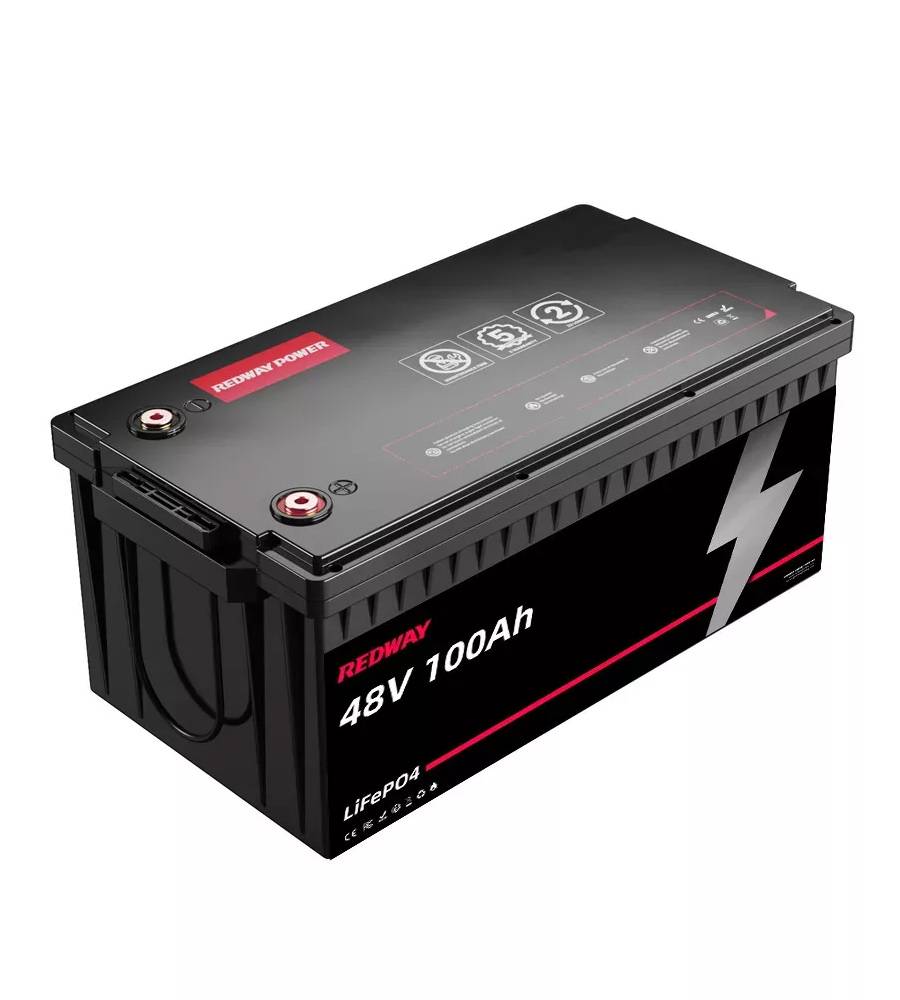
48V LiFePO4 Battery
- 48V 50Ah
- 48V 50Ah (for Golf Carts)
- 48V 60Ah (8D)
- 48V 100Ah (8D)
- 48V 100Ah
- 48V 100Ah (Discharge 100A for Golf Carts)
- 48V 100Ah (Discharge 150A for Golf Carts)
- 48V 100Ah (Discharge 200A for Golf Carts)
- 48V 150Ah (for Golf Carts)
- 48V 160Ah (Discharge 100A for Golf Carts)
- 48V 160Ah (Discharge 160A for Golf Carts)
-
48V LiFePO4 Battery
- 60V Lithium Battery
-
60V LiFePO4 Battery
- 60V 20Ah
- 60V 30Ah
- 60V 50Ah
- 60V 50Ah (Small Size / Side Terminal)
- 60V 100Ah (for Electric Motocycle, Electric Scooter, LSV, AGV)
- 60V 100Ah (for Forklift, AGV, Electric Scooter, Sweeper)
- 60V 150Ah (E-Motocycle / E-Scooter / E-Tricycle / Tour LSV)
- 60V 200Ah (for Forklift, AGV, Electric Scooter, Sweeper)
-
60V LiFePO4 Battery
- 72V~96V Lithium Battery
- Rack-mounted Lithium Battery
- E-Bike Battery
- All-in-One Home-ESS
- Wall-mount Battery ESS
-
Home-ESS Lithium Battery PowerWall
- 24V 100Ah 2.4kWh PW24100-S PowerWall
- 48V 50Ah 2.4kWh PW4850-S PowerWall
- 48V 50Ah 2.56kWh PW5150-S PowerWall
- 48V 100Ah 5.12kWh PW51100-F PowerWall (IP65)
- 48V 100Ah 5.12kWh PW51100-S PowerWall
- 48V 100Ah 5.12kWh PW51100-H PowerWall
- 48V 200Ah 10kWh PW51200-H PowerWall
- 48V 300Ah 15kWh PW51300-H PowerWall
PowerWall 51.2V 100Ah LiFePO4 Lithium Battery
Highly popular in Asia and Eastern Europe.
CE Certification | Home-ESS -
Home-ESS Lithium Battery PowerWall
- Portable Power Stations
How Frequently Should You Check Your Golf Cart Brakes?
Maintaining the brakes on your golf cart is essential for both safety and performance. Regular brake inspections can prevent potential accidents and ensure that your golf cart operates smoothly. This article delves into the optimal frequency for checking your golf cart brakes, what to look for during inspections, and how to ensure your golf cart remains in top condition.
Inspection Frequency: When and How Often
Every 3 to 6 Months
It is generally advised to inspect your golf cart brakes every three to six months. This routine check-up should include a thorough examination of the brake pads, drums, and cables. Regular inspections within this timeframe help to identify any issues before they escalate into major problems, thus ensuring the longevity and effectiveness of your braking system.
Before Major Use
Whenever you plan a substantial outing or event involving your golf cart, it is prudent to perform a pre-use inspection. Even if your golf cart is not due for its regular brake check, a quick inspection before a significant trip can help you avoid unexpected braking issues, ensuring a safe and smooth ride.
Whenever You Notice Issues
Pay attention to any signs of decreased performance, unusual noises, or difficulty in stopping. These symptoms should prompt an immediate brake inspection. Ignoring these warning signs can lead to more severe problems, compromising both your safety and the functionality of your golf cart.
What to Look For During Brake Inspections
Brake Pads
The brake pads are crucial components that absorb the braking force and ensure that your golf cart stops effectively. During inspections, check the thickness of the brake pads. Worn-out pads can significantly reduce braking efficiency, leading to longer stopping distances and potentially hazardous situations. If the brake pads are thin, they should be replaced promptly.
Brake Drums
The brake drums work in conjunction with the brake pads to create friction and slow down the vehicle. Inspect the brake drums for any grooves, cracks, or uneven surfaces. Smooth and even drums are essential for effective braking. Any signs of wear or damage should be addressed by either resurfacing or replacing the drums to maintain optimal braking performance.
Brake Cables
Brake cables connect the brake pedal to the braking mechanism and are vital for transmitting the force applied by the pedal to the brakes. Inspect the cables for any signs of fraying, corrosion, or other damage. Damaged cables can compromise the function of your brakes, leading to potential safety hazards. Replace any damaged cables immediately to ensure reliable braking performance.
Signs That Your Golf Cart Brakes Need Attention
Reduced Braking Efficiency
One of the first signs that your brakes may need attention is a noticeable reduction in braking efficiency. If you find that your golf cart takes longer to stop or requires more pressure on the brake pedal, it is time to check the brake system.
Unusual Noises
Unusual noises, such as grinding, squealing, or scraping sounds when braking, can indicate issues with the brake pads or drums. These noises often signal that the brake components are worn or damaged and need immediate inspection.
Pulling to One Side
If your golf cart pulls to one side when braking, it could be a sign of uneven brake wear or a malfunctioning brake component. This issue needs to be investigated and resolved promptly to ensure balanced and effective braking.
Vibrations
Vibrations or shaking during braking can be a result of warped brake drums or unevenly worn brake pads. These issues can impact the overall stability and safety of your golf cart and should be addressed as soon as they are noticed.
Steps for Performing a Basic Brake Inspection
Step 1: Gather Your Tools
To perform a basic brake inspection, you will need some essential tools, including a jack, jack stands, wrenches, and a brake pad gauge. Ensure you have these tools on hand before beginning the inspection.
Step 2: Lift the Golf Cart
Using the jack, lift the golf cart to gain access to the wheels and braking system. Secure the cart with jack stands to ensure it remains stable during the inspection.
Step 3: Inspect the Brake Pads
Remove the wheel and check the thickness of the brake pads using a brake pad gauge. Compare the thickness to the manufacturer’s specifications. If the pads are below the recommended thickness, they should be replaced.
Step 4: Examine the Brake Drums
Inspect the brake drums for any signs of damage or wear. Look for grooves, cracks, or uneven surfaces. If any issues are detected, consult a professional to determine if the drums need to be resurfaced or replaced.
Step 5: Check the Brake Cables
Inspect the brake cables for any signs of fraying, corrosion, or damage. Ensure that the cables are properly connected and functioning. Replace any damaged cables to maintain effective braking performance.
Professional Maintenance and Repairs
While regular inspections and basic maintenance can help keep your golf cart in good working order, some issues may require professional attention. Consulting a qualified technician for more in-depth inspections and repairs ensures that any complex problems are addressed accurately and efficiently.
Conclusion
Maintaining your golf cart brakes through regular inspections is vital for safety and performance. By adhering to a schedule of inspecting the brakes every three to six months, performing pre-use checks before major outings, and addressing any noticeable issues promptly, you can ensure that your golf cart remains safe and reliable. Regular maintenance not only extends the life of your braking system but also enhances the overall enjoyment of your golf cart experience.
For customized solutions and high-quality 48V golf cart batteries, Redway Power offers tailored battery solutions to meet the needs of B2B and OEM clients globally. Contact us for a quick quote and experience the difference with our superior battery products.


