- Forklift Lithium Battery
-
48V
- 48V 210Ah
- 48V 300Ah
- 48V 420Ah (949 x 349 x 569 mm)
- 48V 420Ah (950 x 421 x 450 mm)
- 48V 456Ah
- 48V 460Ah (830 x 630 x 590 mm)
- 48V 460Ah (950 x 421 x 450 mm)
- 48V 460Ah (800 x 630 x 600 mm)
- 48V 460Ah (820 x 660 x 470 mm)
- 48V 500Ah
- 48V 560Ah (810 x 630 x 600 mm)
- 48V 560Ah (950 x 592 x 450 mm)
- 48V 600Ah
- 48V 630Ah
-
48V
- Lithium Golf Cart Battery
- 12V Lithium Battery
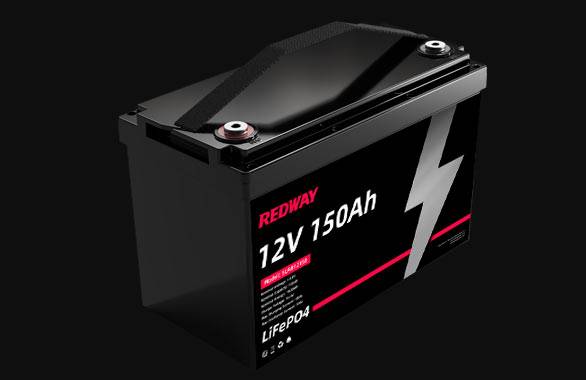

12V 150Ah Lithium RV Battery
Bluetooth App | BCI Group 31
LiFePO4 Lithium
Discharge Temperature -20°C ~ 65°C
Fast Charger 14.6V 50A
Solar MPPT Charging - 24V Lithium Battery
- 36V Lithium Battery
- 48V Lithium Battery
-
48V LiFePO4 Battery
- 48V 50Ah
- 48V 50Ah (for Golf Carts)
- 48V 60Ah (8D)
- 48V 100Ah (8D)
- 48V 100Ah
- 48V 100Ah (Discharge 100A for Golf Carts)
- 48V 100Ah (Discharge 150A for Golf Carts)
- 48V 100Ah (Discharge 200A for Golf Carts)
- 48V 150Ah (for Golf Carts)
- 48V 160Ah (Discharge 100A for Golf Carts)
- 48V 160Ah (Discharge 160A for Golf Carts)
-
48V LiFePO4 Battery
- 60V Lithium Battery
-
60V LiFePO4 Battery
- 60V 20Ah
- 60V 30Ah
- 60V 50Ah
- 60V 50Ah (Small Size / Side Terminal)
- 60V 100Ah (for Electric Motocycle, Electric Scooter, LSV, AGV)
- 60V 100Ah (for Forklift, AGV, Electric Scooter, Sweeper)
- 60V 150Ah (E-Motocycle / E-Scooter / E-Tricycle / Tour LSV)
- 60V 200Ah (for Forklift, AGV, Electric Scooter, Sweeper)
-
60V LiFePO4 Battery
- 72V~96V Lithium Battery
- Rack-mounted Lithium Battery
- E-Bike Battery
- All-in-One Home-ESS
- Wall-mount Battery ESS
-
Home-ESS Lithium Battery PowerWall
- 24V 100Ah 2.4kWh PW24100-S PowerWall
- 48V 50Ah 2.4kWh PW4850-S PowerWall
- 48V 50Ah 2.56kWh PW5150-S PowerWall
- 48V 100Ah 5.12kWh PW51100-F PowerWall (IP65)
- 48V 100Ah 5.12kWh PW51100-S PowerWall
- 48V 100Ah 5.12kWh PW51100-H PowerWall
- 48V 200Ah 10kWh PW51200-H PowerWall
- 48V 300Ah 15kWh PW51300-H PowerWall
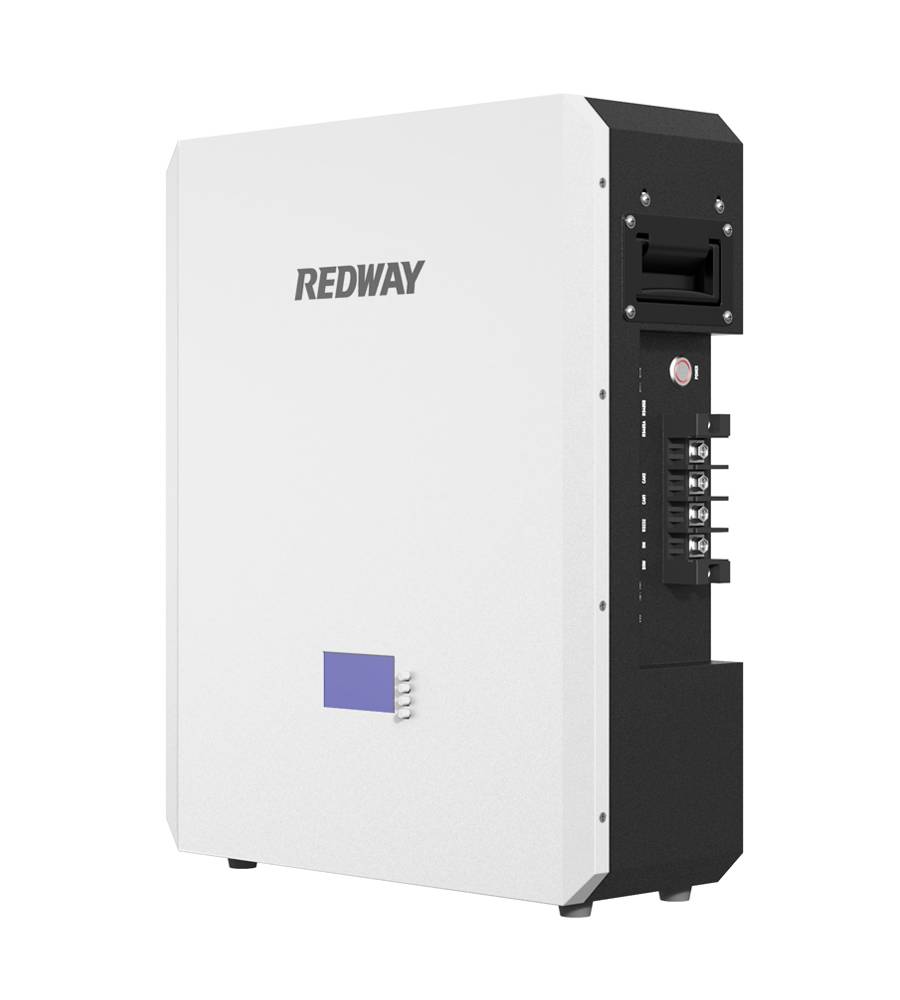

PowerWall 51.2V 100Ah LiFePO4 Lithium Battery
Highly popular in Asia and Eastern Europe.
CE Certification | Home-ESS -
Home-ESS Lithium Battery PowerWall
- Portable Power Stations


How Can I Effectively Troubleshoot and Fix Common Issues with My EZGO Golf Cart?

To troubleshoot common issues with your EZGO golf cart, start by checking the battery connections, ensuring they are tight and corrosion-free. Inspect the fuses, wiring, and motor for any visible damage. Regularly consult the owner’s manual for specific troubleshooting steps related to your model.
To fix common issues, first identify the problem through systematic troubleshooting. For battery issues, clean terminals and check water levels. For motor problems, inspect wiring and reset the motor if necessary. Regular maintenance and timely replacement of worn parts can also prevent many issues.
Common Issues and Solutions
1. Battery Problems
Symptoms: The cart won’t start, slow acceleration, or dim lights.Solutions:
- Check Battery Charge: Ensure the batteries are fully charged. Use a multimeter to test voltage.
- Inspect for Corrosion: Clean battery terminals and connections to remove any corrosion.
- Water Levels: For lead-acid batteries, check water levels and refill with distilled water as needed.
| Battery Issue | Symptoms | Solutions |
|---|---|---|
| Low Charge | Cart won’t start | Charge batteries fully |
| Corrosion | Dim lights, poor performance | Clean terminals |
| Low Water Levels | Reduced battery life | Refill with distilled water |
2. Electrical System Failures
Symptoms: Lights not working, horn malfunctioning, or no power to accessories.Solutions:
- Inspect Fuses: Check and replace any blown fuses in the electrical system.
- Check Wiring Connections: Ensure all wiring connections are secure and free from damage.
- Test Switches: Verify that all switches (including the run/tow switch) are functioning correctly.
Also Read:
- Exploring the Different Models and Features of EZGO Golf Carts
- Comprehensive Guide to Golf Cart Battery LED Status Indicators
- Is a 72V Golf Cart Good? Comprehensive Guide to 72V Golf Carts
- How Can I Troubleshoot and Fix Common Issues with My EZ GO Golf Cart?
- Comprehensive Guide to Winterizing Your Golf Cart
3. Mechanical Issues
Symptoms: Noisy operation, steering difficulties, or uneven tire wear.Solutions:
- Inspect Tires: Check for proper inflation and tread wear. Rotate tires as needed.
- Check Steering Components: Inspect for wear or damage in the steering mechanism and lubricate as necessary.
- Brake Inspection: Regularly check brake pads for wear and replace them if necessary.
| Mechanical Issue | Symptoms | Solutions |
|---|---|---|
| Noisy Operation | Unusual sounds during use | Inspect moving parts |
| Steering Difficulties | Hard to steer | Check steering components |
| Uneven Tire Wear | Irregular tread patterns | Rotate tires and check alignment |
4. EZ GO Electric Golf Cart Motor Troubleshooting
Troubleshooting the electric motor in an EZGO golf cart can help you identify and resolve problems quickly. Below are some common issues you might encounter, along with their potential causes and solutions.
a. Motor Does Not Run
Symptoms:
- The motor fails to engage when the accelerator is pressed.
Potential Causes and Solutions:
- Low Battery Charge: Ensure the batteries are fully charged. If they are flat, recharge or replace them.
- Corroded or Loose Connections: Inspect battery terminals and connections for corrosion or looseness. Clean and tighten as necessary.
- Faulty Solenoid: Test the solenoid for proper operation; if it’s defective, replace it.
- Defective Accelerator Switch: Check the accelerator switch for a “click” sound when pressed. If it’s not functioning, replace it.
- Controller Malfunction: Measure voltage at the B- and M- terminals of the controller. If there is no voltage when the pedal is pressed, the controller may need replacement.
b. Motor Runs Erratically
Symptoms:
- The motor operates unevenly or loses power intermittently.
Potential Causes and Solutions:
- Faulty Speed Controller: Check the electronic speed control (ESC) system; replace any faulty components.
- Loose Wiring Connections: Inspect wiring for wear or damage, and repair as needed.
- Throttle Sensor Issues: Verify the throttle sensor output; it should range from 10V to 6V. If it’s out of range, consider replacing the sensor.
c. Noisy Motor
Symptoms:
- The motor produces unusual sounds during operation.
Potential Causes and Solutions:
- Worn Bearings: Inspect bearings for wear; lubricate or replace them as necessary.
- Loose Motor Mounts: Tighten any loose fasteners securing the motor to its mounts.
- Commutator Issues: If commutator bars are raised or damaged, repair or replace the motor.
d. Motor Overheating
Symptoms:
- The motor becomes excessively hot during operation.
Potential Causes and Solutions:
- Excessive Load: Reduce the load on the cart to prevent overheating.
- Poor Ventilation: Ensure that there is adequate airflow around the motor while in operation.
e. Batteries Will Not Charge
Symptoms:
- The battery pack does not charge when connected to a charger.
Potential Causes and Solutions:
- Faulty Charger: Test the charger with a multimeter; repair or replace if defective.
- Damaged Battery Case or Low Electrolyte Levels: Inspect batteries for physical damage or low electrolyte levels. Refill as necessary.
f. Troubleshooting Steps
- Visual Inspection: Begin with a thorough visual check of all wiring, connections, and components.
- Voltage Testing:
- Use a voltmeter to check voltage at various points (e.g., battery pack, solenoid, controller).
- Ensure you have proper voltage readings at key points while pressing the accelerator.
- Continuity Tests:
- Disconnect all wires from the motor and test continuity between terminals (F1 to F2, A1 to A2) to ensure proper function without grounding issues.
Latest News
Recent trends in golf cart maintenance emphasize the importance of regular checks and updates:
- The shift towards lithium-ion batteries is gaining traction due to their efficiency and reduced maintenance needs.
- Innovations in battery management systems are improving performance and safety.
- Increased awareness of proper maintenance techniques is helping owners extend the lifespan of their carts.
- Regulatory changes are being implemented to enhance safety standards in electric vehicles, including golf carts.
Redway Expert Comment
“Maintaining your EZGO golf cart is crucial for ensuring reliability and performance. Regular inspections of batteries, electrical systems, and mechanical components can prevent many common issues. At Redway Power, we provide high-quality lithium LiFePO4 batteries that offer superior performance and longevity for your golf cart needs. Our commitment to quality ensures that you get the best from your investment.”
Redway Golf Cart Batteries
The discussion around troubleshooting EZGO golf carts directly relates to our offerings in Golf Cart Batteries at Redway Power. Ensuring that your cart is equipped with reliable batteries can significantly reduce the likelihood of electrical issues.
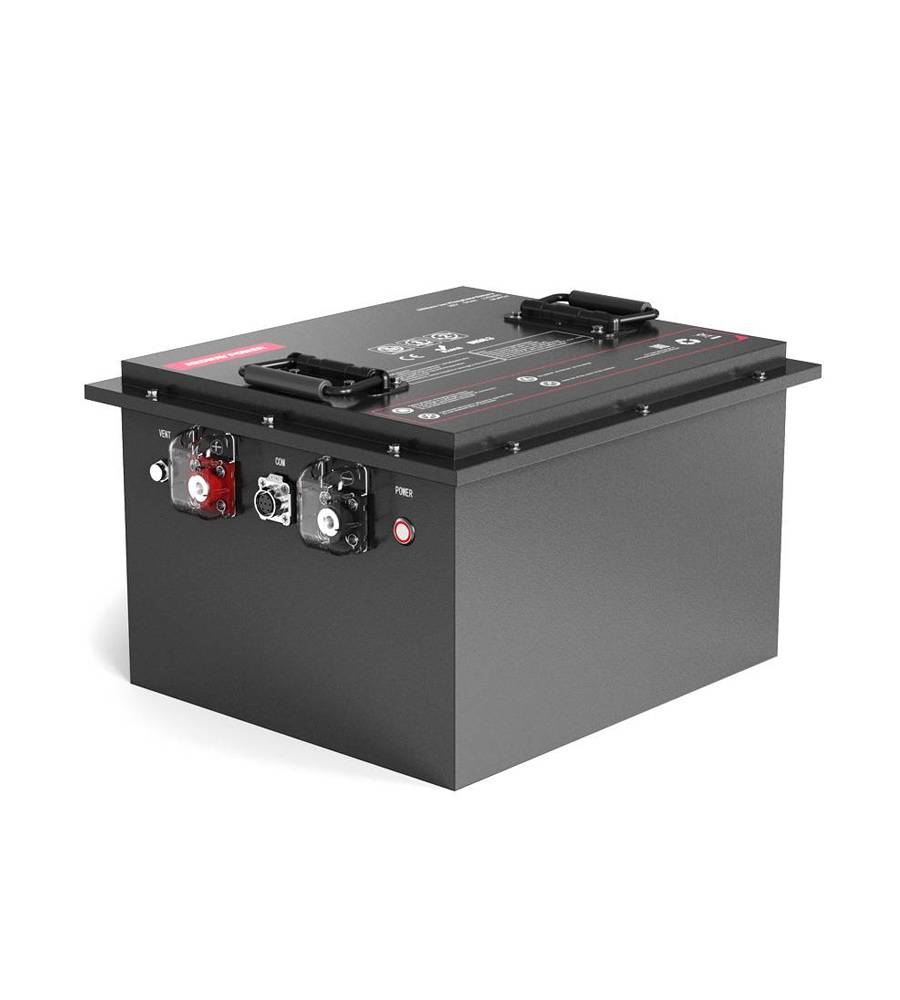
Recommended Product: Lithium Golf Cart Battery Pack
For clients or importers seeking wholesale or OEM solutions, we recommend our 48V 100Ah Lithium Golf Cart Battery Pack. This product provides a lightweight alternative with enhanced performance compared to traditional lead-acid batteries.
Top Competitors in Golf Cart Battery Solutions
When considering high-quality golf cart batteries, here are five notable alternatives:
| Brand | Product Name | Voltage | Capacity | Chemistry |
|---|---|---|---|---|
| Redway Power | 48V 100Ah Lithium Golf Cart Pack | 48V | 100Ah | LiFePO4 |
| Trojan Battery | T-875 | 6V | 240Ah | Flooded Lead-Acid |
| Crown Battery | CR-235A | 6V | 235Ah | Flooded Lead-Acid |
| Interstate Batteries | U2200 | 6V | 220Ah | Flooded Lead-Acid |
| Universal Power Group | UB121000 | 12V | 100Ah | AGM |
In conclusion, troubleshooting common issues with your EZGO golf cart requires a thorough understanding of its components and regular maintenance practices. By addressing these issues promptly and considering high-quality battery options like those offered by Redway Power, you can ensure optimal performance for years to come.

FAQs
How can I troubleshoot battery-related problems in my EZ GO golf cart?
Are there specific motor or controller issues that I should be aware of and how can I fix them?
What are the steps to diagnose and resolve brake problems in my EZGO golf cart?
How can I address steering and suspension issues for improved handling and stability?
Are there any tire or wheel problems that commonly arise in EZ GO golf carts and how can I fix them?

How can I troubleshoot starting and ignition issues in my EZ GO golf cart?
What are the steps to diagnose and fix lighting and wiring problems in my golf cart?
When should I seek professional help or consult an expert for golf cart troubleshooting?
Are there any preventive maintenance measures I can take to avoid common issues in my EZ GO golf cart?
What are the correct methods for voltage testing?
How to ensure proper solenoid activation and voltage check?
What steps check voltage at solenoid and key switch?
Where to find the right service manual for 48V EZ GO TXT?
Know more:
- How do you check the motor in an EZGO golf cart?
To check the motor, elevate the cart and disconnect the power. Use a multimeter to test voltage at the motor terminals while turning on the cart. A healthy motor should show a voltage close to the battery’s rating. Inspect for any visible damage or loose connections if issues arise. - What are common golf cart issues and how to fix them?
Common issues include battery problems, solenoid failures, ignition issues, and tire pressure discrepancies. Fix these by checking battery connections, replacing worn solenoids, ensuring ignition cleanliness, and maintaining proper tire inflation. Regular maintenance can prevent many of these problems. - How do you troubleshoot the speed controller in your cart?
Start by checking all wiring connections for security and corrosion. Inspect the maintenance switch and ensure it’s set correctly. Measure voltage at various points to identify discrepancies. If voltage readings are inconsistent, the speed controller may need repair or replacement. - What battery maintenance tips should you follow for optimal performance?
Maintain your batteries by regularly checking water levels, cleaning terminals to prevent corrosion, and ensuring proper charging practices. Avoid overcharging and keep batteries cool. Regular maintenance extends battery life and enhances overall golf cart performance. - How can you identify solenoid problems in your golf cart?
Signs of solenoid issues include a clicking sound when starting, failure to engage, or stalling during operation. Check connections for corrosion or damage. If the solenoid overheats or shows intermittent functionality, it may need replacement to restore proper operation.
How do I troubleshoot my E-Z-GO golf cart?
To troubleshoot your E-Z-GO golf cart, start by checking the battery connections for corrosion and tightness. Test the voltage with a multimeter to ensure batteries are charged. Inspect the accelerator pedal and throttle sensor for proper function. Additionally, examine the solenoid and controller for any faults. Refer to the owner’s manual for detailed troubleshooting steps.
What are common issues with E-Z-GO golf carts?
Common issues with E-Z-GO golf carts include poor battery performance, loose connections, faulty solenoids, and malfunctioning controllers. Other problems may arise from worn-out tires or improper tire pressure. Regular maintenance and inspections can help identify these issues early and ensure optimal performance.
How can I check my E-Z-GO golf cart’s battery health?
To check your E-Z-GO golf cart’s battery health, use a hydrometer to measure electrolyte specific gravity or a multimeter to test voltage. Ensure each battery is fully charged and check for any signs of corrosion on terminals. If batteries are consistently underperforming, consider replacing them.
What should I do if my E-Z-GO golf cart won’t move?
If your E-Z-GO golf cart won’t move, first check that the key is in the “ON” position and ensure the direction switch is correctly set. Inspect battery connections for corrosion or looseness. If all seems well, test the solenoid and controller for faults, as these components often cause mobility issues.
How often should I perform maintenance on my E-Z-GO golf cart?
Regular maintenance on your E-Z-GO golf cart should be performed at least every six months or after every 100 hours of use. This includes checking battery health, inspecting electrical connections, ensuring proper tire pressure, and lubricating moving parts. Regular upkeep helps prolong the life of your golf cart and enhances performance.


