- Forklift Lithium Battery
-
48V
- 48V 210Ah
- 48V 300Ah
- 48V 420Ah (949 x 349 x 569 mm)
- 48V 420Ah (950 x 421 x 450 mm)
- 48V 456Ah
- 48V 460Ah (830 x 630 x 590 mm)
- 48V 460Ah (950 x 421 x 450 mm)
- 48V 460Ah (800 x 630 x 600 mm)
- 48V 460Ah (820 x 660 x 470 mm)
- 48V 500Ah
- 48V 560Ah (810 x 630 x 600 mm)
- 48V 560Ah (950 x 592 x 450 mm)
- 48V 600Ah
- 48V 630Ah
-
48V
- Lithium Golf Cart Battery
- 12V Lithium Battery
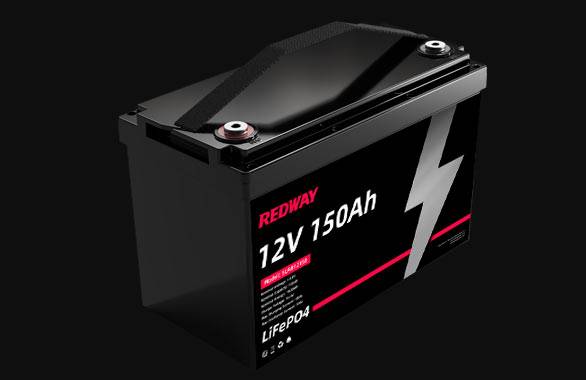

12V 150Ah Lithium RV Battery
Bluetooth App | BCI Group 31
LiFePO4 Lithium
Discharge Temperature -20°C ~ 65°C
Fast Charger 14.6V 50A
Solar MPPT Charging - 24V Lithium Battery
- 36V Lithium Battery
- 48V Lithium Battery
-
48V LiFePO4 Battery
- 48V 50Ah
- 48V 50Ah (for Golf Carts)
- 48V 60Ah (8D)
- 48V 100Ah (8D)
- 48V 100Ah
- 48V 100Ah (Discharge 100A for Golf Carts)
- 48V 100Ah (Discharge 150A for Golf Carts)
- 48V 100Ah (Discharge 200A for Golf Carts)
- 48V 150Ah (for Golf Carts)
- 48V 160Ah (Discharge 100A for Golf Carts)
- 48V 160Ah (Discharge 160A for Golf Carts)
-
48V LiFePO4 Battery
- 60V Lithium Battery
-
60V LiFePO4 Battery
- 60V 20Ah
- 60V 30Ah
- 60V 50Ah
- 60V 50Ah (Small Size / Side Terminal)
- 60V 100Ah (for Electric Motocycle, Electric Scooter, LSV, AGV)
- 60V 100Ah (for Forklift, AGV, Electric Scooter, Sweeper)
- 60V 150Ah (E-Motocycle / E-Scooter / E-Tricycle / Tour LSV)
- 60V 200Ah (for Forklift, AGV, Electric Scooter, Sweeper)
-
60V LiFePO4 Battery
- 72V~96V Lithium Battery
- Rack-mounted Lithium Battery
- E-Bike Battery
- All-in-One Home-ESS
- Wall-mount Battery ESS
-
Home-ESS Lithium Battery PowerWall
- 24V 100Ah 2.4kWh PW24100-S PowerWall
- 48V 50Ah 2.4kWh PW4850-S PowerWall
- 48V 50Ah 2.56kWh PW5150-S PowerWall
- 48V 100Ah 5.12kWh PW51100-F PowerWall (IP65)
- 48V 100Ah 5.12kWh PW51100-S PowerWall
- 48V 100Ah 5.12kWh PW51100-H PowerWall
- 48V 200Ah 10kWh PW51200-H PowerWall
- 48V 300Ah 15kWh PW51300-H PowerWall
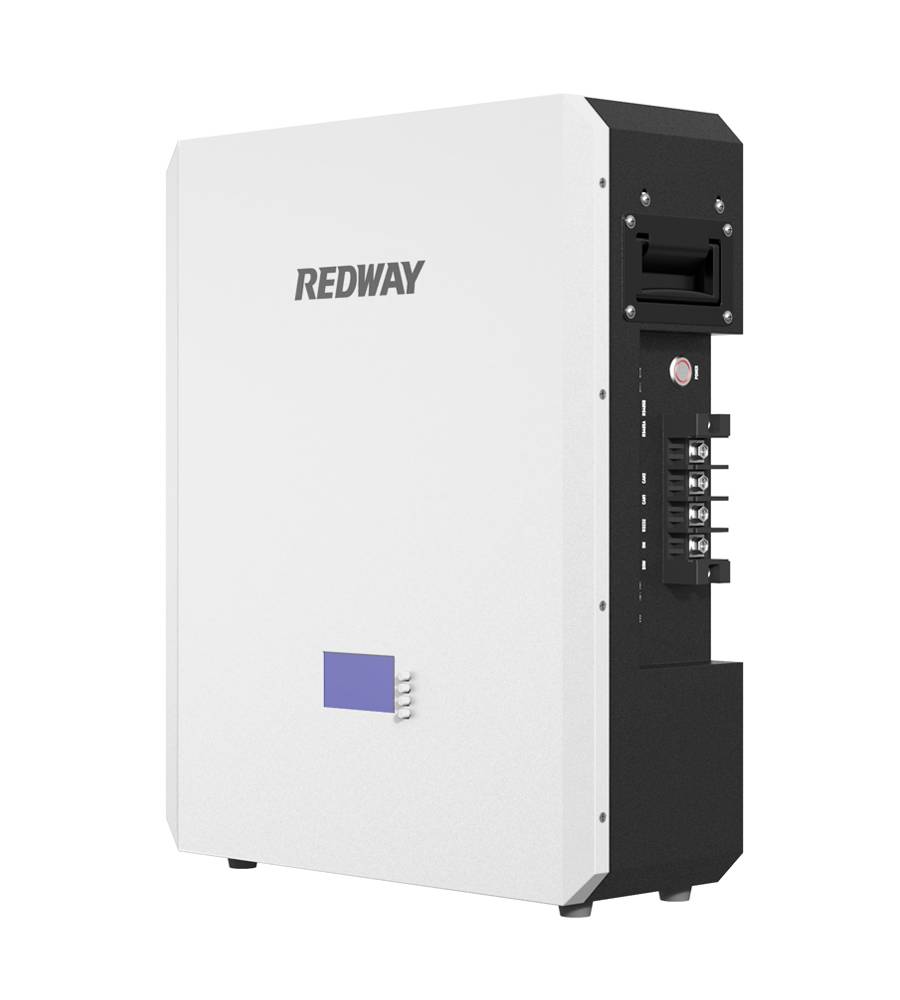

PowerWall 51.2V 100Ah LiFePO4 Lithium Battery
Highly popular in Asia and Eastern Europe.
CE Certification | Home-ESS -
Home-ESS Lithium Battery PowerWall
- Portable Power Stations


Comprehensive Guide to Wiring Golf Cart Batteries: Ensure Optimal Performance and Longevity

Wiring golf cart batteries correctly is crucial for maintaining the performance and longevity of your golf cart. Whether upgrading your existing battery system or installing new batteries, proper wiring ensures efficient power delivery and extends the lifespan of your equipment. This detailed guide will walk you through the necessary tools, safety precautions, and step-by-step instructions for wiring golf cart batteries.
Tools and Materials Needed
Before starting the wiring process, ensure you have the following tools and materials:
- Wrenches: Essential for loosening and tightening battery terminals.
- Battery Cables: Appropriate gauge cables required for connecting batteries.
- Wire Brush: For cleaning corrosion from battery terminals.
- Safety Gear: Gloves and safety glasses to protect from acid spills and sparks.
- Multimeter: For verifying the voltage of the battery system.
- Battery Terminal Protector: To prevent terminal corrosion.
Safety Precautions
Working with batteries involves risks, so it’s essential to follow these safety measures:
- Wear Protective Gear: Always use gloves and safety glasses to shield yourself from potential acid spills and sparks.
- Work in a Well-Ventilated Area: Batteries can emit gases; ensure you’re working in an open or well-ventilated space.
- Disconnect the Charger: Ensure the golf cart is powered off and the charger is disconnected before beginning work.
- Avoid Short Circuits: Be cautious to prevent short circuits with tools or cables.
Step-by-Step Guide to Wiring Golf Cart Batteries
Step 1: Identify Battery Configuration
Determine the type of battery system used in your golf cart. Common configurations include:
- 36-Volt System: Typically utilizes six 6-volt batteries.
- 48-Volt System: May use six 8-volt batteries, eight 6-volt batteries, or four 12-volt batteries.
Step 2: Remove Old Batteries
- Label the Cables: Before removal, label each cable to ensure accurate reconnection.
- Disconnect the Negative Cable: Start by disconnecting the negative (-) terminal to avoid short circuits.
- Disconnect the Positive Cable: Follow by disconnecting the positive (+) terminal.
- Remove the Batteries: Carefully lift out and set aside the old batteries for recycling or disposal.
Step 3: Clean Battery Tray and Terminals
- Clean the Tray: Use a wire brush to remove any corrosion or debris from the battery tray.
- Clean Terminals: Thoroughly clean the battery terminals with a wire brush to ensure good electrical contact.
Step 4: Install New Batteries
- Position the Batteries: Place the new batteries in the tray, ensuring proper orientation.
- Connect Batteries in Series: Link the batteries in series by connecting the positive terminal of one battery to the negative terminal of the next. Continue this pattern until all batteries are connected:
- For a 36-Volt System: Connect the positive terminal of Battery 1 to the negative terminal of Battery 2, and so on.
- For a 48-Volt System: Connect the positive terminal of Battery 1 to the negative terminal of Battery 2, continuing this pattern.
Step 5: Connect Main Cables
- Attach the Main Positive Cable: Connect the main positive cable to the positive terminal of the first battery in the series.
- Attach the Main Negative Cable: Connect the main negative cable to the negative terminal of the last battery in the series.
Step 6: Check Connections and Voltage
- Tighten Connections: Ensure that all connections are securely tightened.
- Check Voltage: Use a multimeter to measure the total voltage of the battery pack, which should match the system voltage (e.g., 36 volts or 48 volts).
Step 7: Apply Terminal Protector
Apply a battery terminal protector to each terminal to guard against corrosion.
Step 8: Reconnect the Charger and Test
- Reconnect the Charger: Plug in the charger and allow the batteries to charge fully.
- Test the Golf Cart: After charging, test the golf cart to ensure it is functioning properly.
Tips for Maintaining Your Battery System
- Regular Maintenance: Check the water levels in lead-acid batteries frequently and top up with distilled water as needed.
- Clean Terminals: Regularly clean battery terminals to prevent corrosion.
- Proper Charging: Use the appropriate charger and avoid overcharging or deep discharging batteries.
- Storage: Store your golf cart in a cool, dry place, and keep batteries charged during periods of inactivity.
Conclusion
Correctly wiring golf cart batteries is fundamental for the efficiency and durability of your golf cart. By following this detailed guide and adhering to safety protocols, you ensure your battery system operates optimally. Regular maintenance and proper charging practices will further extend the life of your batteries, enhancing your golf cart experience.


