- Lithium Golf Cart Battery
- Forklift Lithium Battery
-
48V
- 48V 210Ah
- 48V 300Ah
- 48V 420Ah (949 x 349 x 569 mm)
- 48V 420Ah (950 x 421 x 450 mm)
- 48V 456Ah
- 48V 460Ah (830 x 630 x 590 mm)
- 48V 460Ah (950 x 421 x 450 mm)
- 48V 460Ah (800 x 630 x 600 mm)
- 48V 460Ah (820 x 660 x 470 mm)
- 48V 500Ah
- 48V 560Ah (810 x 630 x 600 mm)
- 48V 560Ah (950 x 592 x 450 mm)
- 48V 600Ah
- 48V 630Ah
-
48V
- 12V Lithium Battery
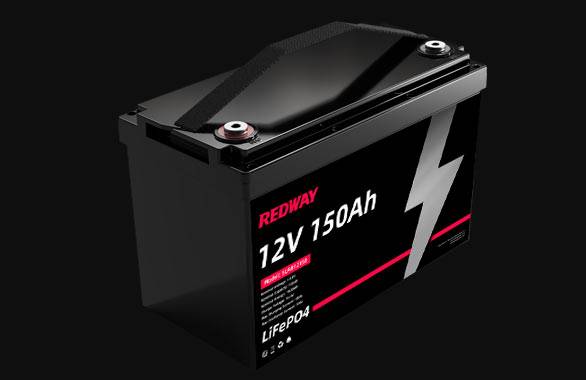
12V 150Ah Lithium RV Battery
Bluetooth App | BCI Group 31
LiFePO4 Lithium
Discharge Temperature -20°C ~ 65°C
Fast Charger 14.6V 50A
Solar MPPT Charging - 24V Lithium Battery
- 36V Lithium Battery
- 48V Lithium Battery
-
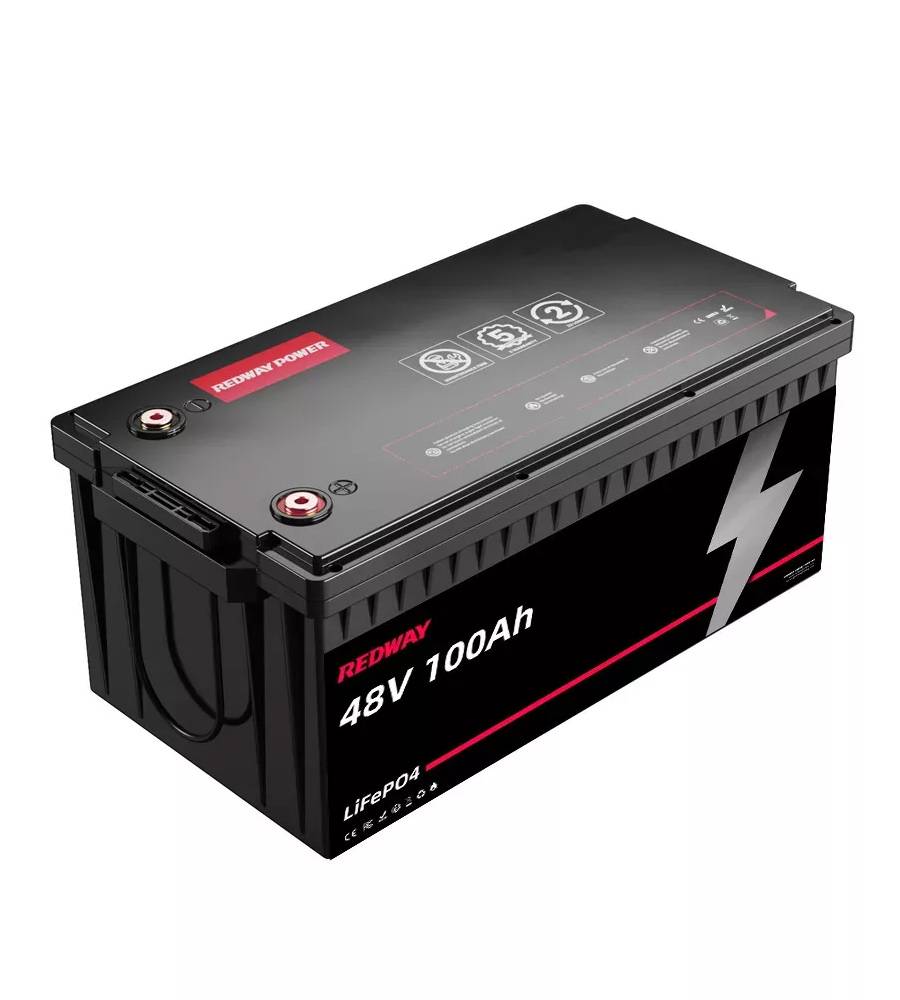
48V LiFePO4 Battery
- 48V 50Ah
- 48V 50Ah (for Golf Carts)
- 48V 60Ah (8D)
- 48V 100Ah (8D)
- 48V 100Ah
- 48V 100Ah (Discharge 100A for Golf Carts)
- 48V 100Ah (Discharge 150A for Golf Carts)
- 48V 100Ah (Discharge 200A for Golf Carts)
- 48V 150Ah (for Golf Carts)
- 48V 160Ah (Discharge 100A for Golf Carts)
- 48V 160Ah (Discharge 160A for Golf Carts)
-
48V LiFePO4 Battery
- 60V Lithium Battery
-
60V LiFePO4 Battery
- 60V 20Ah
- 60V 30Ah
- 60V 50Ah
- 60V 50Ah (Small Size / Side Terminal)
- 60V 100Ah (for Electric Motocycle, Electric Scooter, LSV, AGV)
- 60V 100Ah (for Forklift, AGV, Electric Scooter, Sweeper)
- 60V 150Ah (E-Motocycle / E-Scooter / E-Tricycle / Tour LSV)
- 60V 200Ah (for Forklift, AGV, Electric Scooter, Sweeper)
-
60V LiFePO4 Battery
- 72V~96V Lithium Battery
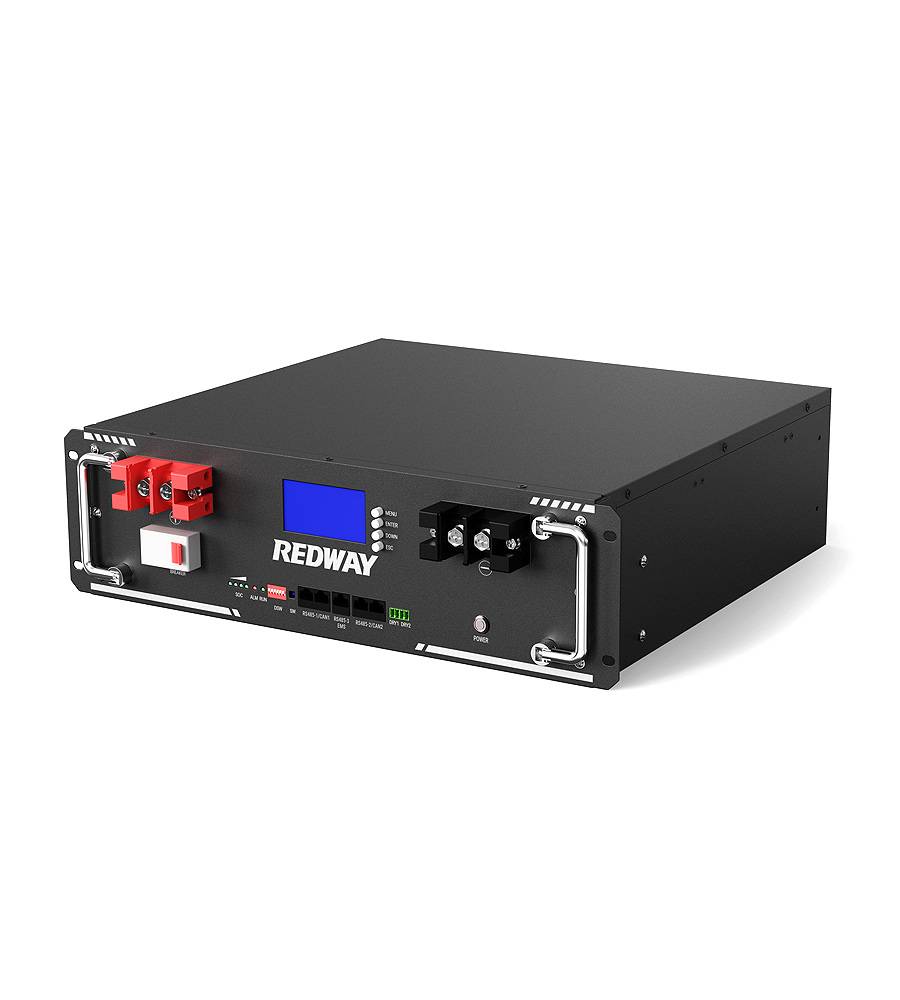
- Rack-mounted Lithium Battery
- E-Bike Battery
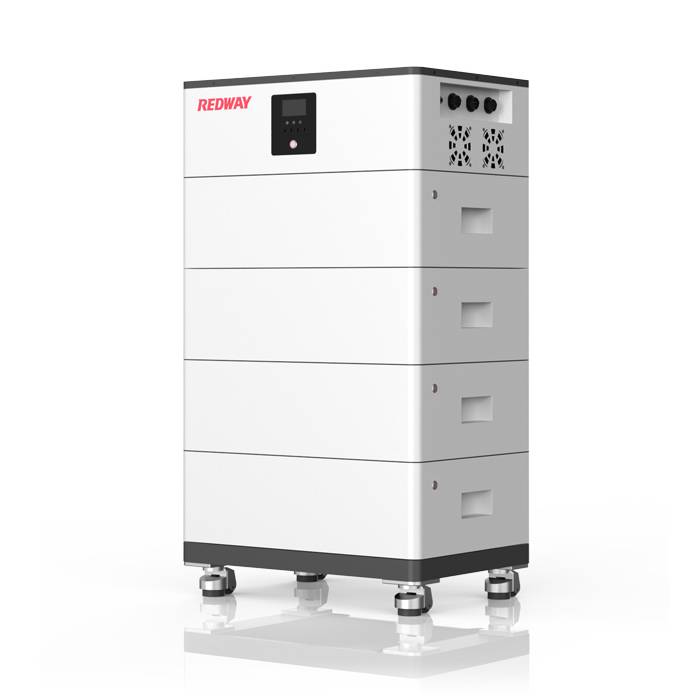
- All-in-One Home-ESS
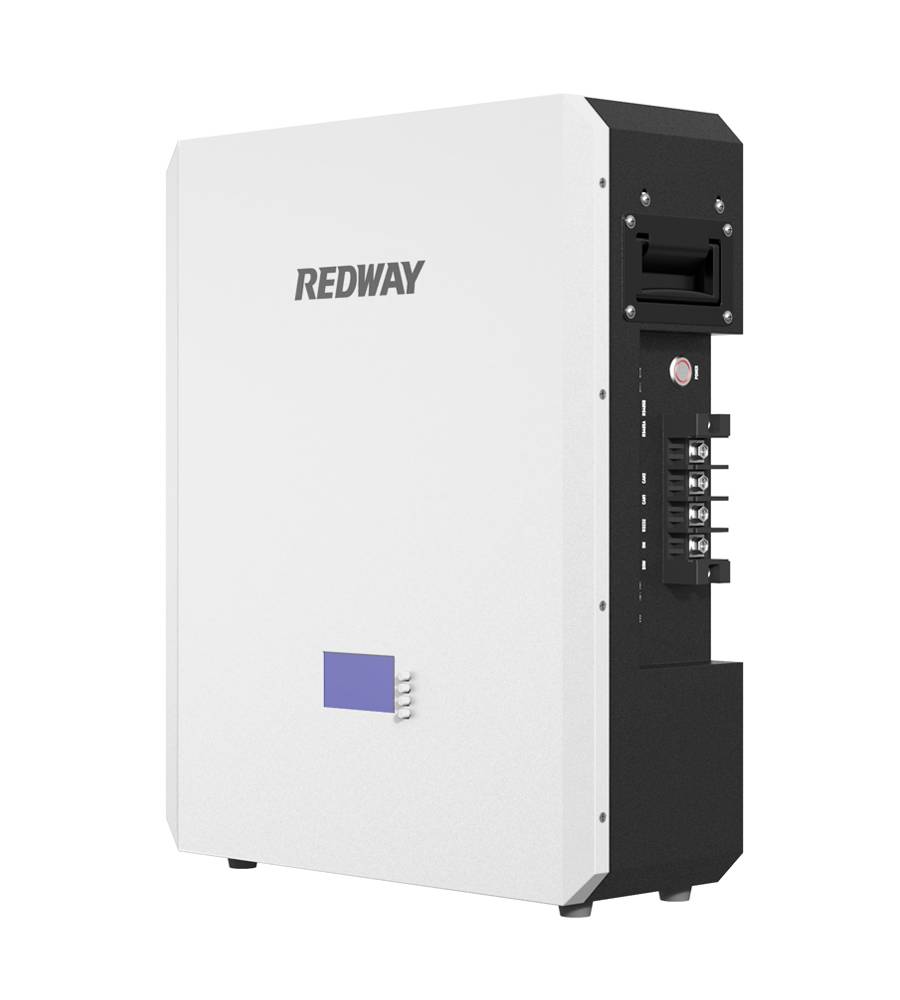
- Wall-mount Battery ESS
-
Home-ESS Lithium Battery PowerWall
- 24V 100Ah 2.4kWh PW24100-S PowerWall
- 48V 50Ah 2.4kWh PW4850-S PowerWall
- 48V 50Ah 2.56kWh PW5150-S PowerWall
- 48V 100Ah 5.12kWh PW51100-F PowerWall (IP65)
- 48V 100Ah 5.12kWh PW51100-S PowerWall
- 48V 100Ah 5.12kWh PW51100-H PowerWall
- 48V 200Ah 10kWh PW51200-H PowerWall
- 48V 300Ah 15kWh PW51300-H PowerWall
PowerWall 51.2V 100Ah LiFePO4 Lithium Battery
Highly popular in Asia and Eastern Europe.
CE Certification | Home-ESS -
Home-ESS Lithium Battery PowerWall
- Portable Power Stations
Comprehensive Guide to Repairing Lead-Acid Gel Batteries

Lead-acid gel batteries are integral components in many applications due to their safety and reliability. This guide provides an in-depth understanding of how to effectively repair and maintain these batteries to ensure their longevity and performance.
Understanding Lead-Acid Gel Batteries
What Are Lead-Acid Gel Batteries?
Lead-acid gel batteries are a type of sealed lead-acid battery where the electrolyte is in the form of a gel. This design offers significant safety advantages over traditional liquid-filled lead-acid batteries. If the battery casing is damaged, the gel remains in place, preventing hazardous spills of sulfuric acid.
Key Advantages
- Spill-Proof Design: The gel electrolyte prevents leaks.
- Maintenance-Free: Sealed units that do not require regular topping up of electrolyte.
- Durable: Resistant to corrosion and able to withstand harsh conditions.
Applications
These batteries are commonly used in:
- Automotive Industry: As starter batteries.
- Renewable Energy Systems: In solar and wind power storage.
- Marine and RV: For powering various systems.
- Golf Carts: Providing reliable energy storage.
Detailed Steps for Repairing a Lead-Acid Gel Battery
Safety Precautions
- Wear Protective Gear: Always use goggles and gloves.
- Work in a Ventilated Area: Ensure proper ventilation to avoid inhaling any gases.
- Avoid Open Flames: Lead-acid batteries can emit flammable gases.
Step-by-Step Repair Process
Step 1: Initial Assessment
Before attempting any repairs, it’s crucial to determine the battery’s condition.
- Visual Inspection: Check for any visible damage to the casing.
- Voltage Test: Use a digital voltmeter to check the battery voltage.
Step 2: Deep Discharge
Discharging the battery fully can help in refurbishing it.
- Discharge the Battery: Connect the battery to a device until it is completely drained.
- Monitor the Temperature: Ensure the battery doesn’t get too hot during this process.
Step 3: Slow Charging
Charging the battery slowly helps restore its capacity without causing damage.
- Use a Suitable Charger: Ensure the charger matches the battery’s specifications.
- Charge Slowly: Set the charger to a low current setting.
- Check Every Six Hours: Monitor the battery temperature and voltage.
Step 4: Full Charge and Testing
After 24 hours, the battery should be fully charged and ready for testing.
- Disconnect the Charger: Safely remove the charger clamps.
- Rest the Battery: Allow the battery to sit for 24 hours to dissipate surface charge.
- Voltage Test: Recheck the voltage using a digital voltmeter.
Step 5: Evaluate Results
Determine if the battery is fully restored or needs replacement.
- Consistent Low Voltage: If the battery shows low voltage after charging, it may need to be replaced.
- Successful Restoration: If the voltage is within the acceptable range, the battery is successfully restored.
Maintenance Tips for Lead-Acid Gel Batteries
Regular Inspection
- Monthly Checks: Regularly inspect for physical damage and clean the terminals.
- Voltage Monitoring: Keep an eye on the battery voltage to ensure it remains within the recommended range.
Proper Charging Practices
- Avoid Deep Discharges: Prevent the battery from discharging below 50% to extend its lifespan.
- Use Correct Chargers: Always use a charger that matches the battery’s specifications to avoid overcharging.
Storage Guidelines
- Cool and Dry Place: Store the battery in a cool, dry environment to prevent self-discharge.
- Periodic Charging: If not in use, charge the battery every few months to maintain its health.
Conclusion
Lead-acid gel batteries, with their spill-proof and maintenance-free design, are a reliable choice for various applications. Proper maintenance and careful repair processes can significantly extend their life, ensuring you get the most out of your investment. By following the steps outlined in this guide, you can effectively restore and maintain your lead-acid gel batteries, ensuring optimal performance and safety.


