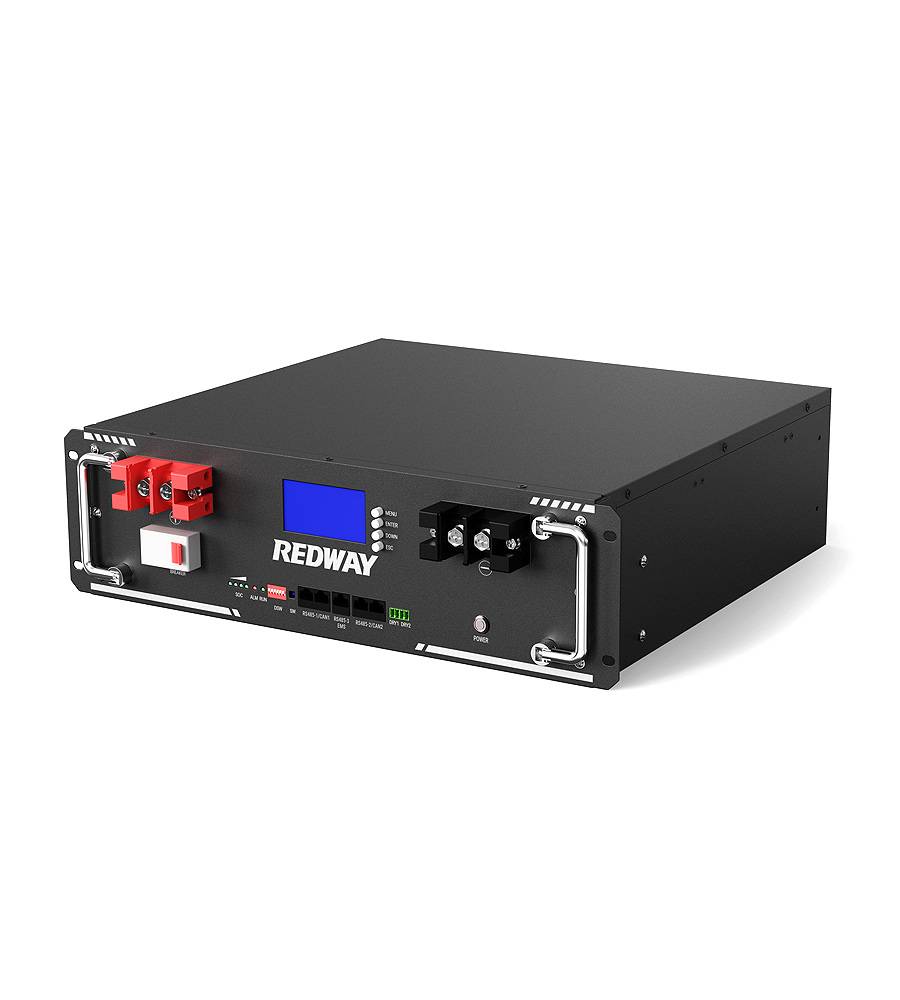
- Rack-mounted Lithium Battery
- Golf Cart Lithium Battery
-
Golf Cart Lithium Battery
- 36V 50Ah (for Golf Carts)
- 36V 80Ah (for Golf Carts)
- 36V 100Ah (for Golf Carts)
- 48V 50Ah (for Golf Carts)
- 48V 100Ah (Discharge 100A for Golf Carts)
- 48V 100Ah (Discharge 150A for Golf Carts)
- 48V 100Ah (Discharge 200A for Golf Carts)
- 48V 120Ah (for Golf Carts)
- 48V 150Ah (for Golf Carts)
- 48V 160Ah (Discharge 100A for Golf Carts)
- 48V 160Ah (Discharge 160A for Golf Carts)
-
Golf Cart Lithium Battery
- Forklift Lithium Battery
- 12V Lithium Battery
- 24V Lithium Battery
- 36V Lithium Battery
- 48V Lithium Battery
-
48V LiFePO4 Battery
- 48V 50Ah
- 48V 50Ah (for Golf Carts)
- 48V 60Ah (8D)
- 48V 100Ah (8D)
- 48V 100Ah
- 48V 100Ah (Discharge 100A for Golf Carts)
- 48V 100Ah (Discharge 150A for Golf Carts)
- 48V 100Ah (Discharge 200A for Golf Carts)
- 48V 150Ah (for Golf Carts)
- 48V 160Ah (Discharge 100A for Golf Carts)
- 48V 160Ah (Discharge 160A for Golf Carts)
-
48V LiFePO4 Battery
- 60V Lithium Battery
-
60V LiFePO4 Battery
- 60V 20Ah
- 60V 30Ah
- 60V 50Ah
- 60V 50Ah (Small Size / Side Terminal)
- 60V 100Ah (for Electric Motocycle, Electric Scooter, LSV, AGV)
- 60V 100Ah (for Forklift, AGV, Electric Scooter, Sweeper)
- 60V 150Ah (E-Motocycle / E-Scooter / E-Tricycle / Tour LSV)
- 60V 200Ah (for Forklift, AGV, Electric Scooter, Sweeper)
-
60V LiFePO4 Battery
- 72V~96V Lithium Battery
- E-Bike Battery
- All-in-One Home-ESS
- Wall-mount Battery ESS
-
Home-ESS Lithium Battery PowerWall
- 24V 100Ah 2.4kWh PW24100-S PowerWall
- 48V 50Ah 2.4kWh PW4850-S PowerWall
- 48V 50Ah 2.56kWh PW5150-S PowerWall
- 48V 100Ah 5.12kWh PW51100-F PowerWall (IP65)
- 48V 100Ah 5.12kWh PW51100-S PowerWall
- 48V 100Ah 5.12kWh PW51100-H PowerWall
- 48V 200Ah 10kWh PW51200-H PowerWall
- 48V 300Ah 15kWh PW51300-H PowerWall
PowerWall 51.2V 100Ah LiFePO4 Lithium Battery
Highly popular in Asia and Eastern Europe.
CE Certification | Home-ESS -
Home-ESS Lithium Battery PowerWall
- Portable Power Stations
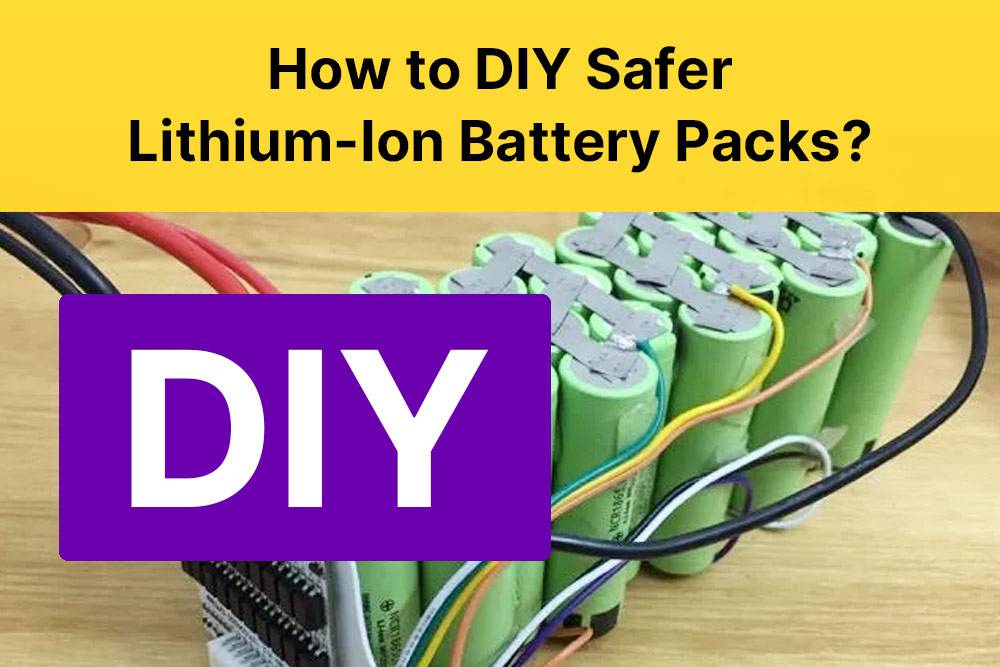
How Can I DIY a 5S 16V LiFePO4 Battery?

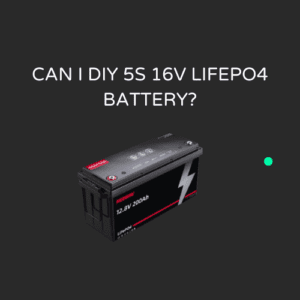
Building a DIY 5S 16V LiFePO4 battery can be an exciting and rewarding project, allowing you to create a powerful energy source tailored to your needs. With the right materials and knowledge, you can assemble a reliable battery pack suitable for various applications. This guide provides detailed steps and considerations to help you successfully create your own LiFePO4 battery.
What materials are needed for a DIY LiFePO4 battery?
To build a 5S 16V LiFePO4 battery, you’ll need several essential materials:
- LiFePO4 Cells: Five cells rated at 3.2V each, totaling 16V when connected in series.
- Battery Management System (BMS): A suitable BMS that supports 5 cells and provides overcharge and discharge protection.
- Nickel Strips or Wires: For connecting the cells together.
- Battery Holders: To secure the cells in place.
- Insulation Tape: For safety and insulation.
- Spot Welder: For making strong connections between cells (optional but recommended).
Chart: Required Materials Overview
| Material | Purpose |
|---|---|
| LiFePO4 Cells | Main energy storage |
| BMS | Protects against overcharging and discharging |
| Nickel Strips/Wires | Connects cells together |
| Battery Holders | Secures cells |
| Insulation Tape | Provides safety and insulation |
| Spot Welder | Creates strong connections |
How do you assemble the battery pack for a 5S configuration?
Assembling your 5S battery pack involves several steps:
- Arrange Cells: Place five LiFePO4 cells in series.
- Connect Cells: Use nickel strips or wires to connect the positive terminal of one cell to the negative terminal of the next, forming a series connection.
- Secure Cells: Use battery holders or insulation tape to keep cells in place.
- Connect BMS: Attach the BMS according to its wiring diagram, ensuring proper connections to each cell.
Chart: Assembly Steps
| Step | Description |
|---|---|
| Arrange Cells | Place cells in series |
| Connect Cells | Use nickel strips for connections |
| Secure Cells | Use holders or tape |
| Connect BMS | Follow wiring diagram |
What safety precautions should you follow when building a LiFePO4 battery?
Safety is crucial when working with batteries:
- Wear Protective Gear: Always wear gloves and goggles to protect against accidental short circuits or chemical exposure.
- Work in a Ventilated Area: Ensure good airflow to avoid any buildup of harmful gases.
- Avoid Short Circuits: Be cautious with tools around exposed terminals to prevent shorting cells.
- Use Proper Tools: Utilize insulated tools to minimize risk.
How do you charge the LiFePO4 battery once assembled?
Charging your assembled LiFePO4 battery involves:
- Use Compatible Charger: Ensure your charger is designed for LiFePO4 batteries and matches the voltage specifications (16V).
- Connect Charger: Attach charger leads to the BMS output terminals according to polarity.
- Monitor Charging: Keep an eye on charging progress; most chargers will indicate when charging is complete.
Chart: Charging Process Overview
| Step | Description |
|---|---|
| Use Compatible Charger | Match charger with voltage specifications |
| Connect Charger | Attach leads according to polarity |
| Monitor Charging | Watch for completion indicators |
What is the configuration for a 5S LiFePO4 battery?
A 5S configuration means connecting five individual LiFePO4 cells in series, resulting in an overall nominal voltage of approximately 16V (3.2V per cell). This setup is commonly used in various applications, including electric vehicles and renewable energy systems.
How do you choose the right BMS for your battery?
Selecting an appropriate BMS involves considering:
- Cell Count Compatibility: Ensure it supports five cells (5S).
- Current Rating: Choose one that can handle your maximum load (e.g., at least 70A if that’s your peak usage).
- Protection Features: Look for overcharge, over-discharge, and short circuit protection.
What are common issues when building a DIY battery?
Common issues include:
- Cell Imbalance: Ensure all cells are balanced before use; unbalanced cells can lead to reduced performance or damage.
- Poor Connections: Weak connections can cause overheating; ensure all joints are secure.
- Incorrect BMS Setup: Double-check connections to avoid malfunctioning during operation.
How can you test your DIY LiFePO4 battery?
Testing involves:
- Voltage Check: Measure voltage across each cell with a multimeter to ensure they are balanced.
- Load Testing: Connect a load tester to verify that the pack can handle its rated current without significant voltage drop.
- Cycle Testing: Perform charge and discharge cycles while monitoring performance metrics.
How do you select LiFePO4 cells for your project?
When selecting cells, consider:
- Capacity Rating: Choose based on required capacity (e.g., Ah rating).
- Cycle Life: Look for high cycle life ratings (typically around 2000 cycles).
- Brand Reputation: Opt for reputable brands known for quality manufacturing.
What steps are involved in building a 5S battery pack?
Key steps include:
- Gathering materials as listed above.
- Arranging and connecting cells in series.
- Securing components properly.
- Integrating the BMS correctly.
How can you ensure proper balancing of cells in your battery pack?
To ensure proper balancing:
- Pre-Balance Cells: Charge each cell individually before assembly to ensure they start at similar voltages.
- Use Balancing Features on BMS: Many BMS units have built-in balancing functions that activate during charging.
Why is maintenance important for DIY batteries?
Regular maintenance helps prolong lifespan and ensures safe operation:
- Inspect Connections Regularly: Look for corrosion or loose connections that could lead to failure.
- Monitor Performance Metrics: Keep track of voltage levels during use and charging cycles.
- Check Cell Health Periodically: Test individual cell voltages periodically to identify any issues early.
Industrial News
The demand for DIY lithium iron phosphate (LiFePO4) batteries is increasing as more individuals seek sustainable energy solutions for electric vehicles, solar storage, and other applications. Recent advancements in cell technology have improved performance metrics such as cycle life and energy density, making these batteries more appealing than ever.
Redway Power Insights
“Building your own LiFePO4 battery not only saves costs but also provides an opportunity to tailor it precisely to your needs,” states an industry expert. “With proper knowledge and safety precautions, anyone can successfully create their own power source that meets specific requirements.”
FAQs
How to make LiFePO4?
Can I use LiFePO4 without BMS?
What is the best float voltage for LiFePO4?

Can I make lithium battery at home?
How to make your own battery?
Is it cheaper to make your own battery?
Can I install a battery myself?
By following the steps and using basic tools, individuals can successfully install a battery themselves, contributing to their own vehicle maintenance and empowerment.
FAQs
Can I convert my golf cart to a lithium battery?
Follow these steps: 1. Remove old lead-acid batteries, clean the tray, and inspect cables. 2. Insert and secure new lithium batteries, ensuring correct cable connections. 3. Install a capacity meter to monitor battery charge. Converting to lithium offers benefits like lighter weight, longer lifespan, faster charging, and maintenance-free operation. With easy-to-follow instructions, you can upgrade your golf cart to lithium batteries and enjoy an enhanced golfing experience.
How many lithium batteries are needed for a 48V golf cart?
Several factors come into play, such as the desired mileage range, weight capacity, terrain, and power demands. Additionally, considering battery capacity, voltage, and size is crucial. Typically, a recommended setup involves using at least four 12V lithium batteries connected in series to achieve the 48V output. Each battery should ideally have a minimum capacity of 100Ah to provide sufficient range and performance. By carefully evaluating these factors, you can determine the optimal number of lithium batteries for your 48V golf cart and enjoy an enhanced golfing experience.
