- Lithium Golf Cart Battery
- Forklift Lithium Battery
-
48V
- 48V 210Ah
- 48V 300Ah
- 48V 420Ah (949 x 349 x 569 mm)
- 48V 420Ah (950 x 421 x 450 mm)
- 48V 456Ah
- 48V 460Ah (830 x 630 x 590 mm)
- 48V 460Ah (950 x 421 x 450 mm)
- 48V 460Ah (800 x 630 x 600 mm)
- 48V 460Ah (820 x 660 x 470 mm)
- 48V 500Ah
- 48V 560Ah (810 x 630 x 600 mm)
- 48V 560Ah (950 x 592 x 450 mm)
- 48V 600Ah
- 48V 630Ah
-
48V
- 12V Lithium Battery
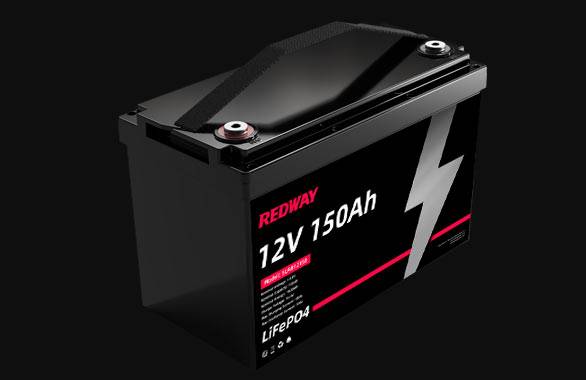
12V 150Ah Lithium RV Battery
Bluetooth App | BCI Group 31
LiFePO4 Lithium
Discharge Temperature -20°C ~ 65°C
Fast Charger 14.6V 50A
Solar MPPT Charging - 24V Lithium Battery
- 36V Lithium Battery
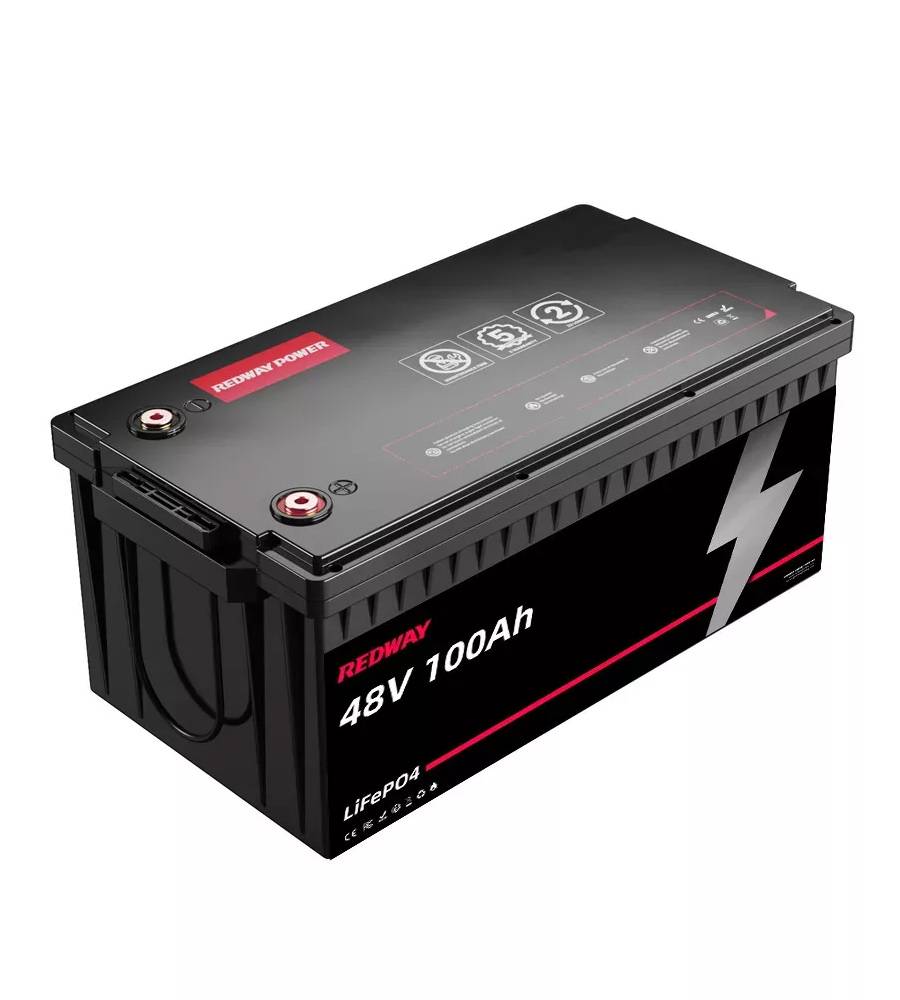
- 48V Lithium Battery
-
48V LiFePO4 Battery
- 48V 50Ah
- 48V 50Ah (for Golf Carts)
- 48V 60Ah (8D)
- 48V 100Ah (8D)
- 48V 100Ah
- 48V 100Ah (Discharge 100A for Golf Carts)
- 48V 100Ah (Discharge 150A for Golf Carts)
- 48V 100Ah (Discharge 200A for Golf Carts)
- 48V 150Ah (for Golf Carts)
- 48V 160Ah (Discharge 100A for Golf Carts)
- 48V 160Ah (Discharge 160A for Golf Carts)
-
48V LiFePO4 Battery
- 60V Lithium Battery
-
60V LiFePO4 Battery
- 60V 20Ah
- 60V 30Ah
- 60V 50Ah
- 60V 50Ah (Small Size / Side Terminal)
- 60V 100Ah (for Electric Motocycle, Electric Scooter, LSV, AGV)
- 60V 100Ah (for Forklift, AGV, Electric Scooter, Sweeper)
- 60V 150Ah (E-Motocycle / E-Scooter / E-Tricycle / Tour LSV)
- 60V 200Ah (for Forklift, AGV, Electric Scooter, Sweeper)
-
60V LiFePO4 Battery
- 72V~96V Lithium Battery
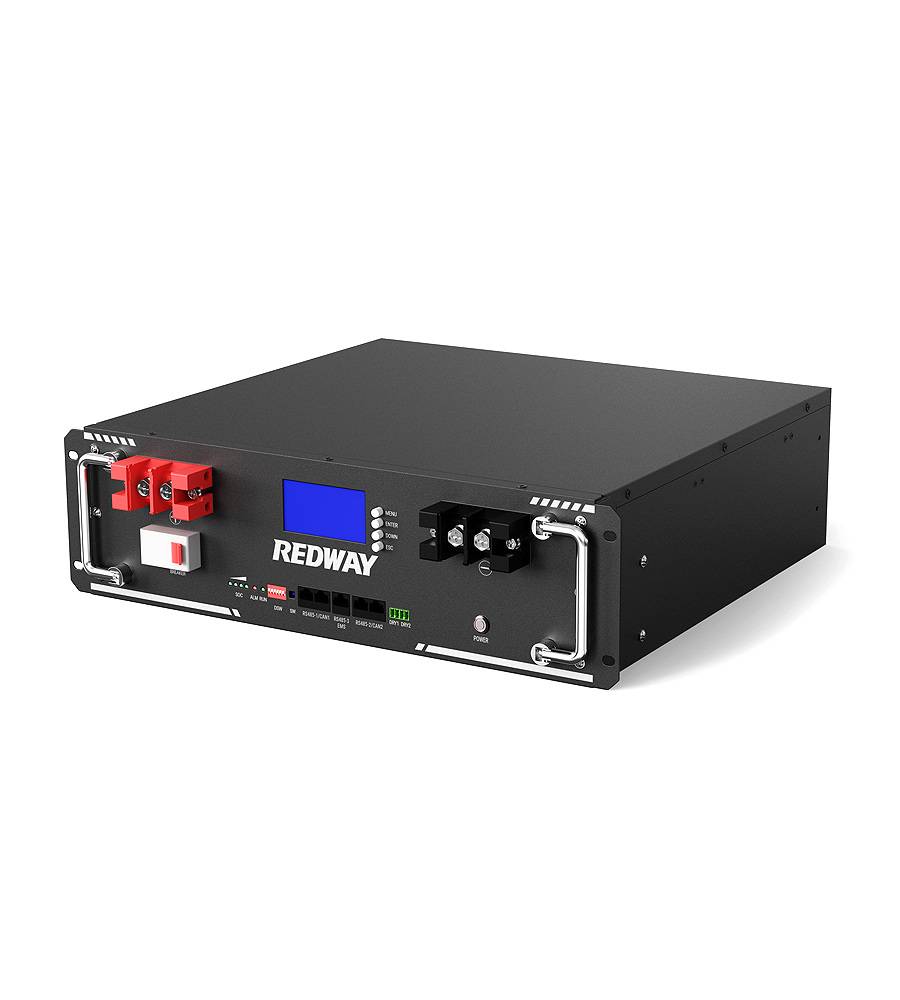
- Rack-mounted Lithium Battery
- E-Bike Battery
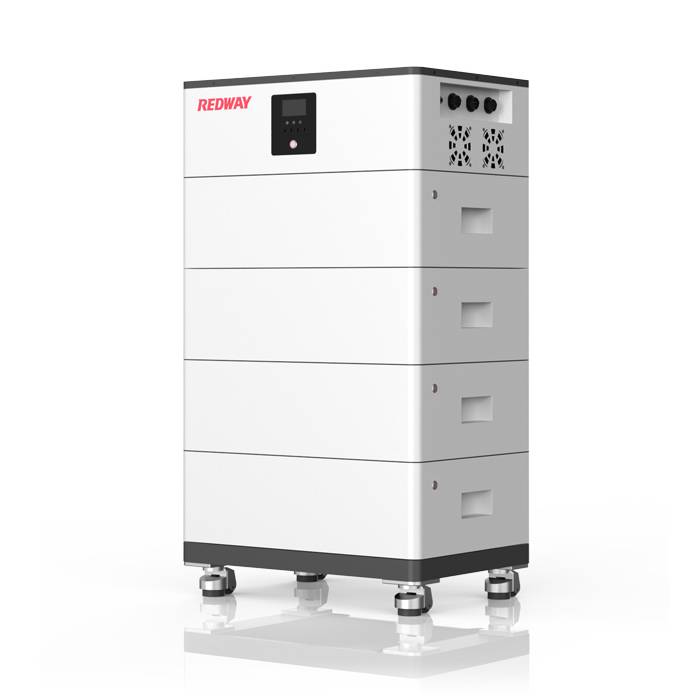
- All-in-One Home-ESS
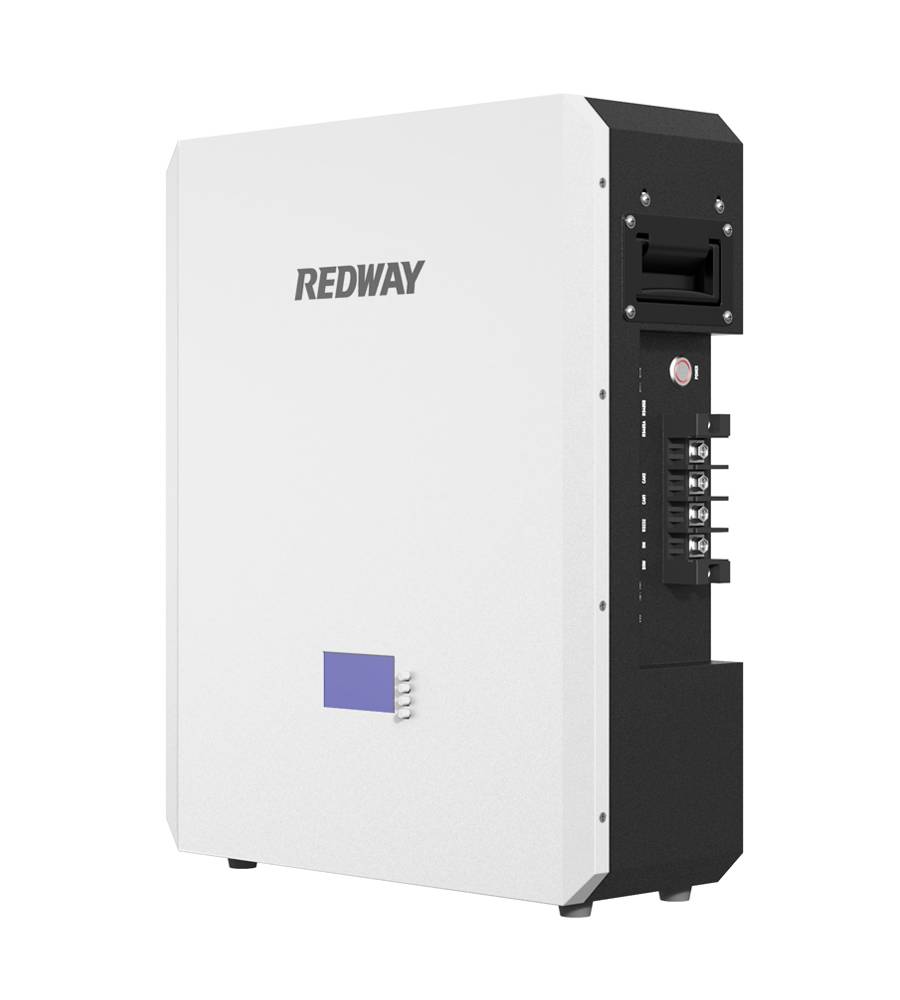
- Wall-mount Battery ESS
-
Home-ESS Lithium Battery PowerWall
- 24V 100Ah 2.4kWh PW24100-S PowerWall
- 48V 50Ah 2.4kWh PW4850-S PowerWall
- 48V 50Ah 2.56kWh PW5150-S PowerWall
- 48V 100Ah 5.12kWh PW51100-F PowerWall (IP65)
- 48V 100Ah 5.12kWh PW51100-S PowerWall
- 48V 100Ah 5.12kWh PW51100-H PowerWall
- 48V 200Ah 10kWh PW51200-H PowerWall
- 48V 300Ah 15kWh PW51300-H PowerWall
PowerWall 51.2V 100Ah LiFePO4 Lithium Battery
Highly popular in Asia and Eastern Europe.
CE Certification | Home-ESS -
Home-ESS Lithium Battery PowerWall
- Portable Power Stations
Can I Check the Voltage of a Golf Cart Battery While It Is Still Connected to the Cart?
Maintaining the performance and longevity of your golf cart hinges on understanding how to properly monitor its battery. Golf cart batteries are crucial components, and knowing how to check their voltage accurately can prevent unexpected breakdowns and ensure that your cart performs optimally. In this article, we will provide a comprehensive guide on how to check the voltage of a golf cart battery while it is still connected to the cart, along with essential safety tips and best practices.
Why Monitor Your Golf Cart Battery Voltage?
Monitoring the voltage of your golf cart battery is not just about ensuring it starts properly; it’s about maintaining overall battery health. Regular checks can help you:
- Identify Battery Issues Early: By regularly checking the voltage, you can catch problems such as undercharging or overcharging before they lead to battery failure.
- Enhance Battery Life: Proper maintenance and timely interventions can significantly extend the life of your battery.
- Ensure Optimal Performance: A well-maintained battery provides consistent power, ensuring your golf cart performs at its best.
Steps to Check Battery Voltage While Connected
1. Prepare the Golf Cart
Before beginning any inspection, it is vital to ensure that the golf cart is safely prepared:
- Turn Off the Cart: Make sure that the golf cart is completely powered down. The key should be removed from the ignition to prevent any accidental start-up.
- Secure the Cart: Ensure the cart is parked on a flat surface and the brake is engaged to prevent any movement during the procedure.
2. Gather the Necessary Tools
To check the battery voltage, you will need the following tools:
- Digital Voltmeter: This tool is essential for measuring the voltage accurately. While analog voltmeters can be used, digital ones are generally more precise.
- Safety Gear: Wear protective gloves and safety goggles to safeguard against any potential battery acid spillage or electrical shorts.
3. Locate the Battery Terminals
Golf carts typically use 12-volt or 6-volt batteries. Locate the battery compartment, which may vary depending on the golf cart model. Once located:
- Identify the Positive Terminal: Usually marked with a “+” sign or a red cover.
- Identify the Negative Terminal: Typically marked with a “-” sign or a black cover.
4. Connect the Voltmeter
To measure the voltage, follow these steps:
- Attach the Negative Probe: Connect the black (negative) probe of the voltmeter to the negative terminal of the battery.
- Attach the Positive Probe: Connect the red (positive) probe to the positive terminal of the battery.
- Ensure Firm Connections: Ensure that the probes are securely attached to the terminals to avoid inaccurate readings.
5. Read the Voltage
Turn on the voltmeter and read the voltage displayed. This reading will give you an indication of the battery’s charge level. Here’s how to interpret the results:
- 12.6 Volts or Higher: The battery is fully charged.
- 12.4 to 12.6 Volts: The battery is moderately charged but may require charging soon.
- 12.0 to 12.4 Volts: The battery is running low and should be recharged soon.
- Below 12.0 Volts: The battery is critically low and may need immediate charging or replacement.
Safety Considerations
While checking the voltage of a golf cart battery is relatively straightforward, certain safety precautions must be observed:
- Avoid Short Circuits: Ensure that the probes do not touch each other or any other conductive parts. This can cause a short circuit or spark.
- Handle with Care: Batteries contain sulfuric acid, which is corrosive. Avoid spilling any liquid and handle the battery terminals carefully.
- Follow Manufacturer Guidelines: Always adhere to the specific maintenance and safety guidelines provided by the golf cart manufacturer.
Maintenance Tips
To keep your golf cart battery in top condition, follow these maintenance tips:
- Regular Voltage Checks: Make it a routine to check the battery voltage at least once a month.
- Keep Terminals Clean: Ensure that the battery terminals are free from corrosion and clean them if necessary.
- Check Electrolyte Levels: For flooded lead-acid batteries, ensure that the electrolyte levels are adequate.
- Charge Battery Properly: Use the correct charger and avoid overcharging the battery.
Common Issues and Troubleshooting
1. Low Voltage Readings
If you consistently obtain low voltage readings, it may indicate a problem such as:
- Battery Age: Old batteries lose their ability to hold a charge effectively. Consider replacing the battery if it is over 3-5 years old.
- Charging System Issues: Ensure the charging system is functioning correctly and that the battery is being charged properly.
2. Fluctuating Voltage
Fluctuating voltage readings can be caused by:
- Loose Connections: Check for loose or corroded connections at the battery terminals.
- Faulty Battery: A defective battery may show inconsistent voltage readings. Replacement might be necessary.
3. Battery Not Holding Charge
If the battery fails to hold a charge, this could be due to:
- Overcharging: This can cause excessive gassing and damage the battery plates.
- Deep Discharge: Regularly discharging the battery below recommended levels can reduce its lifespan.
Conclusion
Checking the voltage of your golf cart battery while it remains connected to the cart is a straightforward process that can greatly benefit your golf cart’s overall performance and lifespan. By following the outlined steps and adhering to safety protocols, you can ensure that your battery remains in optimal condition, thus enhancing your golf cart’s reliability and efficiency.
Remember, regular monitoring and maintenance are key to preventing issues and extending the life of your golf cart battery. Prioritize these practices and consult your golf cart’s manual for any specific recommendations related to battery maintenance.


