- Forklift Lithium Battery
-
48V
- 48V 210Ah
- 48V 300Ah
- 48V 420Ah (949 x 349 x 569 mm)
- 48V 420Ah (950 x 421 x 450 mm)
- 48V 456Ah
- 48V 460Ah (830 x 630 x 590 mm)
- 48V 460Ah (950 x 421 x 450 mm)
- 48V 460Ah (800 x 630 x 600 mm)
- 48V 460Ah (820 x 660 x 470 mm)
- 48V 500Ah
- 48V 560Ah (810 x 630 x 600 mm)
- 48V 560Ah (950 x 592 x 450 mm)
- 48V 600Ah
- 48V 630Ah
-
48V
- Lithium Golf Cart Battery
- 12V Lithium Battery
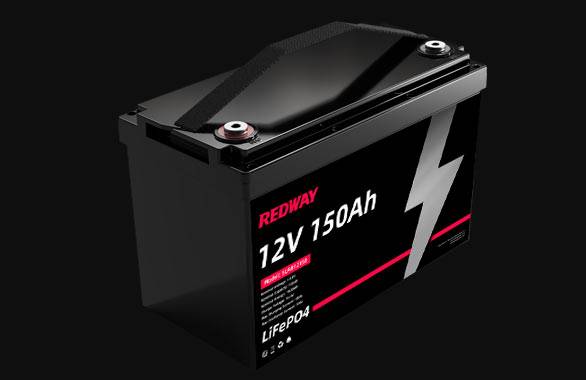
12V 150Ah Lithium RV Battery
Bluetooth App | BCI Group 31
LiFePO4 Lithium
Discharge Temperature -20°C ~ 65°C
Fast Charger 14.6V 50A
Solar MPPT Charging - 24V Lithium Battery
- 36V Lithium Battery
- 48V Lithium Battery
-
48V LiFePO4 Battery
- 48V 50Ah
- 48V 50Ah (for Golf Carts)
- 48V 60Ah (8D)
- 48V 100Ah (8D)
- 48V 100Ah
- 48V 100Ah (Discharge 100A for Golf Carts)
- 48V 100Ah (Discharge 150A for Golf Carts)
- 48V 100Ah (Discharge 200A for Golf Carts)
- 48V 150Ah (for Golf Carts)
- 48V 160Ah (Discharge 100A for Golf Carts)
- 48V 160Ah (Discharge 160A for Golf Carts)
-
48V LiFePO4 Battery
- 60V Lithium Battery
-
60V LiFePO4 Battery
- 60V 20Ah
- 60V 30Ah
- 60V 50Ah
- 60V 50Ah (Small Size / Side Terminal)
- 60V 100Ah (for Electric Motocycle, Electric Scooter, LSV, AGV)
- 60V 100Ah (for Forklift, AGV, Electric Scooter, Sweeper)
- 60V 150Ah (E-Motocycle / E-Scooter / E-Tricycle / Tour LSV)
- 60V 200Ah (for Forklift, AGV, Electric Scooter, Sweeper)
-
60V LiFePO4 Battery
- 72V~96V Lithium Battery
- Rack-mounted Lithium Battery
- E-Bike Battery
- All-in-One Home-ESS
- Wall-mount Battery ESS
-
Home-ESS Lithium Battery PowerWall
- 24V 100Ah 2.4kWh PW24100-S PowerWall
- 48V 50Ah 2.4kWh PW4850-S PowerWall
- 48V 50Ah 2.56kWh PW5150-S PowerWall
- 48V 100Ah 5.12kWh PW51100-F PowerWall (IP65)
- 48V 100Ah 5.12kWh PW51100-S PowerWall
- 48V 100Ah 5.12kWh PW51100-H PowerWall
- 48V 200Ah 10kWh PW51200-H PowerWall
- 48V 300Ah 15kWh PW51300-H PowerWall
PowerWall 51.2V 100Ah LiFePO4 Lithium Battery
Highly popular in Asia and Eastern Europe.
CE Certification | Home-ESS -
Home-ESS Lithium Battery PowerWall
- Portable Power Stations
Can a Hoverboard Be Repaired? Understanding Repair Options and Processes
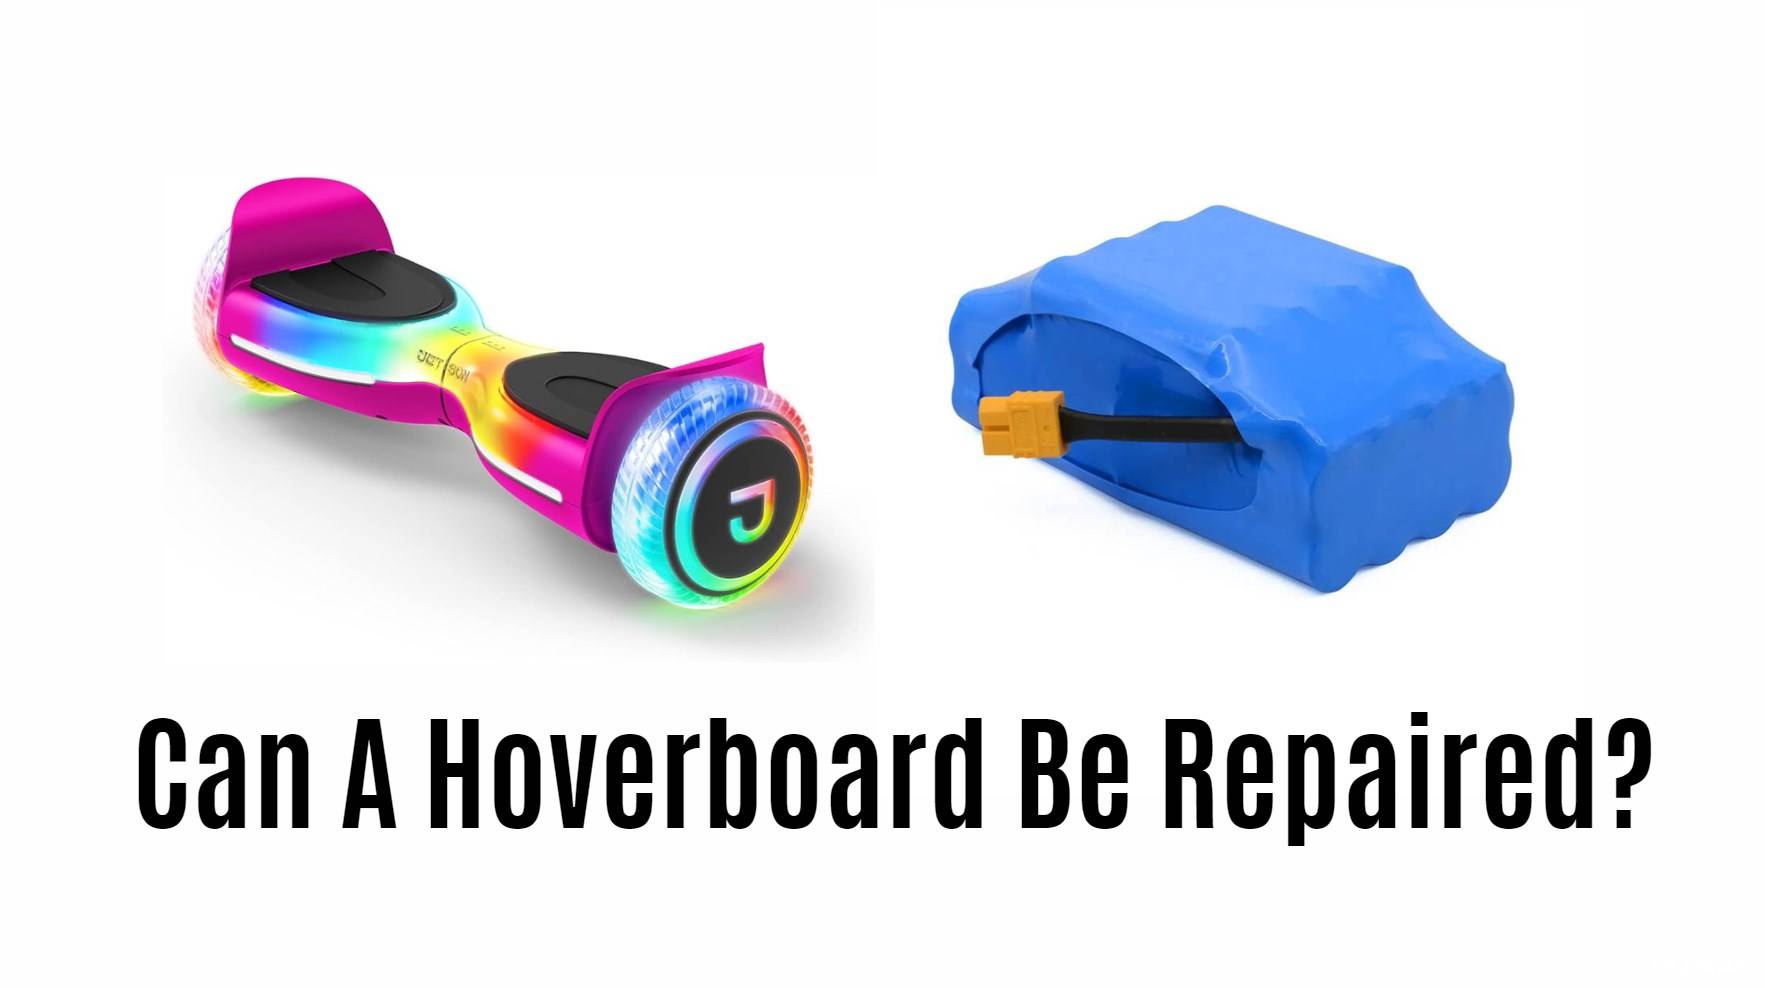
Hoverboards can often be repaired, depending on the nature of the issue. Common problems include battery failures, charging issues, and mechanical malfunctions. Understanding how to diagnose and fix these issues can save time and money, allowing you to enjoy your hoverboard without significant downtime.
What are the common issues that can occur with hoverboards?
Hoverboards may experience several common problems, including:
- Charging Issues: The hoverboard may not charge due to a faulty charger or damaged charging port.
- Battery Failure: Over time, batteries can lose capacity or fail completely.
- Mechanical Problems: Issues such as unresponsive wheels or imbalance may arise due to wear and tear.
- Calibration Issues: Hoverboards may require recalibration if they become unbalanced or shaky during use.
Common Issues Overview Chart
| Issue | Description |
|---|---|
| Charging Issues | Hoverboard fails to charge properly |
| Battery Failure | Reduced capacity or complete failure |
| Mechanical Problems | Unresponsive wheels or imbalance |
| Calibration Issues | Requires recalibration for stable operation |
How can you diagnose problems with a hoverboard?
Diagnosing problems with a hoverboard involves several steps:
- Visual Inspection: Check for physical damage, loose wires, or signs of wear.
- Battery Check: Use a multimeter to test the battery voltage; it should read around 36-42 volts for most models.
- Charger Functionality: Test the charger by checking its LED indicator and ensuring it outputs the correct voltage.
- Calibration Status: If the board feels unstable, perform a calibration by following manufacturer instructions.
Diagnosis Steps Chart
| Step | Action |
|---|---|
| Visual Inspection | Look for damage or loose connections |
| Battery Check | Measure voltage with a multimeter |
| Charger Functionality | Verify charger’s output voltage |
| Calibration Status | Follow calibration procedures as per instructions |
What tools and parts are needed for hoverboard repairs?
To repair a hoverboard, you’ll need specific tools and parts:
- Tools:
- Phillips screwdriver (for opening the case)
- Flathead screwdriver (for prying open covers)
- Multimeter (for testing voltage)
- Soldering iron (if wiring repairs are necessary)
- Parts:
- Replacement battery (if the existing one is faulty)
- New charger (if charging issues persist)
- Replacement charging port (if damaged)
- Gyroscope sensors (for balance issues)
Tools and Parts Chart
| Tool/Part | Purpose |
|---|---|
| Phillips Screwdriver | Open the hoverboard casing |
| Multimeter | Test voltage and diagnose electrical issues |
| Replacement Battery | Replace faulty batteries |
| New Charger | Fix charging problems |
How do you fix a hoverboard that won’t charge?
If your hoverboard won’t charge, follow these steps:
- Inspect the Charger: Ensure it’s plugged in correctly and check for LED indicators.
- Check the Charging Port: Look for debris or damage; clean or replace if necessary.
- Test Battery Voltage: Use a multimeter to check if the battery is receiving power.
- Replace Components: If the charger or charging port is faulty, replace them as needed.
Charging Fix Steps Chart
| Step | Action |
|---|---|
| Inspect Charger | Ensure proper connection and check indicators |
| Check Charging Port | Clean and inspect for damage |
| Test Battery Voltage | Measure voltage to confirm functionality |
| Replace Faulty Parts | Install new charger or port as required |
What are the steps to repair a hoverboard’s battery?
To repair or replace a hoverboard battery:
- Remove the Bottom Cover: Use a Phillips screwdriver to access the battery compartment.
- Disconnect Old Battery: Carefully remove any connectors attached to the old battery.
- Install New Battery: Connect the new battery securely, ensuring all connections are tight.
- Reassemble Hoverboard: Replace the bottom cover and secure it with screws.
Battery Repair Steps Chart
| Step | Action |
|---|---|
| Remove Bottom Cover | Access battery compartment |
| Disconnect Old Battery | Remove connectors safely |
| Install New Battery | Connect securely |
| Reassemble Hoverboard | Secure bottom cover with screws |
When should you consider professional repair services for your hoverboard?
Consider professional repair services in these situations:
- If you’re uncomfortable performing repairs yourself due to lack of experience or tools.
- When multiple components appear damaged, making DIY fixes impractical.
- If your warranty is still active, as professional repairs may be covered.
Professional Repair Consideration Chart
| Scenario | Recommendation |
|---|---|
| Lack of Experience | Seek professional assistance |
| Multiple Damages | Consider expert evaluation |
| Active Warranty | Utilize warranty services |
FAQ Section
Q: Can I fix my hoverboard myself?
A: Yes, many common issues can be fixed at home with basic tools and knowledge; however, complex problems may require professional help.Q: How long does it take to repair a hoverboard?
A: Simple repairs like replacing batteries or chargers can take about an hour, while more complex issues may take longer.Q: Is it worth repairing an old hoverboard?
A: If the cost of repair is significantly lower than purchasing a new one and it meets your needs, it may be worth repairing.
Industrial News
The popularity of hoverboards continues to rise, leading to increased demand for repair services as users seek to extend their devices’ lifespan. Recent advancements in battery technology have improved performance but also highlighted common maintenance issues that require attention. As more consumers opt for eco-friendly transportation solutions, understanding how to maintain and repair these devices becomes essential.
Redway Power Insight
“Repairing a hoverboard can save users money while extending its lifespan,” states an expert from Redway Power. “With some basic tools and knowledge, many common issues can be resolved at home. However, it’s crucial to recognize when professional help is needed to ensure safety and proper functionality.”


