- Forklift Lithium Battery
-
48V
- 48V 210Ah
- 48V 300Ah
- 48V 420Ah (949 x 349 x 569 mm)
- 48V 420Ah (950 x 421 x 450 mm)
- 48V 456Ah
- 48V 460Ah (830 x 630 x 590 mm)
- 48V 460Ah (950 x 421 x 450 mm)
- 48V 460Ah (800 x 630 x 600 mm)
- 48V 460Ah (820 x 660 x 470 mm)
- 48V 500Ah
- 48V 560Ah (810 x 630 x 600 mm)
- 48V 560Ah (950 x 592 x 450 mm)
- 48V 600Ah
- 48V 630Ah
-
48V
- Lithium Golf Cart Battery
- 12V Lithium Battery
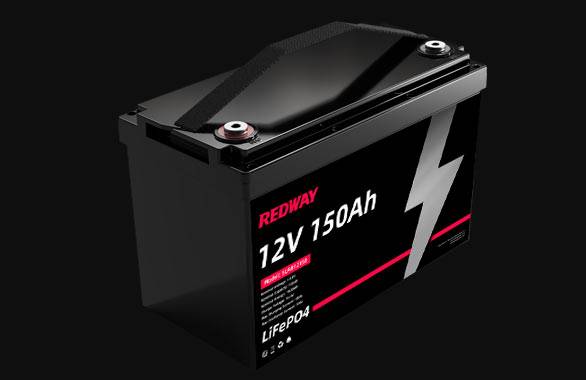
12V 150Ah Lithium RV Battery
Bluetooth App | BCI Group 31
LiFePO4 Lithium
Discharge Temperature -20°C ~ 65°C
Fast Charger 14.6V 50A
Solar MPPT Charging - 24V Lithium Battery
- 36V Lithium Battery
- 48V Lithium Battery
-
48V LiFePO4 Battery
- 48V 50Ah
- 48V 50Ah (for Golf Carts)
- 48V 60Ah (8D)
- 48V 100Ah (8D)
- 48V 100Ah
- 48V 100Ah (Discharge 100A for Golf Carts)
- 48V 100Ah (Discharge 150A for Golf Carts)
- 48V 100Ah (Discharge 200A for Golf Carts)
- 48V 150Ah (for Golf Carts)
- 48V 160Ah (Discharge 100A for Golf Carts)
- 48V 160Ah (Discharge 160A for Golf Carts)
-
48V LiFePO4 Battery
- 60V Lithium Battery
-
60V LiFePO4 Battery
- 60V 20Ah
- 60V 30Ah
- 60V 50Ah
- 60V 50Ah (Small Size / Side Terminal)
- 60V 100Ah (for Electric Motocycle, Electric Scooter, LSV, AGV)
- 60V 100Ah (for Forklift, AGV, Electric Scooter, Sweeper)
- 60V 150Ah (E-Motocycle / E-Scooter / E-Tricycle / Tour LSV)
- 60V 200Ah (for Forklift, AGV, Electric Scooter, Sweeper)
-
60V LiFePO4 Battery
- 72V~96V Lithium Battery
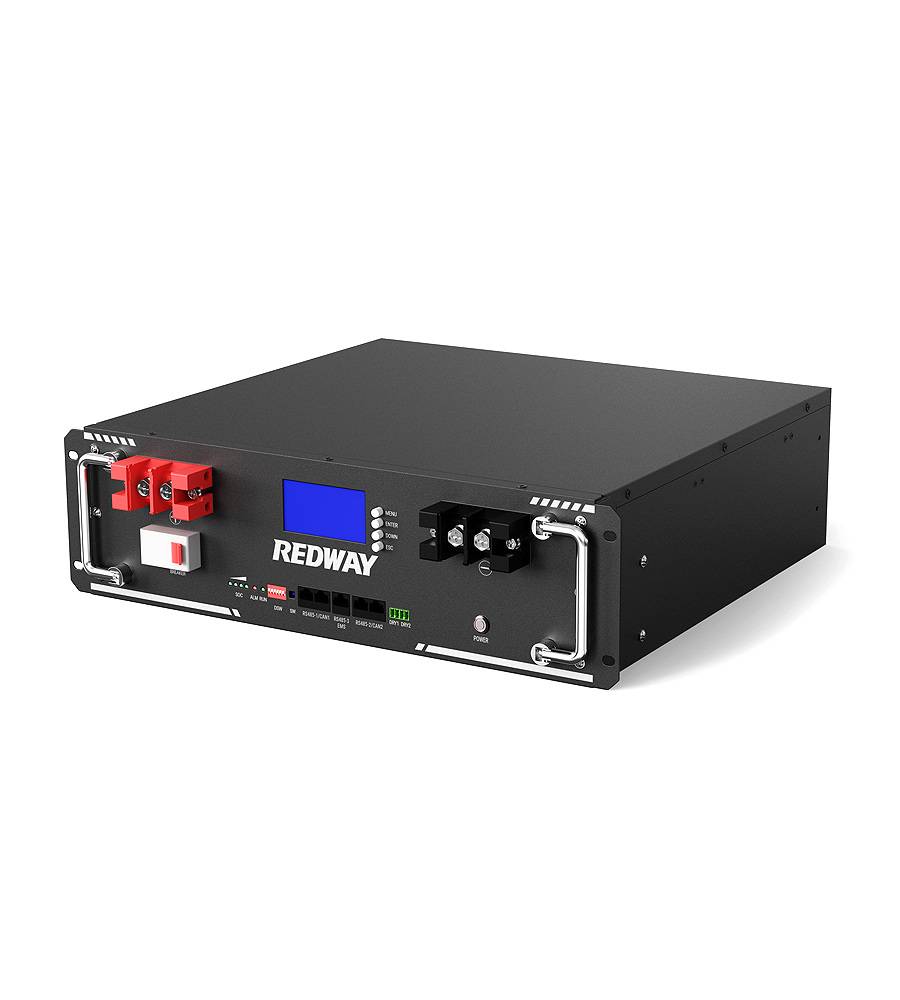
- Rack-mounted Lithium Battery
- E-Bike Battery
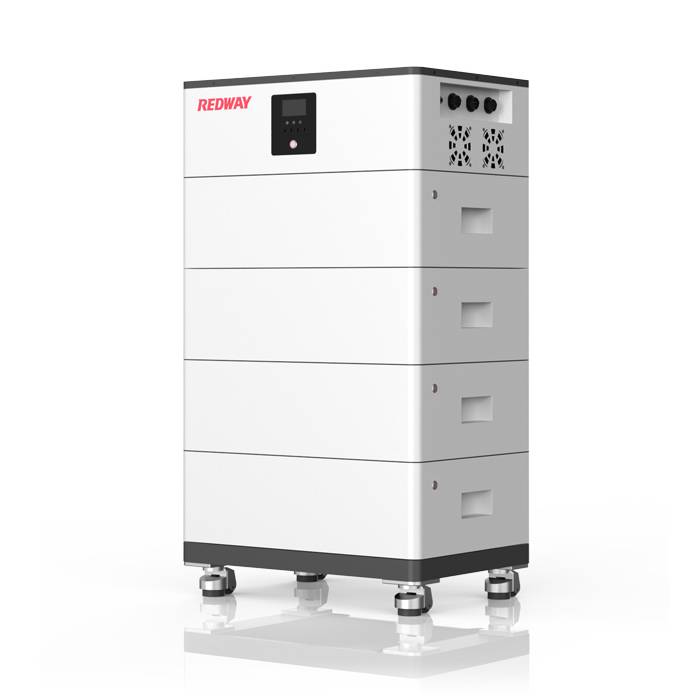
- All-in-One Home-ESS
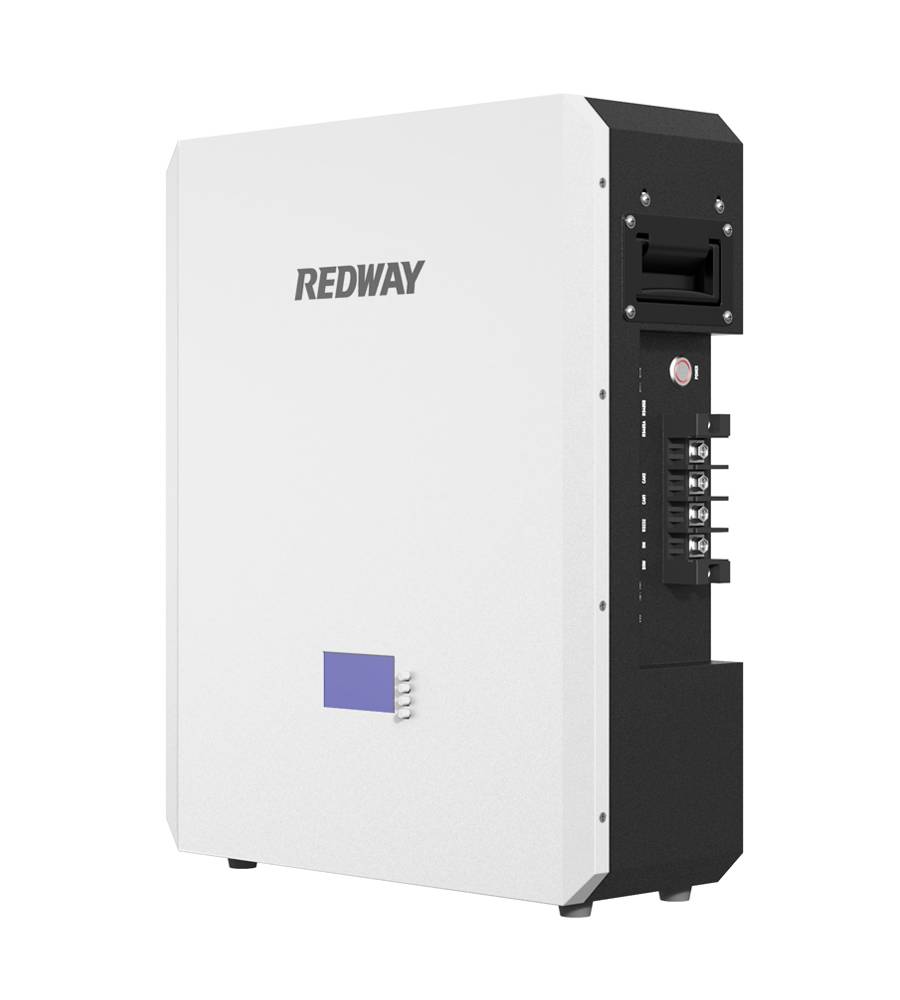
- Wall-mount Battery ESS
-
Home-ESS Lithium Battery PowerWall
- 24V 100Ah 2.4kWh PW24100-S PowerWall
- 48V 50Ah 2.4kWh PW4850-S PowerWall
- 48V 50Ah 2.56kWh PW5150-S PowerWall
- 48V 100Ah 5.12kWh PW51100-F PowerWall (IP65)
- 48V 100Ah 5.12kWh PW51100-S PowerWall
- 48V 100Ah 5.12kWh PW51100-H PowerWall
- 48V 200Ah 10kWh PW51200-H PowerWall
- 48V 300Ah 15kWh PW51300-H PowerWall
PowerWall 51.2V 100Ah LiFePO4 Lithium Battery
Highly popular in Asia and Eastern Europe.
CE Certification | Home-ESS -
Home-ESS Lithium Battery PowerWall
- Portable Power Stations
Battery Terminal Replacement Comprehensive Guide
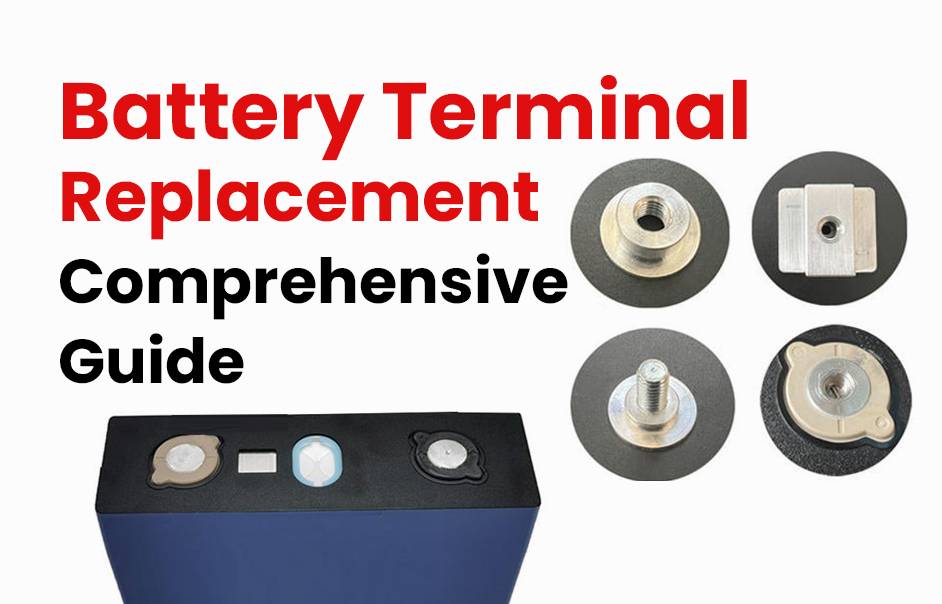
Explore the world of battery terminal replacement with our comprehensive guide! Whether you’re a seasoned DIY enthusiast or new to car maintenance, knowing how to replace battery terminals is crucial. These terminals are vital for proper electrical connections and your vehicle’s functionality. If you’ve faced starting issues or corrosion signs, this step-by-step guide is your go-to resource. Follow our instructions and precautions to replace worn-out terminals efficiently, saving you from future costly repairs. Let’s dive in and get started!
Signs that Your Battery Terminal Needs Replacement
The battery terminal in your vehicle is vital for the smooth operation of the electrical system. As time passes, wear and corrosion can impact its performance. Let’s explore key signs that indicate it’s time to consider replacing your battery terminals.
- Difficulty Starting:
- Symptom: Multiple attempts or sluggish engine starts.
- Indicator: If your car struggles to start, it may signal a problematic battery terminal connection.
- Corrosion Presence:
- Symptom: White or greenish deposits on terminals.
- Indicator: Corrosion impedes electricity flow and can affect overall system performance.
- Intermittent Power Issues:
- Symptom: Lights dimming or flickering while driving.
- Indicator: Power fluctuations suggest potential problems with the battery terminals.
- Unusual Clicking Sounds:
- Symptom: Clicking noises during start attempts.
- Indicator: Clicks may point to loose or damaged connections at the terminals.
- Frayed Cable Concerns:
- Symptom: Presence of frayed cables near terminals.
- Indicator: Damaged cables impact electricity flow, affecting the overall performance.
Conclusion: Staying vigilant for these signs allows you to address battery terminal issues promptly, preventing more severe problems in the future. Regular checks and timely replacements ensure your vehicle’s electrical system operates at its best.
Steps for Replacing Battery Terminals
Replacing your car’s battery terminals might seem challenging, but with the right tools and a bit of knowledge, it’s a manageable task. Follow this step-by-step guide to make the process smoother.
- Disconnect the Negative Terminal:
- Step: Start by disconnecting the car’s negative battery terminal to ensure safety during replacement.
- Clean Old Terminals:
- Step: Remove any corrosion or dirt from the old terminals using a wire brush or sandpaper for a clean and efficient connection.
- Remove Old Terminals:
- Step: Loosen and remove the bolts holding the old terminals in place. Note their positions for easier reinstallation.
- Install New Battery Terminals:
- Step: Carefully slide the new terminals onto their posts and securely tighten them using the previously removed bolts.
- Securely Fasten Terminals:
- Step: Confirm that both positive and negative terminals are tightly fastened. Reconnect the negative terminal first, followed by the positive terminal.
Conclusion: Always prioritize safety by wearing gloves during this process, considering that batteries contain acid that can be harmful if mishandled. With these steps, you can replace your car’s battery terminals efficiently and maintain optimal electrical system performance.
Tools and Materials Needed
To ensure a smooth battery terminal replacement process, having the right tools and materials is crucial. Here’s a list of items you should have before starting the replacement.
- Safety Gloves:
- Purpose: Protect your hands from potential hazards during the replacement.
- Importance: Prioritize safety with a pair of sturdy safety gloves.
- Wire Brush or Sandpaper:
- Purpose: Clean off corrosion or buildup on existing battery terminals.
- Importance: A clean surface ensures proper connection for the new terminals.
- Wrench or Socket Set:
- Purpose: Loosen and remove old terminals for replacement.
- Importance: Essential for handling different types of battery terminal connectors.
- New Battery Terminals:
- Purpose: Replace old terminals with compatible ones for your specific battery.
- Importance: Choose terminals that match your battery type (top post or side post).
- Anti-Corrosion Spray or Grease:
- Purpose: Prevent future corrosion and extend the lifespan of newly installed terminals.
- Importance: Enhances the longevity of terminals and ensures optimal performance.
Conclusion: Equipping yourself with these tools and materials ensures you’re well-prepared for a successful battery terminal replacement. Always adhere to proper safety precautions throughout the process to guarantee a hassle-free experience.
Precautions to Take When Replacing Battery Terminals
Replacing battery terminals requires careful steps to ensure a smooth and safe process. Follow these key precautions for a hassle-free experience:
- Safety First:
- Precaution: Before starting, turn off the engine and ensure the ignition is off to prevent sparks or shocks.
- Importance: Minimize the risk of accidents by prioritizing safety during the replacement.
- Protective Gear:
- Precaution: Wear protective gloves and goggles to shield against corrosive battery acid.
- Importance: Guard yourself from potential skin irritation or eye damage during the process.
- Battery Disconnection:
- Precaution: Disconnect the negative terminal first using appropriate tools like pliers.
- Importance: Prevent accidental contact and wrap the disconnected terminal for added safety.
- Old Terminal Removal:
- Precaution: Carefully remove bolts or clamps holding the old terminals, noting the connections.
- Importance: Ease reinstallation later by understanding how everything is connected.
- Cleaning and Inspection:
- Precaution: Clean both battery posts and replacement terminals using a baking soda-water mixture.
- Importance: Inspect for corrosion or damage, replacing components as needed.
- New Terminal Installation:
- Precaution: Securely place new terminals onto posts without excessive play.
- Importance: Ensure a proper fit for optimal performance without risking stripped threads.
- Cable Reconnection:
- Precaution: Reconnect the positive terminal first, followed by the negative terminal.
- Importance: Tighten nuts securely without overtightening to avoid damage over time.
Conclusion: If uncertain or uncomfortable with any step, seek professional assistance to guarantee a safe and effective battery terminal replacement process.
Tips for Maintaining Healthy Battery Terminals
Maintaining healthy battery terminals is crucial for your vehicle’s electrical system. Follow these valuable tips to ensure longevity and optimal performance:
- Regular Inspection:
- Habit: Visually inspect terminals for corrosion, loose connections, or damage regularly.
- Importance: Identify potential issues early on to prevent electrical problems.
- Cleanliness:
- Method: Use a baking soda-water mixture to gently scrub away dirt, grease, or corrosion.
- Crucial Step: Clean terminals to ensure a proper connection and prevent buildup.
- Protective Coating:
- Application: After cleaning, apply petroleum jelly or terminal protection spray.
- Benefit: Shield terminals from future corrosion for extended health.
- Tighten Connections:
- Check: Ensure all connections are tight and secure on the battery terminals.
- Risk Prevention: Tight connections prevent poor conductivity and starting issues.
- Avoid Over-Tightening:
- Caution: While securing connections is essential, avoid over-tightening to prevent damage.
- Focus on Balance: Achieve a secure fit without risking harm to terminal clamps.
- Battery Maintenance:
- Guidelines: Follow manufacturer recommendations for regular battery maintenance.
- Contribution: Proper battery care positively impacts terminal health.
- Safe Storage:
- During Storage: Disconnect the negative cable for long-term or extreme weather storage.
- Prevention: Prevent drain and potential damage due to temperature fluctuations.
Conclusion: By implementing these simple tips, you can ensure your battery terminals remain in excellent condition, contributing to the overall health of your vehicle’s electrical system. Proactive care and attention are key components of proper maintenance.
FAQs
Why might electrical system upgrades require terminal replacement?
How can overtightening terminals necessitate replacement?
What are the dangers of improper battery mounting?
Why do car battery terminals need replacement?
When should car battery terminals be replaced?
How do you connect and shrink the assembly when replacing battery terminals?
After connecting the wires to the new terminal, use heat-shrink tubing to insulate and protect the connection. Slide the tubing over the joint, then use a heat gun or lighter to shrink the tubing tightly around the wires, ensuring a secure and moisture-resistant seal.
Why is it important to connect the wires to the terminal in the same formation as the original parts?
Connecting wires in the same formation ensures proper electrical continuity and prevents issues like reversed polarity, which can damage electrical components or cause the battery to malfunction.
What is heat-shrink tubing, and how is it used in replacing battery terminals?
Heat-shrink tubing is a plastic tube that shrinks when heated, providing insulation and protection for wire connections. When replacing battery terminals, it’s slid over the exposed wire joints and heated to secure and insulate the connection.
What tools can be used to cut and strip the wires when replacing battery terminals?
Wire cutters are used to cut the wires to the desired length, and wire strippers are used to remove the insulation from the ends of the wires, exposing the metal for connection to the new terminals.
What mixture is recommended for cleaning battery terminals?
A mixture of baking soda and water is recommended for cleaning battery terminals. It neutralizes acid corrosion and removes dirt, ensuring a clean and secure connection when replacing terminals.
What features should new battery terminal clamps have?
New battery terminal clamps should have a sturdy construction, corrosion resistance, and a secure fit for the battery posts. They should also provide strong electrical conductivity and may include features like quick-release mechanisms for easy installation.
How do you examine the terminal style of a battery?
Examine the battery’s terminal style by noting the type of connectors (top post, side post, or threaded) and the size and orientation of the terminals. This helps in selecting compatible replacement terminals.
What should you do with the wires after removing them from the battery?
After removing the wires from the battery, secure them away from the battery to prevent accidental contact. Inspect the wires for damage, and clean or replace them if necessary before reattaching to the new terminals.
Which wire should be removed first when replacing battery terminals, and why?
The negative (black) wire should be removed first to prevent short circuits. Disconnecting the negative wire first reduces the risk of accidentally grounding the positive terminal and causing sparks or electrical shocks.
Why is it important to pull the wires from the battery first?
Pulling the wires from the battery first is important for safety, as it prevents accidental short circuits or electrical shocks. It also makes it easier to clean, inspect, and replace the terminals without live electrical connections.


