- Rack-mounted Lithium Battery
- Golf Cart Lithium Battery
-
Golf Cart Lithium Battery
- 36V 50Ah (for Golf Carts)
- 36V 80Ah (for Golf Carts)
- 36V 100Ah (for Golf Carts)
- 48V 50Ah (for Golf Carts)
- 48V 100Ah (Discharge 100A for Golf Carts)
- 48V 100Ah (Discharge 150A for Golf Carts)
- 48V 100Ah (Discharge 200A for Golf Carts)
- 48V 120Ah (for Golf Carts)
- 48V 150Ah (for Golf Carts)
- 48V 160Ah (Discharge 100A for Golf Carts)
- 48V 160Ah (Discharge 160A for Golf Carts)
-
Golf Cart Lithium Battery
- Forklift Lithium Battery
- 12V Lithium Battery
- 24V Lithium Battery
- 36V Lithium Battery
- 48V Lithium Battery
-
48V LiFePO4 Battery
- 48V 50Ah
- 48V 50Ah (for Golf Carts)
- 48V 60Ah (8D)
- 48V 100Ah (8D)
- 48V 100Ah
- 48V 100Ah (Discharge 100A for Golf Carts)
- 48V 100Ah (Discharge 150A for Golf Carts)
- 48V 100Ah (Discharge 200A for Golf Carts)
- 48V 150Ah (for Golf Carts)
- 48V 160Ah (Discharge 100A for Golf Carts)
- 48V 160Ah (Discharge 160A for Golf Carts)
-
48V LiFePO4 Battery
- 60V Lithium Battery
-
60V LiFePO4 Battery
- 60V 20Ah
- 60V 30Ah
- 60V 50Ah
- 60V 50Ah (Small Size / Side Terminal)
- 60V 100Ah (for Electric Motocycle, Electric Scooter, LSV, AGV)
- 60V 100Ah (for Forklift, AGV, Electric Scooter, Sweeper)
- 60V 150Ah (E-Motocycle / E-Scooter / E-Tricycle / Tour LSV)
- 60V 200Ah (for Forklift, AGV, Electric Scooter, Sweeper)
-
60V LiFePO4 Battery
- 72V~96V Lithium Battery
- E-Bike Battery
- All-in-One Home-ESS
- Wall-mount Battery ESS
-
Home-ESS Lithium Battery PowerWall
- 24V 100Ah 2.4kWh PW24100-S PowerWall
- 48V 50Ah 2.4kWh PW4850-S PowerWall
- 48V 50Ah 2.56kWh PW5150-S PowerWall
- 48V 100Ah 5.12kWh PW51100-F PowerWall (IP65)
- 48V 100Ah 5.12kWh PW51100-S PowerWall
- 48V 100Ah 5.12kWh PW51100-H PowerWall
- 48V 200Ah 10kWh PW51200-H PowerWall
- 48V 300Ah 15kWh PW51300-H PowerWall
PowerWall 51.2V 100Ah LiFePO4 Lithium Battery
Highly popular in Asia and Eastern Europe.
CE Certification | Home-ESS -
Home-ESS Lithium Battery PowerWall
- Portable Power Stations
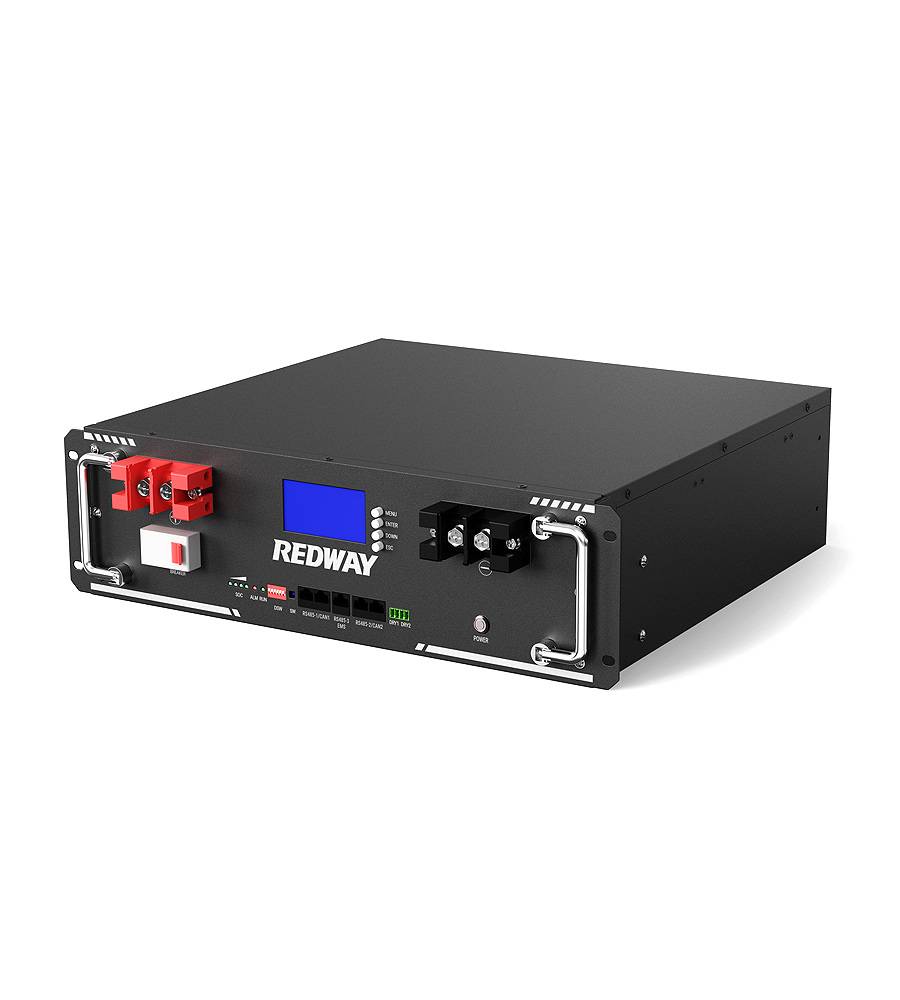
APC 1500 Rack Mount Battery Replacement Guide

The APC 1500 Rack Mount Battery is a powerhouse in the world of uninterruptible power supplies (UPS). It’s designed to keep your critical systems running smoothly, even during unexpected power outages. However, like all batteries, it has a finite lifespan. Knowing when and how to replace this vital component can save you from potential downtime and loss of data.
If you’re relying on this dependable device for your business or home office, understanding its maintenance is essential. Let’s dive into the signs that indicate it’s time for a battery replacement and walk through the straightforward steps needed to ensure your APC 1500 continues to deliver reliable performance.
Signs that it’s time to replace the battery
A reliable power backup is crucial for any rack-mounted system. If your APC 1500 starts showing signs of battery distress, it’s time to take action.
One major indicator is a frequent beep or alarm. These sounds often signal that the battery can no longer hold a charge effectively.
Another sign is a noticeable decrease in runtime during outages. If your device shuts down much quicker than before, it’s likely struggling to maintain power.
Additionally, check for physical damage on the batteries themselves. Swelling or leaks are strong indicators that replacement is necessary.
If your unit shows error messages related to the battery health on its display panel, don’t ignore them. Addressing these issues sooner rather than later can save you from bigger problems down the line.
Steps to Replace the Battery
To begin replacing your APC 1500 Rack Mount Battery, first disconnect the power supply. This step is crucial to ensure safety as you work on the unit.
Next, carefully remove the old battery. Look for any screws or clips that may be holding it in place and take note of how it’s connected. Gently lift it out once everything is unfastened.
Now it’s time to install the new battery. Align it properly with the connectors and secure it just like the previous one. Ensure all connections are tight to avoid future issues.
After securing the new battery, reconnect the power supply. Check that everything is plugged in correctly before turning on your APC unit again. A smooth startup indicates a job well done; you’re back online!
A. Disconnecting the power supply
Before starting any battery replacement, safety should be your top priority. Begin by locating the power supply for your APC 1500 Rack Mount unit. This is typically connected to a wall outlet or a power distribution unit.
Make sure to turn off and unplug the device completely. It’s essential that there is no electricity flowing through the system while you work on it.
Take a moment to double-check that all connections are secure before proceeding. Ensure that no lights indicate an active connection; this will confirm that it’s safe to disconnect further components.
If your model has additional cables running from the UPS, carefully detach those as well. Label them if necessary so you can easily reconnect everything later without confusion. Following these steps ensures you’re set up for a smooth battery replacement experience ahead.
B. Removing the old battery
Carefully locate the old battery within your APC 1500. It’s crucial to handle it with care, as it can be heavy and delicate.
Begin by gently loosening any screws or clips securing the battery in place. Make sure you have a screwdriver handy if needed.
Once you’ve released all fastenings, grasp the battery firmly but cautiously. Pull it out slowly from its compartment to avoid damaging any surrounding components.
Check for any wires connected to the battery terminals. If there are connections still attached, take a moment to disconnect them carefully, ensuring not to tug on anything too hard.
After successfully removing the old unit, set it aside in a safe location where it won’t roll or fall. This prevents possible accidents while you’re preparing for installation of the new battery.
C. Installing the new battery
With the old battery removed, it’s time to install the new one. Start by carefully positioning the new battery into the designated slot. Make sure it aligns with any connectors or guides.
Once in place, gently press down until you hear a click confirming it’s secure. This step is crucial for ensuring proper contact and functionality.
Next, reattach any cables that were disconnected during removal. Ensure they fit snugly without excessive force; loose connections can lead to performance issues later on.
Before closing everything up, double-check that you’ve installed the correct battery model as specified by APC guidelines. A mismatch can hinder your system’s efficiency or even cause damage.
Take a moment to inspect your work area for tools or parts left behind before moving on to reconnecting power supply components.
D. Reconnecting the power supply
With the new battery securely in place, it’s time to reconnect the power supply. Start by locating your UPS’s input and output connectors.
Carefully align the cables back into their respective ports. This step is crucial for ensuring a smooth flow of power once everything is reconnected.
Make sure each connection clicks or locks into position; this ensures that there are no loose ends that could cause issues later on.
Before powering it up, double-check all connections to confirm they’re secure. A hasty reconnection might lead to unexpected failures down the line.
Once satisfied with your setup, plug the unit back into its wall outlet. You should hear a soft beep indicating that it’s receiving power and ready for use again.
Tips for Maintaining Your APC 1500 Rack Mount Battery
To keep your APC 1500 Rack Mount Battery in optimal condition, regular maintenance is key. Start with routine checks on the battery’s status through the management software. This can alert you to potential issues before they become serious.
Next, ensure proper ventilation around your unit. Overheating can significantly shorten battery life. Dust and debris should be regularly cleared from vents to maintain airflow.
Consider implementing a schedule for testing the battery’s performance. A periodic self-test will give you insight into its health and readiness during critical moments.
Always use genuine replacement batteries when it’s time for an upgrade. Off-brand batteries may save money initially but could compromise safety and reliability in the long run. Taking these steps helps extend lifespan and enhances overall performance.
Common Mistakes to Avoid When Replacing the Battery
Replacing the battery in your APC 1500 Rack Mount can feel daunting. One common mistake is assuming all batteries are universal. Always check compatibility before purchasing a replacement.
Another pitfall is neglecting to disconnect power sources properly. Failing to do this increases risks of electric shock and equipment damage.
Many users rush through the installation process, leading to improper connections. Take your time and ensure everything aligns as it should.
It’s also easy to overlook safety gear. Wearing gloves and goggles protects you from potential hazards during the replacement.
Don’t forget about disposing of old batteries responsibly. Improper disposal can harm the environment and violate local regulations.
Cost Comparison: Replacing vs
When it comes to the cost of replacing your APC 1500 Rack Mount Battery versus other options, there are a few factors to consider. Replacing the battery yourself is often more economical than hiring a technician for installation. The price of a new battery typically ranges from $100 to $300, depending on where you purchase it and any warranties offered.
If you opt for professional help, labor costs can add another $100 or more. This means that doing it yourself could save you anywhere from $100 to several hundred dollars in total expenses.
Additionally, consider the longevity and reliability of the replacement battery compared to other power solutions like uninterruptible power supplies (UPS) or generators. A well-maintained APC 1500 can serve reliably for years if properly cared for.
Weighing these costs against potential downtime or loss during unexpected outages will guide your decision-making process. Investing in regular maintenance and timely replacements not only enhances performance but also extends the lifespan of your equipment—leading to long-term savings and peace of mind.
