- Forklift Lithium Battery
-
48V
- 48V 210Ah
- 48V 300Ah
- 48V 420Ah (949 x 349 x 569 mm)
- 48V 420Ah (950 x 421 x 450 mm)
- 48V 456Ah
- 48V 460Ah (830 x 630 x 590 mm)
- 48V 460Ah (950 x 421 x 450 mm)
- 48V 460Ah (800 x 630 x 600 mm)
- 48V 460Ah (820 x 660 x 470 mm)
- 48V 500Ah
- 48V 560Ah (810 x 630 x 600 mm)
- 48V 560Ah (950 x 592 x 450 mm)
- 48V 600Ah
- 48V 630Ah
-
48V
- Lithium Golf Cart Battery
- 12V Lithium Battery
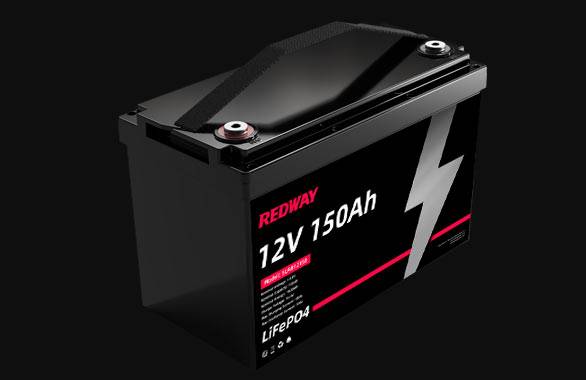

12V 150Ah Lithium RV Battery
Bluetooth App | BCI Group 31
LiFePO4 Lithium
Discharge Temperature -20°C ~ 65°C
Fast Charger 14.6V 50A
Solar MPPT Charging - 24V Lithium Battery
- 36V Lithium Battery
- 48V Lithium Battery
-
48V LiFePO4 Battery
- 48V 50Ah
- 48V 50Ah (for Golf Carts)
- 48V 60Ah (8D)
- 48V 100Ah (8D)
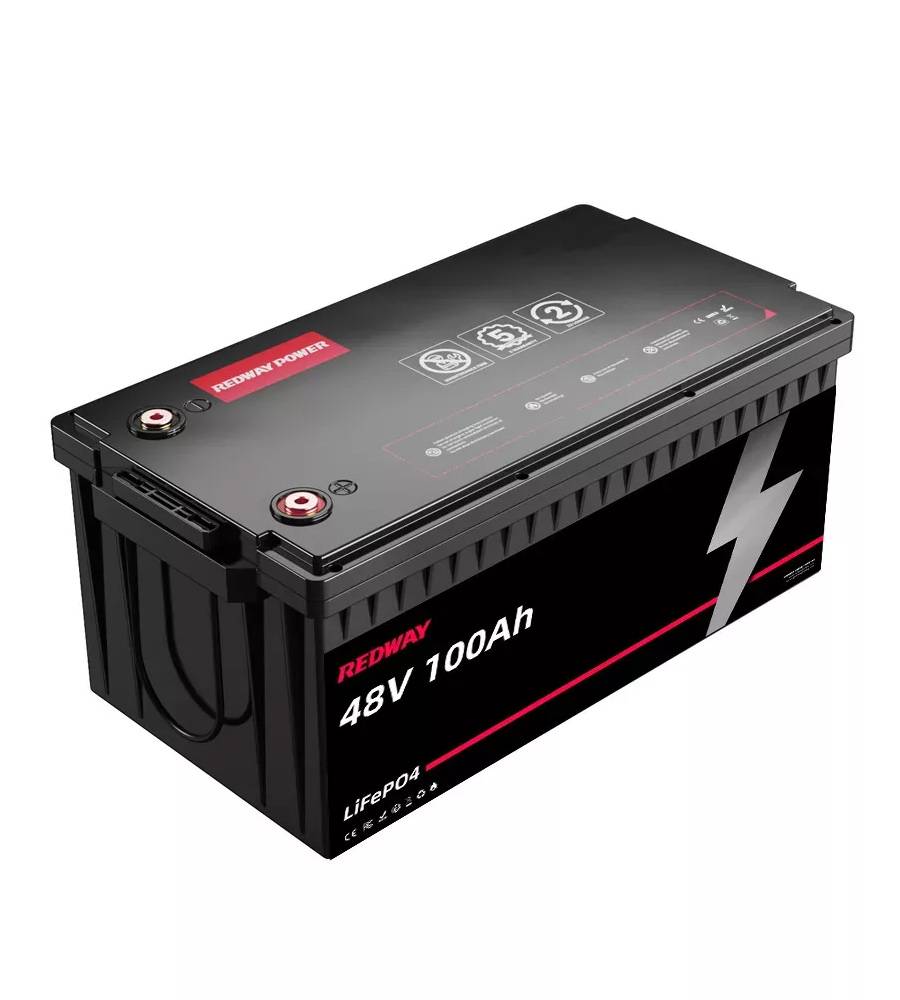
- 48V 100Ah
- 48V 100Ah (Discharge 100A for Golf Carts)
- 48V 100Ah (Discharge 150A for Golf Carts)
- 48V 100Ah (Discharge 200A for Golf Carts)
- 48V 150Ah (for Golf Carts)
- 48V 160Ah (Discharge 100A for Golf Carts)
- 48V 160Ah (Discharge 160A for Golf Carts)
-
48V LiFePO4 Battery
- 60V Lithium Battery
-
60V LiFePO4 Battery
- 60V 20Ah
- 60V 30Ah
- 60V 50Ah
- 60V 50Ah (Small Size / Side Terminal)
- 60V 100Ah (for Electric Motocycle, Electric Scooter, LSV, AGV)
- 60V 100Ah (for Forklift, AGV, Electric Scooter, Sweeper)
- 60V 150Ah (E-Motocycle / E-Scooter / E-Tricycle / Tour LSV)
- 60V 200Ah (for Forklift, AGV, Electric Scooter, Sweeper)
-
60V LiFePO4 Battery
- 72V~96V Lithium Battery
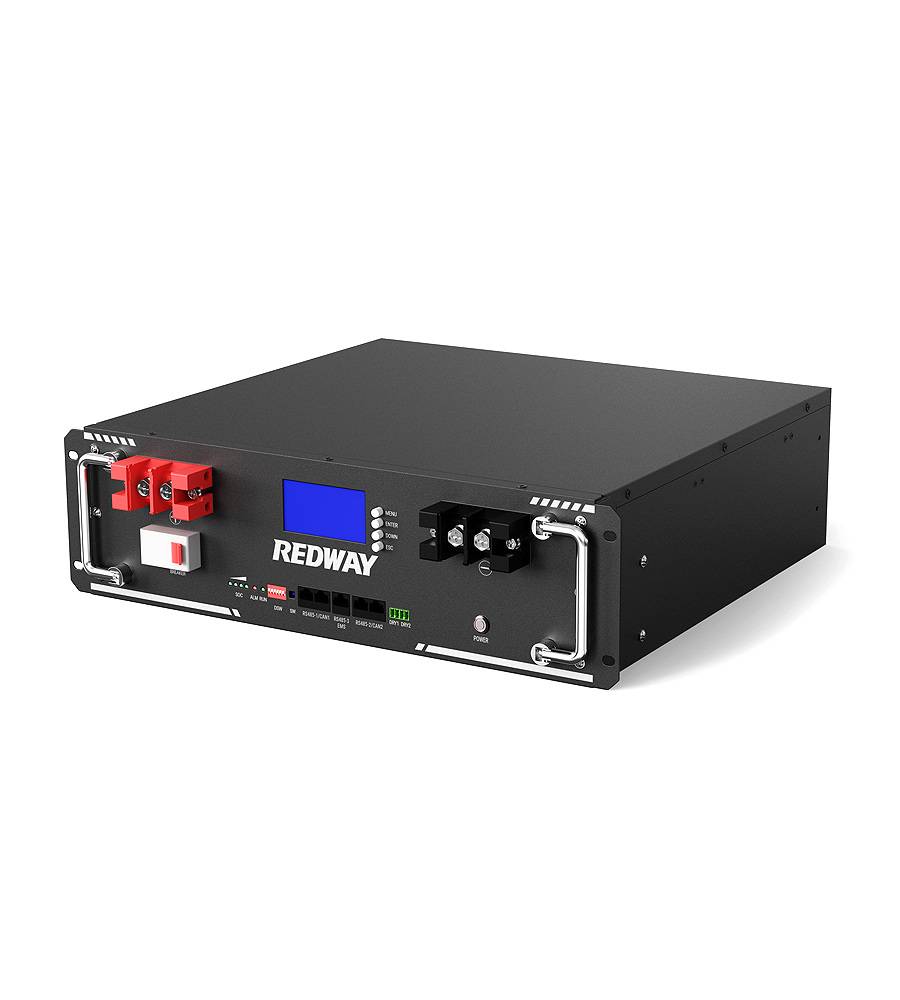
- Rack-mounted Lithium Battery
- E-Bike Battery
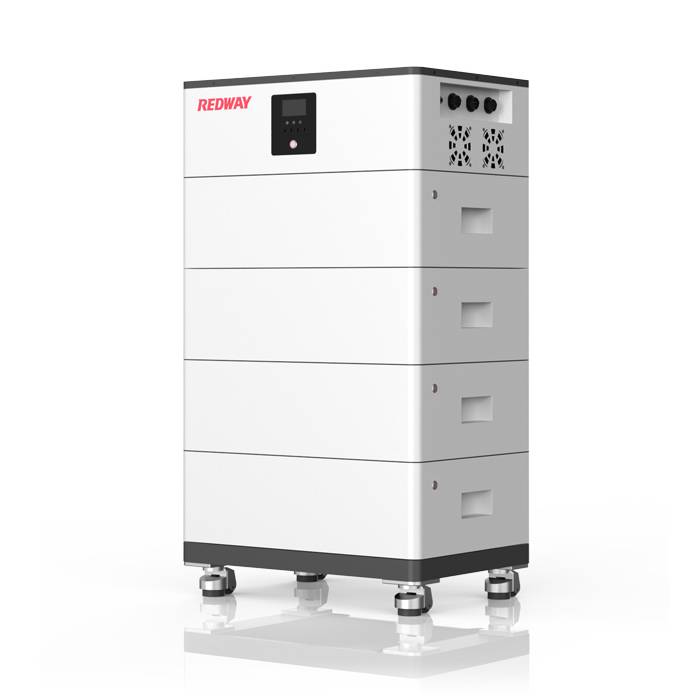
- All-in-One Home-ESS
- Wall-mount Battery ESS
-
Home-ESS Lithium Battery PowerWall
- 24V 100Ah 2.4kWh PW24100-S PowerWall
- 48V 50Ah 2.4kWh PW4850-S PowerWall
- 48V 50Ah 2.56kWh PW5150-S PowerWall
- 48V 100Ah 5.12kWh PW51100-F PowerWall (IP65)
- 48V 100Ah 5.12kWh PW51100-S PowerWall
- 48V 100Ah 5.12kWh PW51100-H PowerWall
- 48V 200Ah 10kWh PW51200-H PowerWall
- 48V 300Ah 15kWh PW51300-H PowerWall
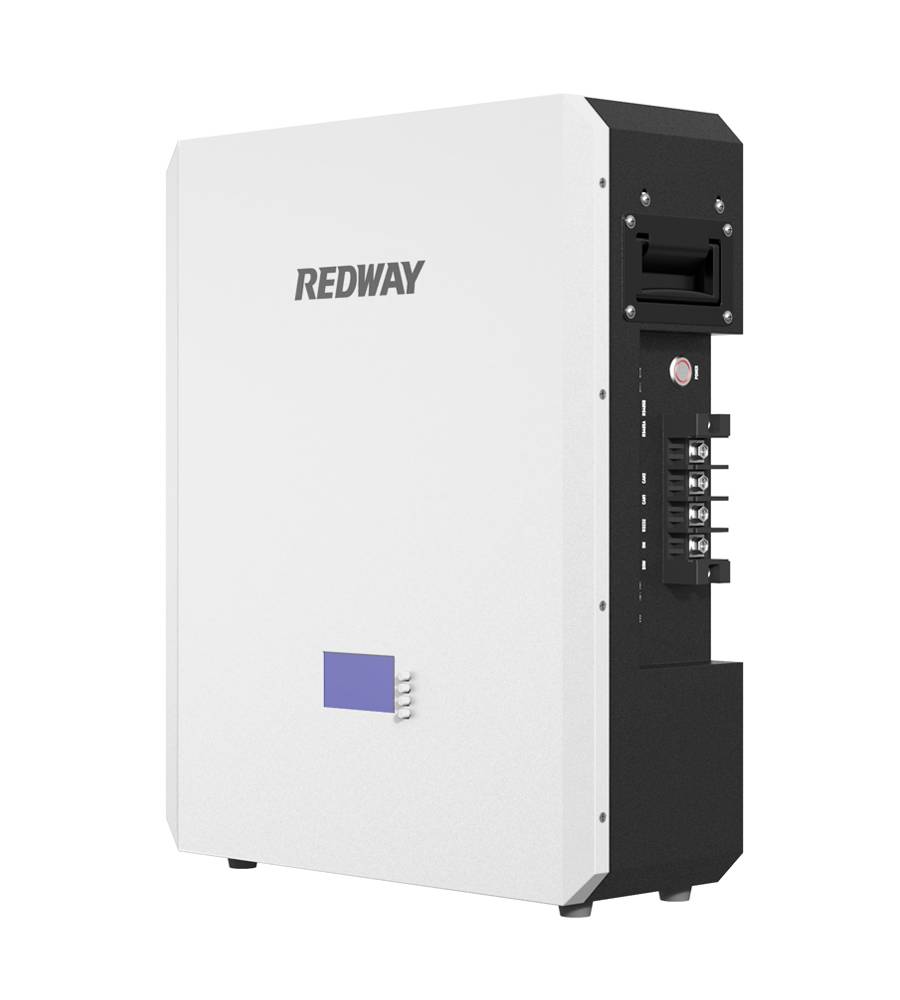

PowerWall 51.2V 100Ah LiFePO4 Lithium Battery
Highly popular in Asia and Eastern Europe.
CE Certification | Home-ESS -
Home-ESS Lithium Battery PowerWall
- Portable Power Stations


A Comprehensive Guide to Extending Golf Cart Battery Life
Golf cart batteries are an essential component of your golf cart, responsible for powering it across the course or through your neighborhood. Most golf carts are equipped with deep-cycle lead-acid batteries, which are specifically designed to provide a consistent flow of power over an extended period. Unlike standard car batteries, which deliver a short burst of energy to start the engine, deep-cycle batteries are engineered for long-term use, making them ideal for the demands of a golf cart.
The Importance of Battery Care
Proper care and maintenance of your golf cart battery can significantly extend its lifespan, allowing you to get the most out of your investment. Over time, however, even the best-maintained batteries can begin to show signs of wear. Understanding these signs is crucial to determining when rejuvenation is necessary and when it might be time to replace the battery altogether.
Signs of a Dying Battery
Recognizing the early signs of a deteriorating battery can help you take timely action to rejuvenate it before it completely fails. Here are some common indicators that your golf cart battery may be nearing the end of its life:
- Reduced Range: If your golf cart no longer travels as far on a single charge, it could be a sign that the battery is losing capacity.
- Slow Acceleration: A noticeable lag in acceleration might indicate that the battery is struggling to provide adequate power.
- Dim Lights: Dimming headlights and other electrical components suggest that the battery is not delivering sufficient energy.
- Extended Charging Times: If your battery takes longer to charge or never seems to reach full charge, it could be a sign of internal issues.
Identifying these symptoms early on can save you from unexpected interruptions during your golf outings and help you maintain the performance of your golf cart.
Steps to Rejuvenate Golf Cart Batteries
Safety First
Before attempting any battery maintenance or rejuvenation, it’s critical to prioritize safety. Always wear protective gloves and safety glasses to shield yourself from harmful chemicals and potential battery acid leaks. Conduct your work in a well-ventilated area to avoid inhaling any hazardous fumes.
Cleaning the Batteries
Start by inspecting the battery terminals for corrosion, which can hinder the flow of electricity. Use a mixture of baking soda and water to clean the terminals, applying the solution with a wire brush to remove any buildup. After scrubbing, rinse the terminals with clean water and dry them thoroughly before proceeding.
Checking and Adjusting Water Levels
Next, open the battery cells to check the water levels. It’s essential to maintain proper water levels in each cell to ensure the battery operates efficiently. Add distilled water to any cells that are low, ensuring the water covers the plates without overflowing. Avoid using tap water, as it contains minerals that can harm the battery’s performance.
Equalizing the Charge
Over time, individual cells within a battery can develop imbalances, leading to uneven performance. To correct this, apply an equalizing charge using a compatible battery charger set to the equalizing mode. This process will help balance the charge across all cells, restoring uniform performance. Follow the manufacturer’s instructions carefully to avoid overcharging.
Using a Desulfator
Sulfation, the accumulation of sulfate crystals on the battery plates, is a common issue that reduces the efficiency of lead-acid batteries. A desulfator can break down these crystals and restore the battery’s capacity. Attach the desulfator to the battery and let it run its cycle, which can take several hours to several days, depending on the severity of the sulfation.
Performing a Load Test
Once the battery has been cleaned, recharged, and desulfated, perform a load test to assess its capacity. A battery load tester applies a simulated load and measures the voltage drop. If the voltage remains stable, it indicates that the battery is in good condition and ready for use. If the voltage drops significantly, the battery may need further attention or replacement.
Maintenance Tips to Extend Battery Life
Maintaining your golf cart battery properly can prevent premature failure and extend its lifespan. Implement the following practices to keep your battery in optimal condition:
- Regular Charging: Charge the battery after each use, and avoid letting it sit in a discharged state for extended periods.
- Proper Storage: Store your golf cart in a cool, dry place, and ensure the battery is fully charged before placing it in long-term storage.
- Avoid Over-Discharging: Do not allow the battery to discharge below 20% of its capacity, as deep discharges can shorten its lifespan.
- Clean Terminals: Keep the battery terminals clean and free of corrosion to ensure a good electrical connection.
When to Replace Your Battery
Despite best efforts at rejuvenation, there comes a time when every battery reaches the end of its useful life. If your battery consistently fails load tests, exhibits visible damage, or no longer holds a charge, it’s time to consider replacement. Investing in a new battery ensures that your golf cart continues to perform at its best, providing reliable power for all your needs.
Conclusion
Rejuvenating golf cart batteries is a cost-effective way to extend their lifespan and maximize your investment. By following the detailed steps outlined in this guide, you can restore your battery’s performance and enjoy uninterrupted use of your golf cart. Remember, ongoing maintenance is the key to keeping your battery in top condition, ensuring long-lasting power for years to come.
With proper care, your golf cart battery can deliver reliable performance, allowing you to focus on enjoying your time on the course.