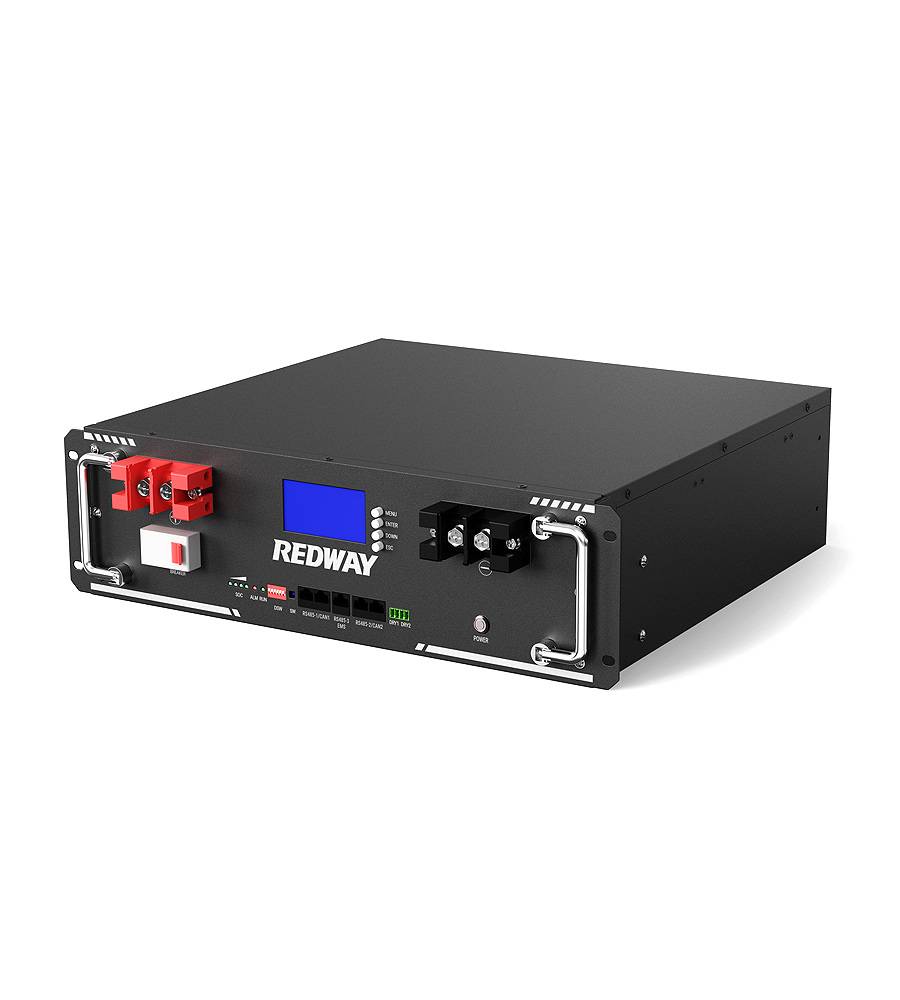
- Rack-mounted Lithium Battery
- Golf Cart Lithium Battery
-
Golf Cart Lithium Battery
- 36V 50Ah (for Golf Carts)
- 36V 80Ah (for Golf Carts)
- 36V 100Ah (for Golf Carts)
- 48V 50Ah (for Golf Carts)
- 48V 100Ah (Discharge 100A for Golf Carts)
- 48V 100Ah (Discharge 150A for Golf Carts)
- 48V 100Ah (Discharge 200A for Golf Carts)
- 48V 120Ah (for Golf Carts)
- 48V 150Ah (for Golf Carts)
- 48V 160Ah (Discharge 100A for Golf Carts)
- 48V 160Ah (Discharge 160A for Golf Carts)
-
Golf Cart Lithium Battery
- Forklift Lithium Battery
- 12V Lithium Battery
- 24V Lithium Battery
- 36V Lithium Battery
- 48V Lithium Battery
-
48V LiFePO4 Battery
- 48V 50Ah
- 48V 50Ah (for Golf Carts)
- 48V 60Ah (8D)
- 48V 100Ah (8D)
- 48V 100Ah
- 48V 100Ah (Discharge 100A for Golf Carts)
- 48V 100Ah (Discharge 150A for Golf Carts)
- 48V 100Ah (Discharge 200A for Golf Carts)
- 48V 150Ah (for Golf Carts)
- 48V 160Ah (Discharge 100A for Golf Carts)
- 48V 160Ah (Discharge 160A for Golf Carts)
-
48V LiFePO4 Battery
- 60V Lithium Battery
-
60V LiFePO4 Battery
- 60V 20Ah
- 60V 30Ah
- 60V 50Ah
- 60V 50Ah (Small Size / Side Terminal)
- 60V 100Ah (for Electric Motocycle, Electric Scooter, LSV, AGV)
- 60V 100Ah (for Forklift, AGV, Electric Scooter, Sweeper)
- 60V 150Ah (E-Motocycle / E-Scooter / E-Tricycle / Tour LSV)
- 60V 200Ah (for Forklift, AGV, Electric Scooter, Sweeper)
-
60V LiFePO4 Battery
- 72V~96V Lithium Battery
- E-Bike Battery
- All-in-One Home-ESS
- Wall-mount Battery ESS
-
Home-ESS Lithium Battery PowerWall
- 24V 100Ah 2.4kWh PW24100-S PowerWall
- 48V 50Ah 2.4kWh PW4850-S PowerWall
- 48V 50Ah 2.56kWh PW5150-S PowerWall
- 48V 100Ah 5.12kWh PW51100-F PowerWall (IP65)
- 48V 100Ah 5.12kWh PW51100-S PowerWall
- 48V 100Ah 5.12kWh PW51100-H PowerWall
- 48V 200Ah 10kWh PW51200-H PowerWall
- 48V 300Ah 15kWh PW51300-H PowerWall
PowerWall 51.2V 100Ah LiFePO4 Lithium Battery
Highly popular in Asia and Eastern Europe.
CE Certification | Home-ESS -
Home-ESS Lithium Battery PowerWall
- Portable Power Stations
How to Build a 48V DC Lithium Battery Charger Circuit
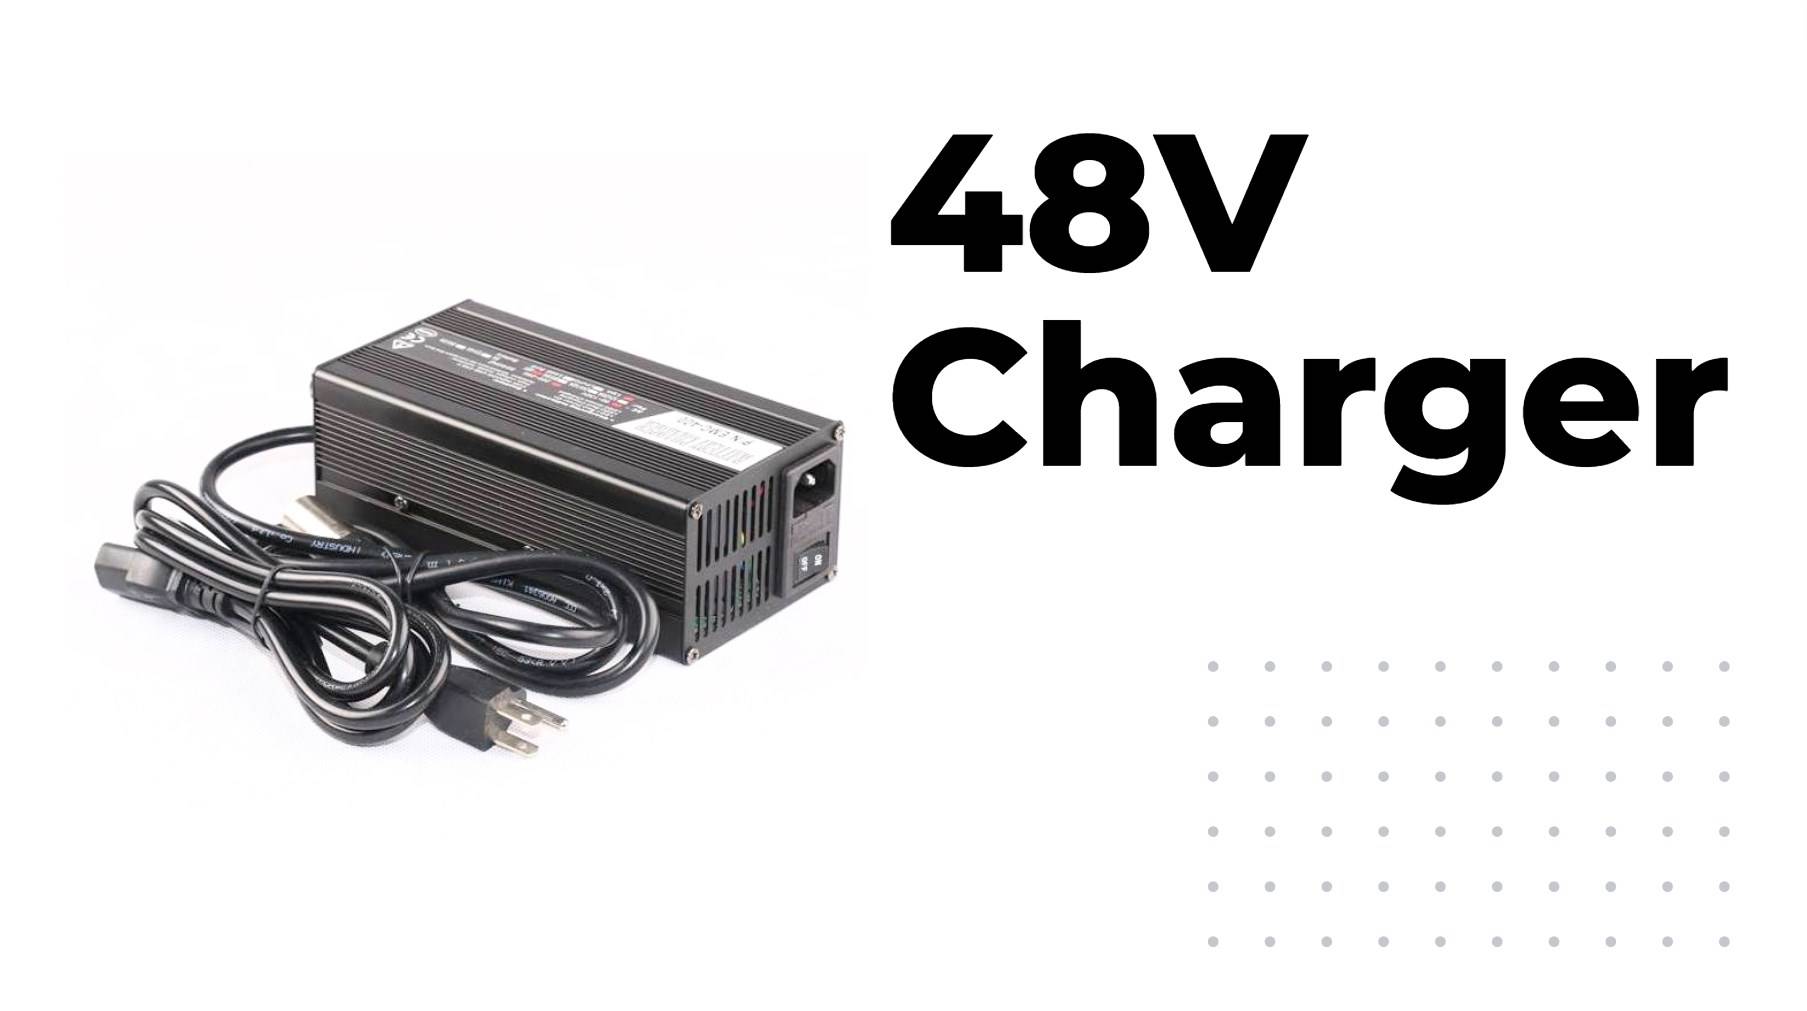
Are you looking to power up your DIY projects with a reliable and efficient energy source? Lithium batteries are here to save the day! With their lightweight design, high energy density, and long lifespan, lithium batteries have become the go-to choice for many electronics enthusiasts. And if you’re in need of a 48V DC lithium battery charger circuit to keep your projects running smoothly, you’ve come to the right place. Let’s dive into the world of DIY electronics and explore how you can build your very own 48V DC lithium battery charger circuit from scratch.
Understanding the 48V DC Lithium Battery Charger Circuit
Lithium batteries have become increasingly popular due to their high energy density and long lifespan. Understanding how a 48V DC lithium battery charger circuit works is essential for anyone looking to build their own charging system.
The 48V DC lithium battery charger circuit essentially controls the flow of electricity from a power source to the lithium battery pack. It consists of various components such as resistors, capacitors, diodes, and transistors that work together to regulate the charging process.
When building this circuit, it’s important to choose high-quality components that can handle the voltage and current requirements of a 48V system. Additionally, following a step-by-step guide can help ensure proper assembly and functionality.
By grasping the fundamentals of how the 48V DC lithium battery charger circuit operates, DIY enthusiasts can gain more control over their energy storage solutions and potentially save money in the long run.
Components Required for Building the Circuit
To build a 48V DC lithium battery charger circuit, you will need a few essential components that are easily accessible and relatively inexpensive. The heart of the circuit is the lithium battery itself, preferably a 48V lithium ion or lithium iron pack made up of high-quality 18650 cells for optimal performance.
You will also require a charging module specifically designed for lithium batteries to ensure safe and efficient charging. A step-down converter is necessary to regulate the voltage from your power source to match the requirements of the battery pack.
In addition, you’ll need capacitors for filtering out any noise in the circuit, resistors for current limiting, diodes for preventing reverse current flow, and an operational amplifier if you plan on implementing any control logic.
Don’t forget about heat sinks to dissipate heat generated during charging and proper wiring connections to ensure stability and reliability in your DIY project.
Step-by-Step Guide to Building the Circuit
To begin building the 48V DC lithium battery charger circuit, gather all the necessary components such as a charging module, resistors, capacitors, and a voltage regulator. Make sure you have a soldering iron and wire cutters on hand for assembly.
Start by connecting the positive and negative terminals of the charging module to the corresponding terminals of the lithium battery pack. Double-check your connections to avoid any potential short circuits.
Next, connect the output pins of the charging module to the input pins of the voltage regulator using appropriate gauge wires. This step is crucial in regulating and stabilizing the voltage supplied to the battery during charging.
Then, attach capacitors across both input and output terminals of each component to reduce noise and ensure smooth operation of your circuit. Secure all connections with heat shrink tubing or electrical tape for added safety.
Power up your circuit and monitor its performance as it charges your 48V lithium ion battery pack efficiently. Test different charge rates if needed until you achieve optimal results.
Precautions and Safety Measures
When working on building a 48V DC lithium battery charger circuit, it is crucial to prioritize safety at every step of the process. Ensure that you are working in a well-ventilated area to prevent any build-up of potentially harmful fumes.
Always double-check your connections and wiring before applying power to the circuit to avoid any short circuits or electrical hazards. It’s also important to use insulated tools and wear appropriate personal protective equipment like gloves and safety goggles.
Avoid overcharging the lithium battery as this can lead to overheating and even pose a fire risk. Monitor the charging process closely and never leave the circuit unattended while in operation.
Follow manufacturer guidelines for the specific components used in your circuit to ensure they are compatible with each other. By adhering to these precautions and safety measures, you can enjoy peace of mind while building your own 48V DC lithium battery charger circuit.
Troubleshooting Common Issues
When building a 48V DC lithium battery charger circuit, it’s essential to be prepared for potential issues that may arise during the process. One common problem could be improper connections of the components leading to ineffective charging. Double-check all the wiring and ensure everything is connected correctly.
Another issue you might encounter is overheating of certain components due to excessive current flow. Make sure to use high-quality parts capable of handling the required voltage and current capacity without overheating.
In some cases, the charger circuit may fail to charge the battery altogether. This could be caused by a faulty component or incorrect settings in the circuit design. Troubleshoot by inspecting each part carefully and verifying if they are functioning as intended.
If you notice any abnormal behavior such as sparking or unusual sounds when using the charger, immediately disconnect it from power sources and investigate the source of these anomalies before continuing with operation.
Conclusion: Benefits of a DIY 48V DC Lithium Battery Charger Circuit
By building your own 48V DC lithium battery charger circuit, you not only save money but also gain valuable knowledge about electronics and renewable energy. This DIY project can be a rewarding experience for enthusiasts looking to enhance their skills in circuitry and sustainable energy solutions. With the right components, precautions, and troubleshooting know-how, you can successfully create a reliable charger for your 48V lithium batteries.
Empower yourself with the ability to maintain and charge your 48V lithium ion battery pack at home efficiently. Customizing the charging process according to your specific needs ensures optimal performance and longevity of your batteries. Take control of how you power your devices or projects with a DIY 48V DC lithium battery charger circuit tailored to suit your requirements.
Embark on this journey towards sustainability and self-sufficiency by harnessing the power of lithium batteries through a homemade charging solution. Enjoy the benefits of reliability, efficiency, and cost-effectiveness that come with crafting your own 48V DC lithium battery charger circuit today!
